Troubleshooting
6-7
Vertical Double Image
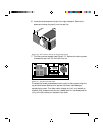
Figure 6-4, Adjusting the vertical position
Use the Setup key or the following procedure to adjust the Vert. Pos control:
1 Open the Main menu.
2 Select Advanced.
3 Select Vert. Pos (Vertical Position).
4 Press the down arrow key until the image is properly aligned.
Note: There are separate Vert. Pos values for Normal and
Fit-to-View Modes. Adjustments in one mode are not made in the other.
If this adjustment does not correct the problem, try a different Source Mode
setting. Make sure the selection has the correct resolution and the closest
V-sync and H-sync values.
Faint, Vertical Lines of Distortion
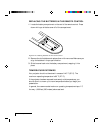
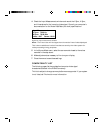
1 Use the Cyclops remote control to adjust the sync first. If the lines of
distortion move uniformly across the screen as you adjust the sync, there
is a Dot Clock problem.
2 Adjust the Dot Clock SLOWLY so that the shading gets further and further
apart, until it is gone. Considerable trial and error may be required to
avoid skipping over the correct value.
Dark, Vertical Lines of Distortion
Dark, uniformly spaced vertical lines (sometimes with smaller lines on
either side of each dark line) may be seen in Fit-to-View mode or Normal
Mode, or both. Any of the following steps may eliminate this problem.


