


40
OmniView IP 5000 HQ
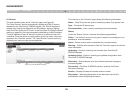
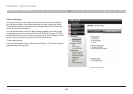
SECTIONS
Table of Contents
1 3 5 7 9 11 13 15 17 192 4 6 8 10 12
14
16
18
20 21
15
MANAGEMENT
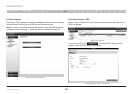
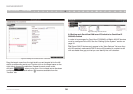
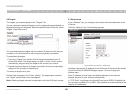
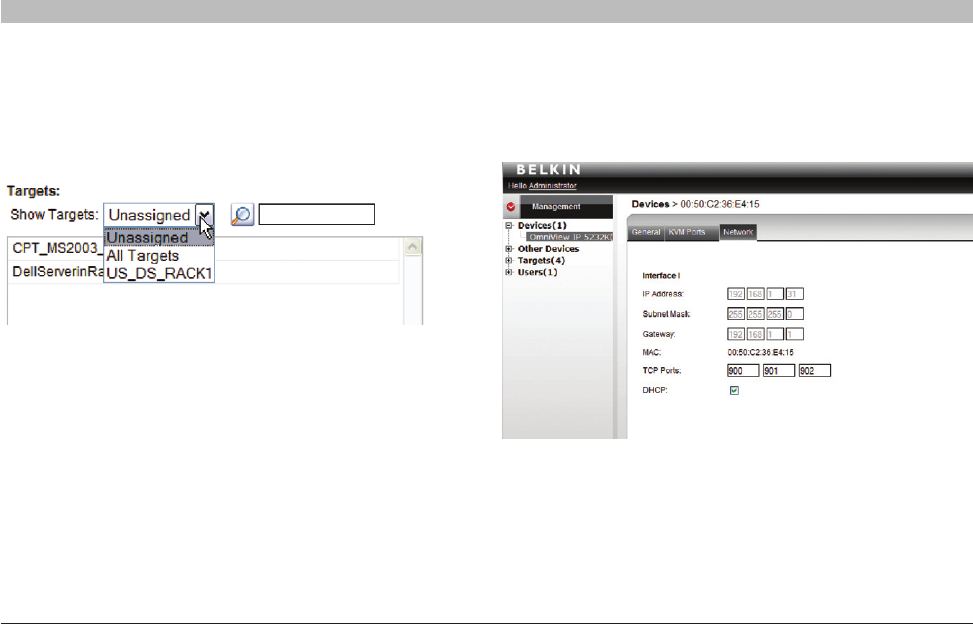
8.6 Targets
The targets you created appear in the “Targets” list.
You can choose to display all targets or just unassigned targets (default), or
targets belonging to a target set. Select the desired option from the “Show
Targets” drop-down menu.
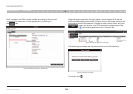
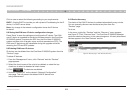
You must associate the targets with the relevant IP device or with the port
numbers on the KVM switch to which they are physically connected.
To associate the targets:
1. From the “Targets” list, double-click the target connected to port #1
of the KVM switch. The target assigns to port #1 of the “Ports” section.
Alternatively, drag and drop the target to the correct port number.
2. Repeat the above step for all targets connected. Ensure the right target
assigns to the correctly numbered port.
To remove a target from a port:
Double-click the target in the “Ports” section. The target name moves to
the “Target” section and is now unassigned.
Note! Deleting a target removes its association with the KVM port number.
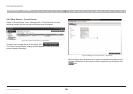
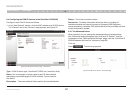
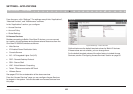
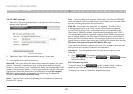
8.7 Network tab
In the “Network” tab, you configure and modify network parameters of the
IP device.
Click the “Network” tab. The following appears.
Figure 56 KVM-over-IP Device – Network tab
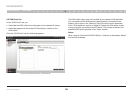
Interface I displays the IP address of the KVM-over-IP device as discovered
by the OmniView IP 5000HQ Manager system. You can change this
address here.
Enter IP address, subnet mask, and default gateway for the network
adapter, as given by your network administrator.
In “TCP Ports”, type three ports (from 800 and up to 65535). By default the
port numbers are 900, 901, and 902. These default ports are suitable for the
majority of installations.