


47
OmniView IP 5000 HQ
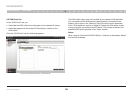
SECTIONS
Table of Contents
1 3 5 7 9 11 13 15 17 192 4 6 8 10 12
14
16
18
20 21
17
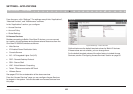
SETTINGS – APPLICATIONS
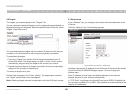
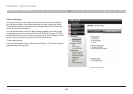
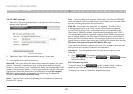
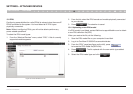
9.2.2.3 LDAP settings
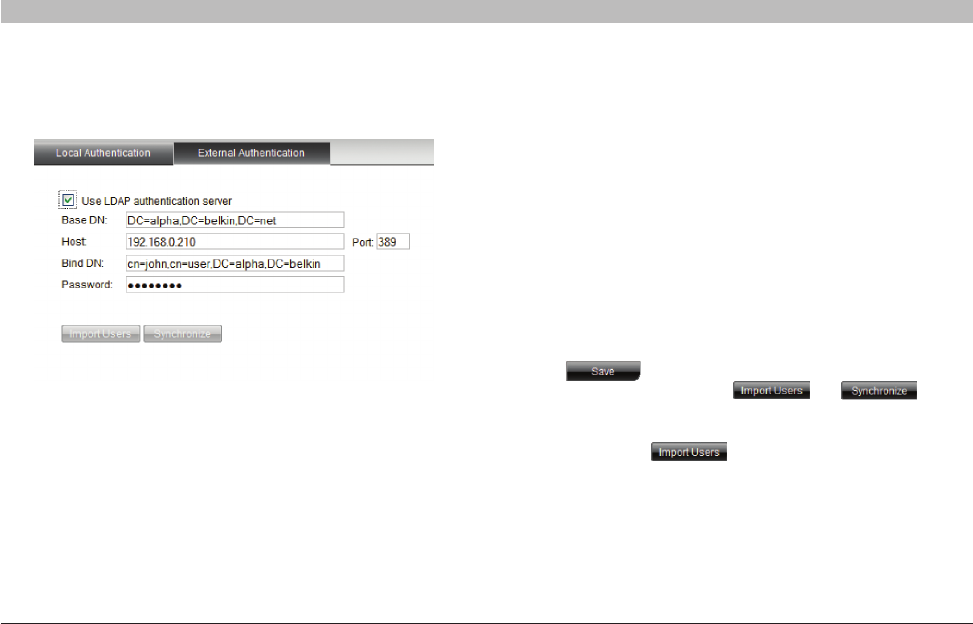
1. Select the “External Authentication” tab and the LDAP settings
appear; see Figure 62.
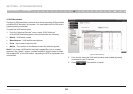
Figure 62 LDAP settings
2. Select the “Use LDAP authentication server” check box.
3. Input details of the Active Directory:
Base DN – Here you define the base object where the search for users
begins. The search is performed only on this object and the objects
below it in the directory tree. The Base DN string has the standard LDAP
syntax:CN=(CommonName…),OU=(OrganizationalUnit),DC=(Domain
Component). Base DN should be in the following format DC=domain,
DC=tld. For example, for the domain kvm.belkin.org, the Base DN
should be DC=kvm,DC=belkin,DC=org.
Host – Type the host name or (preferably) the IP address of the Active
Directory DC server.
Port – Type the LDAP port number. If left blank, OmniView IP 5000HQ
uses the default LDAP port 389 (which is the default port for most LDAP
servers including Microsoft Active Directory).
Bind DN – Also known as “User DN” or “Append”. The Bind DN is
a distinguished name of an LDAP object, which serves a gateway
to the LDAP directory. Prior to sending the account/password pair,
OmniView IP 5000HQ initiates a conversation handshake with LDAP.
This handshake protocol in general needs a “Bind DN/Bind password”
pair to decide whether the OmniView IP 5000HQ client is permitted to
query the LDAP directory server. (For example, if we have user John in
group Users in domain kvm.belkin.org, the Bind DN should look like this:
CN=John, CN=users,DC=kvm,DC=belkin,DC=org).
Type the Active Directory objects you would like to search and the user
account that will be used to perform this operation.
Password – Type the password for the user account given in the
Bind DN.
4. Click . The system queries the Active Directory.
(This may take some time.) The and buttons
become enabled.
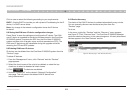
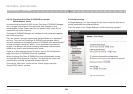
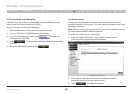
9.2.2.4 Importing users
To import users, press and the “Import Users” window
appears. Here you see all the groups in the Active Directory.
To display the users in a directory, expand the group.