10. Network Scanning (Not available for DCP-8060)
166
Scan to Image 10
When you choose Scan to Image, your document will be scanned and sent directly to the Macintosh
®
you
designated on your network. ControlCenter2 will activate the default graphics application on the designated
Macintosh
®
. You can change the Scan configuration. (See Image (example: Apple PreView) on page 147.)
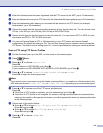
a Put the document face up in the ADF, or face down on the scanner glass.
b Press (Scan).
c Press a or b to choose Scan to Image.
Press OK.
If your machine is a MFC-8460N, go to Step e.
If your machine is a MFC-8860DN, MFC-8870DW or DCP-8065DN, go to Step d.
d Press a or b to choose 2sided (L)edge, 2sided (S)edge or 1sided.
Press OK.
Note
If you want to scan a document using the duplex scanning feature, you need to put the document in the
ADF and then choose 2sided (L) edge or 2sided (S) edge depending on your document layout.
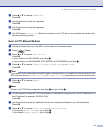
e Press a or b to choose the destination Macintosh
®
you want to send to.
Press OK.
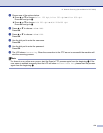
If the LCD prompts you to enter a Pin number, enter the 4-digit Pin number for the destination
Macintosh
®
on the control panel.
Press OK.
The machine will start the scanning process.


