


34
Installing the SIMM
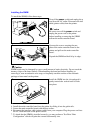
To install the SIMM, follow these steps:
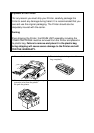
1 Turn off the
power
switch and unplug the p
cord from the AC outlet. Disconnect the inte
cable (printer cable) from the printer.
!
Caution
Be sure to turn off the
power
switch and
unplug the power cord to the printer
before installing or removing the SIMM
to/from the main controller board.
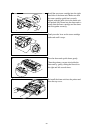
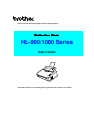
2
Unscrew the screws securing the rear
plate of the main controller board to the
printer and pull out the main controller
board .
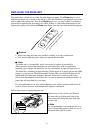
Unpack the SIMM and hold it by its edge.
!
Caution
SIMM boards may be damaged by even a small amount of static electricity. Do not touch the
memory chips or the board surface. When handling the board and before installing or
removing it, wear an antistatic wrist strap, or frequently touch the surface of the antistatic
package or bare metal on the printer.
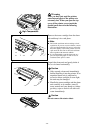
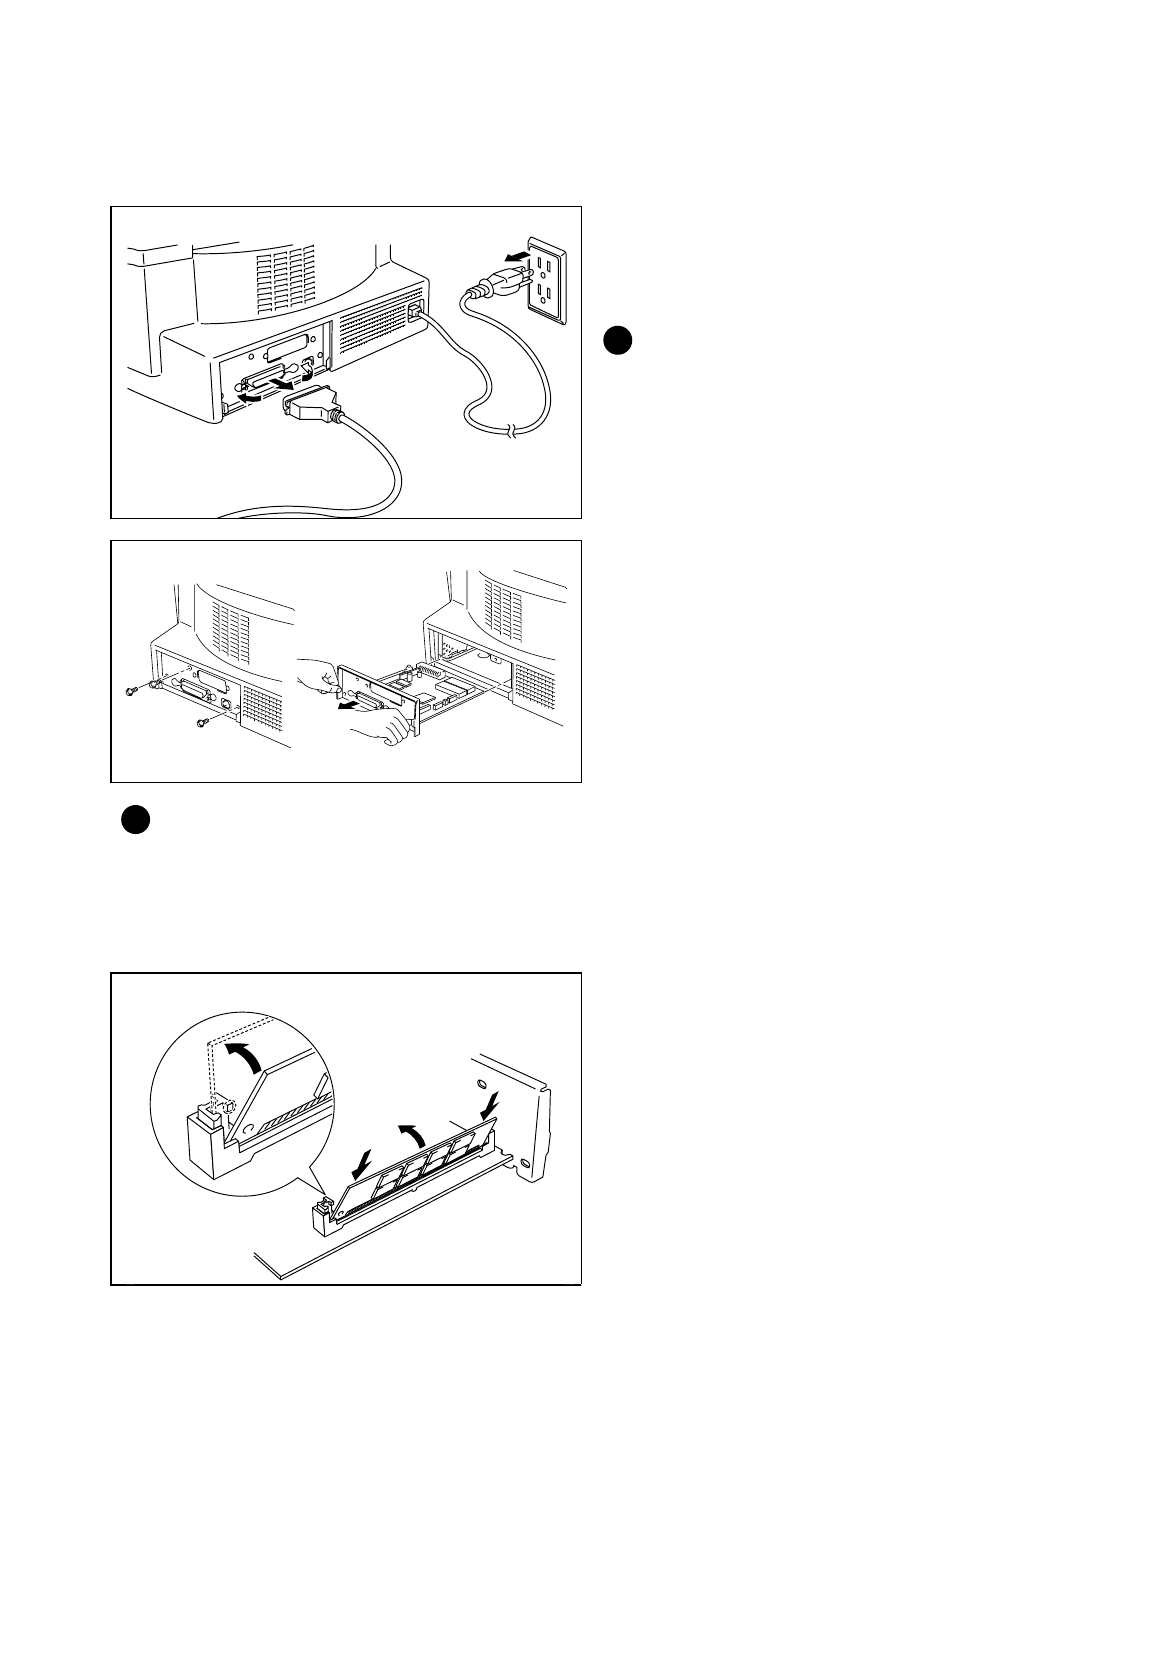
3
Install the SIMM into the slot and push it
gently towards the vertical until it clicks
into place.
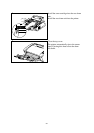
4.Install the main controller board into the printer by sliding it into the guide rails.
5.Secure the main controller board with the four screws.
6.Reconnect the interface cable (printer cable) from your computer. Plug the power cord into
the AC outlet and turn on the power switch.
7.To check that the SIMM is installed correctly, you may perform a Test Print “Print
Configuration” which will print the current total memory size.