


19
Introduction
Maintenance and
Troubleshooting
STEP
1
Introduction
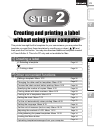
STEP
2
STEP
3
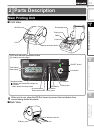
Before using the printer
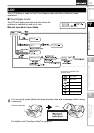
Using only this printer (No PC)
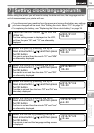
Before using the printer you will need to setup the date and time, the language and the
unit of measurement your printer will use.
• If you disconnect your machine from the power and remove the battery any settings
you have changed will be reset. See "Setting the clock: Menu 7/12" on page 31.
• For replacing the battery, see "Replacing the lithium clock battery" on page 39.
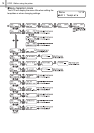
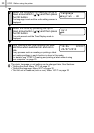
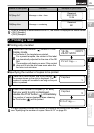
1
Press the ON/OFF button ( ) to turn the
printer on.
The time setting screen is displayed on the LCD,
and then the year "05" and "YY" are alternately
displayed.
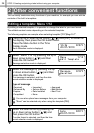
2
Select the year by pressing the up or
down arrow button ( / ) and then press
the OK button.
The year is set and then the month "01" and "MM"
are alternately displayed.
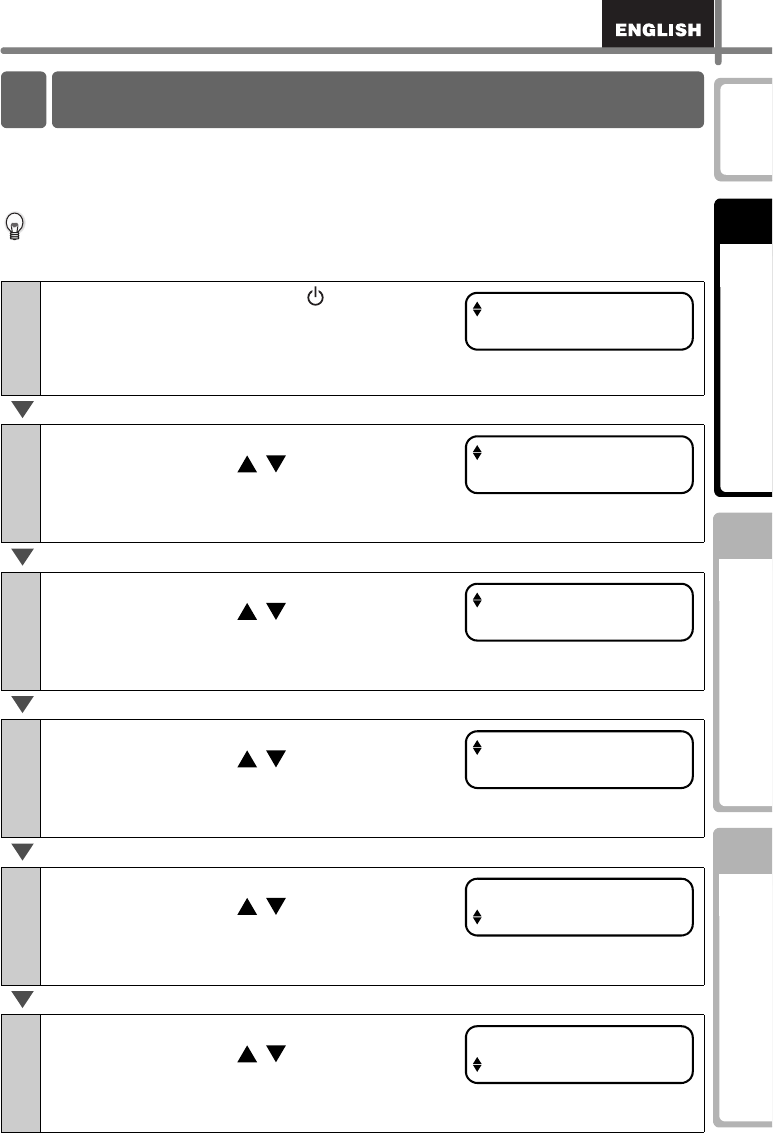
3
Select the month by pressing the up or
down arrow button ( / ) and then press
the OK button.
The month is set and then the date "01" and "DD"
are alternately displayed.
4
Select the date by pressing the up or
down arrow button ( / ) and then press
the OK button.
The date is set and then the hour "00" and "hh" are
alternately displayed.
5
Select the hour by pressing the up or
down arrow button ( / ) and then press
the OK button.
The hour is set and then the minute "00" and "mm"
are alternately displayed.
6
Select the minute by pressing the up or
down arrow button ( / ) and then press
the OK button.
The minute is set and the language setting screen
is displayed.
Setting clock/language/units
7
2005/01/01
00:00
20YY/01/01
00:00
2010/MM/01
00:00
2010/07/DD
00:00
2010/07/20
hh:00
2010/07/20
12:mm