


37
Maintenance and
Troubleshooting
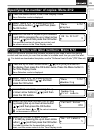
STEP
1
Introduction
STEP
2
STEP
3
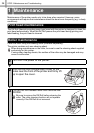
Before using the printer
Using only this printer (No PC)
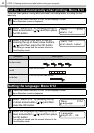
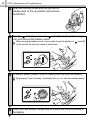
When glue is attached to the label
outlet (metallic plate part and resin
guide part) and the printer damages
the label, pull out the power plug from
the outlet and clean the label outlet
with a cloth dipped into ethanol or
isopropyl alcohol.
It is recommended to clean the label
outlet when replacing the cutter unit.
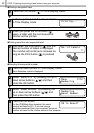
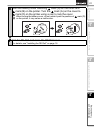
4
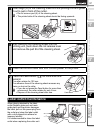
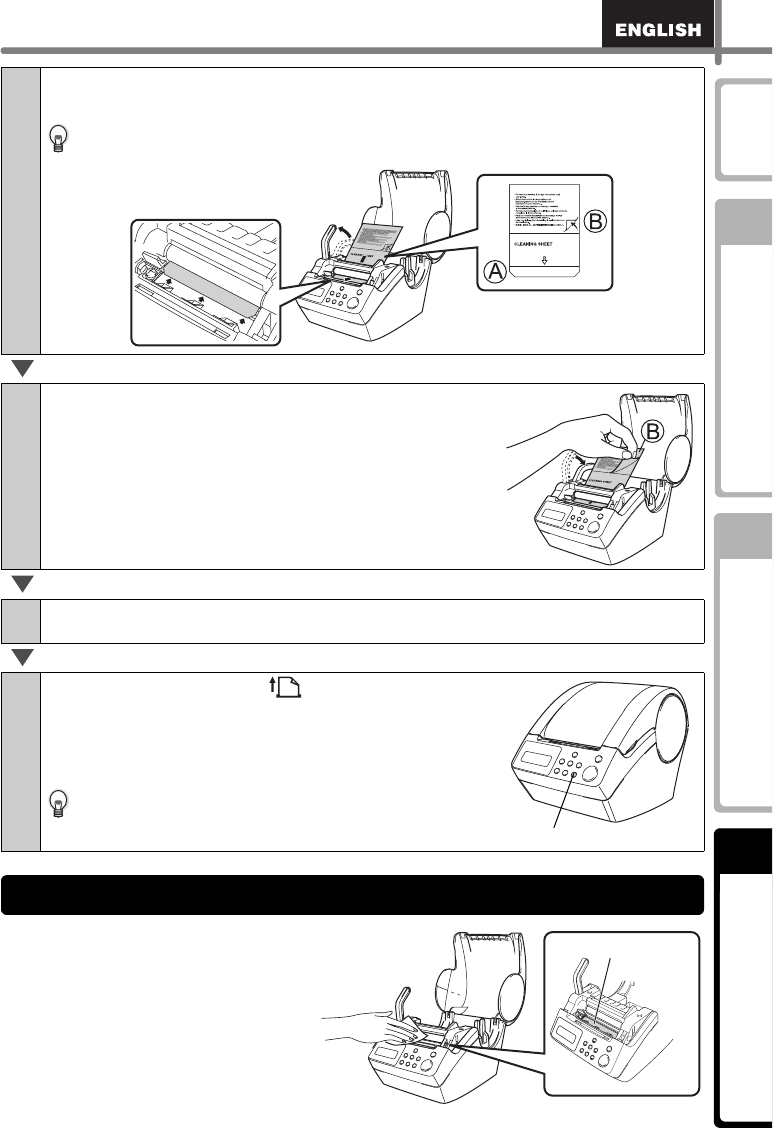
Insert edge (A) of the cleaning sheet into the printing unit and guide
it out to just in front of the cutter.
• Do not remove part (A) of the cleaning sheet.
• The printed side of the cleaning sheet should be facing upwards.
5
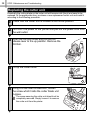
After inserting the cleaning sheet into the
printing unit, push down the roll release lever
and remove the part B of the cleaning sheet.
6
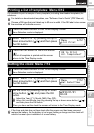
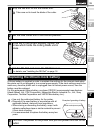
Close the DK Roll cover and turn ON the power to the printer.
7
Press the Feed button () for more than one
second.
The roller rotates for 100 mm.
The adhesive face of the cleaning sheet removes any
stains or dust on the roller.
• If you do not press the Feed button for more than
one second, the roller rotates for only 8 mm.
• Dispose of the cleaning sheet after use.
Feed button
Label outlet maintenance
Label outlet