


27
Maintenance and
Troubleshooting
STEP
1
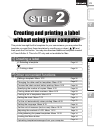
STEP
2
STEP
3
Before using the printer
Using only this printer (No PC)
Introduction
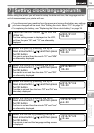
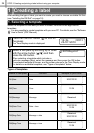
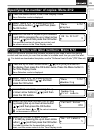
For the date printed on your template you can add or subtract from the current date, or
you can fix it to a specific date. This can be useful if you need to print best before labels
for food, for example.
• Your machine will still display the current date when in Time Display mode.
• The values you can change may vary depending on the template content.
The following explains an example when selecting the template "[P01]Date".
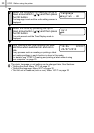
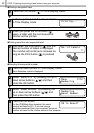
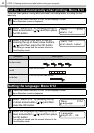
5
Select the time format by pressing the up
or down arrow button ( / ) and then
press the OK button.
The time format is selected, and then the font
selection mode is displayed.
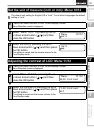
6
Select the font by pressing the up or
down arrow button ( / ) and then press
the OK button.
The setting is saved and the screen returns to the
Time Display mode.
Type of font
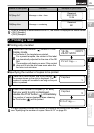
1
Press the up or down arrow button ( / ) until [P01] is shown on
the display, then press the OK button.
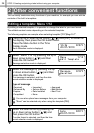
Press the Menu button in the Time Display mode.
Menu Selection mode is displayed.
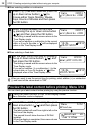
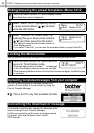
2
Select "Menu 2/12" by pressing the up or
down arrow button ( / ) and then
press the OK button.
The Date addition selection mode is displayed.
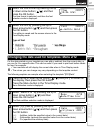
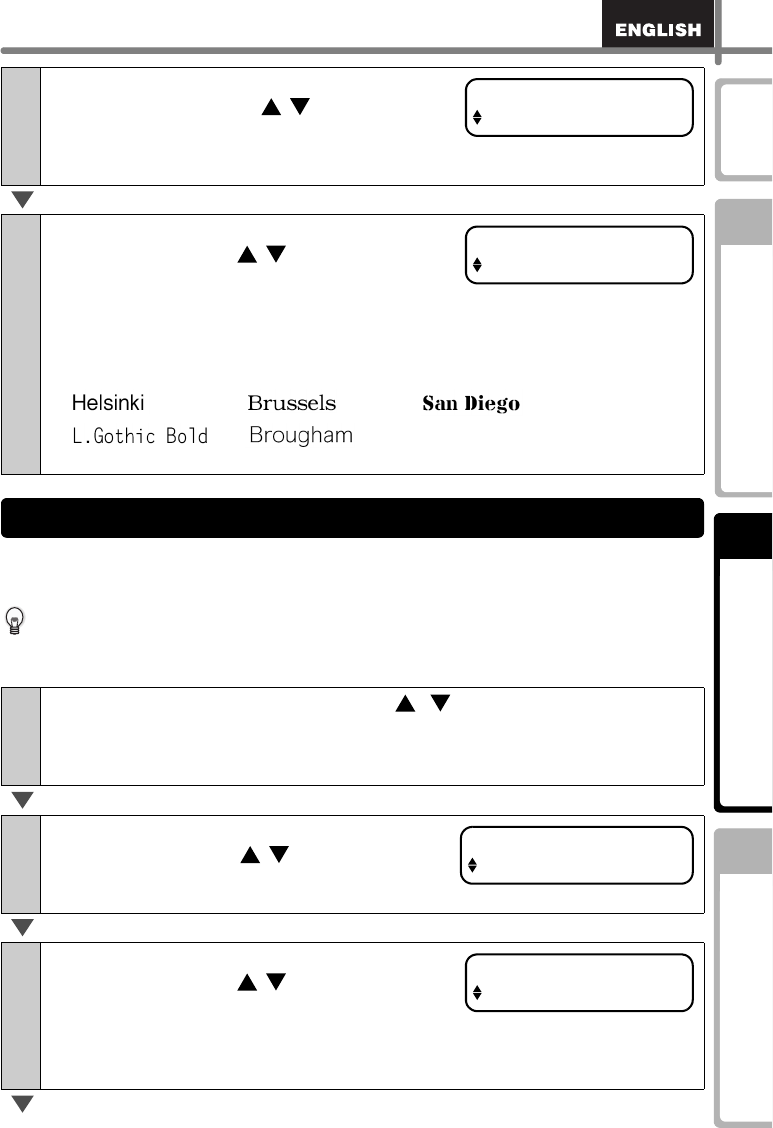
3
Select (+)/(-)/set by pressing the up or
down arrow button ( / ) and then press
the OK button.
• (+) : Addition (adds the specified value to the current date).
• (-) : Subtraction (reduces the specified value from the current date).
• Set : Fix (specifies the arbitrary date).
Time [P07]
12:34 (24)
Font [P07]
L.Gothic Bold
•••
••
Changing the date used for templates: Menu 2/12
Menu 2/12
Date/Time Incr
Date [P01]
(+);Years :000