


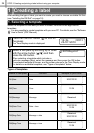
STEP 2 Creating and printing a label without using your computer
32
There are three options, cutting after each label, not cutting labels, or cutting the last
label only.
1
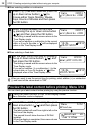
Press the Menu button in the Time Display mode.
Menu Selection mode is displayed.
2
Select "Menu 8/12" by pressing the up or
down arrow button ( / ) and then press
the OK button.
3
Select a function you want to use by
pressing the up or down arrow buttons
( / ) and then press the OK button.
The setting is saved and the screen returns to
Time Display mode.
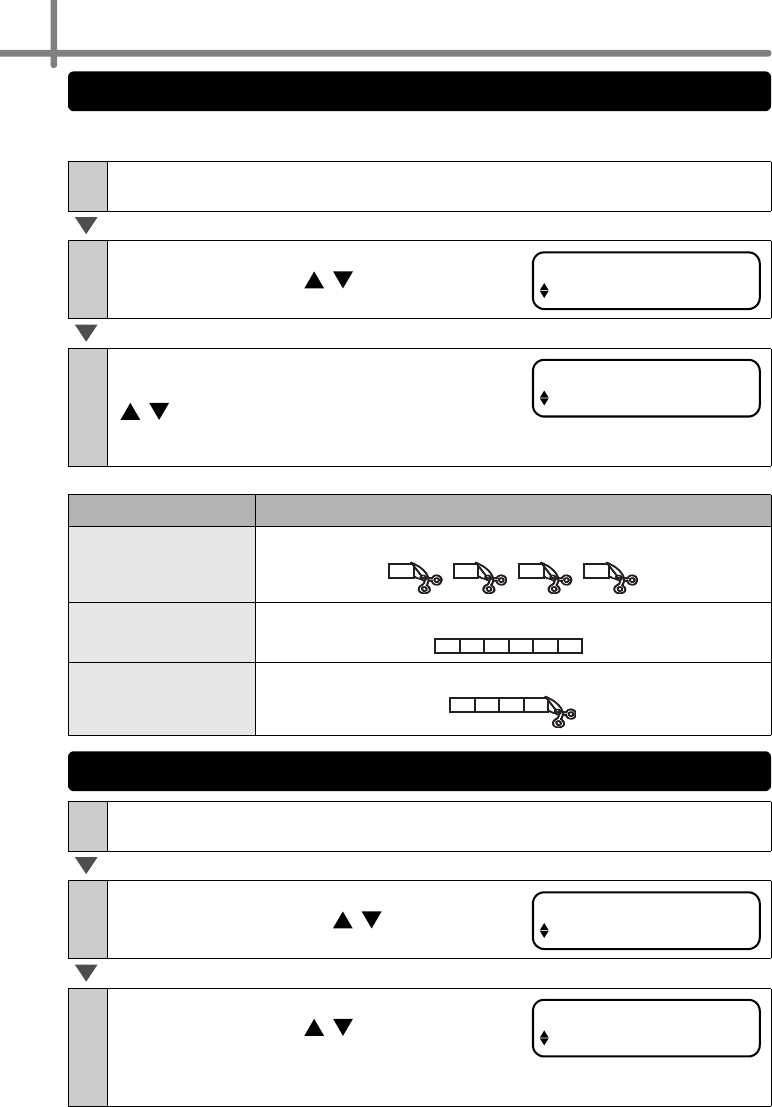
Function Description
Cut:Each Label
Cuts each label after printing.
Cut:Off
Does not cut labels.
Cut:At End
Cuts only the last label printed.
1
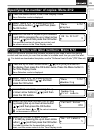
Press the Menu button in the Time Display mode.
Menu Selection mode is displayed.
2
Select "Menu 9/12" by pressing the up
or down arrow button ( / ) and then
press the OK button.
3
Select the language by pressing the up or
down arrow button ( / ) and then press
the OK button.
The setting is saved and the screen returns to the
Time Display mode.
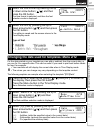
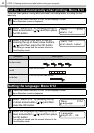
Cut the roll automatically when printing: Menu 8/12
Menu 8/12
Auto Cut
Auto Cut
Cut:Each Label
001 002 003 004
001 002 003 004 005 006
...
001 002 003 004
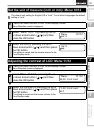
Setting the language: Menu 9/12
Menu 9/12
Language
Language
English - UK