Printing
23
2
Printing 2
There are various methods for printing with
this printer. The following describes the
procedure for printing from a computer.
a Start P-touch Editor 5.0, and then open
the document to be printed.
For P-touch Editor 5.0 users: Refer to
the Software User’s Guide included on
the CD-ROM.
b Check that the printer has the correct
power source. (Make sure that the AC
adapter is connected to an AC power
outlet or that a fully charged
rechargeable Li-ion battery is installed.)
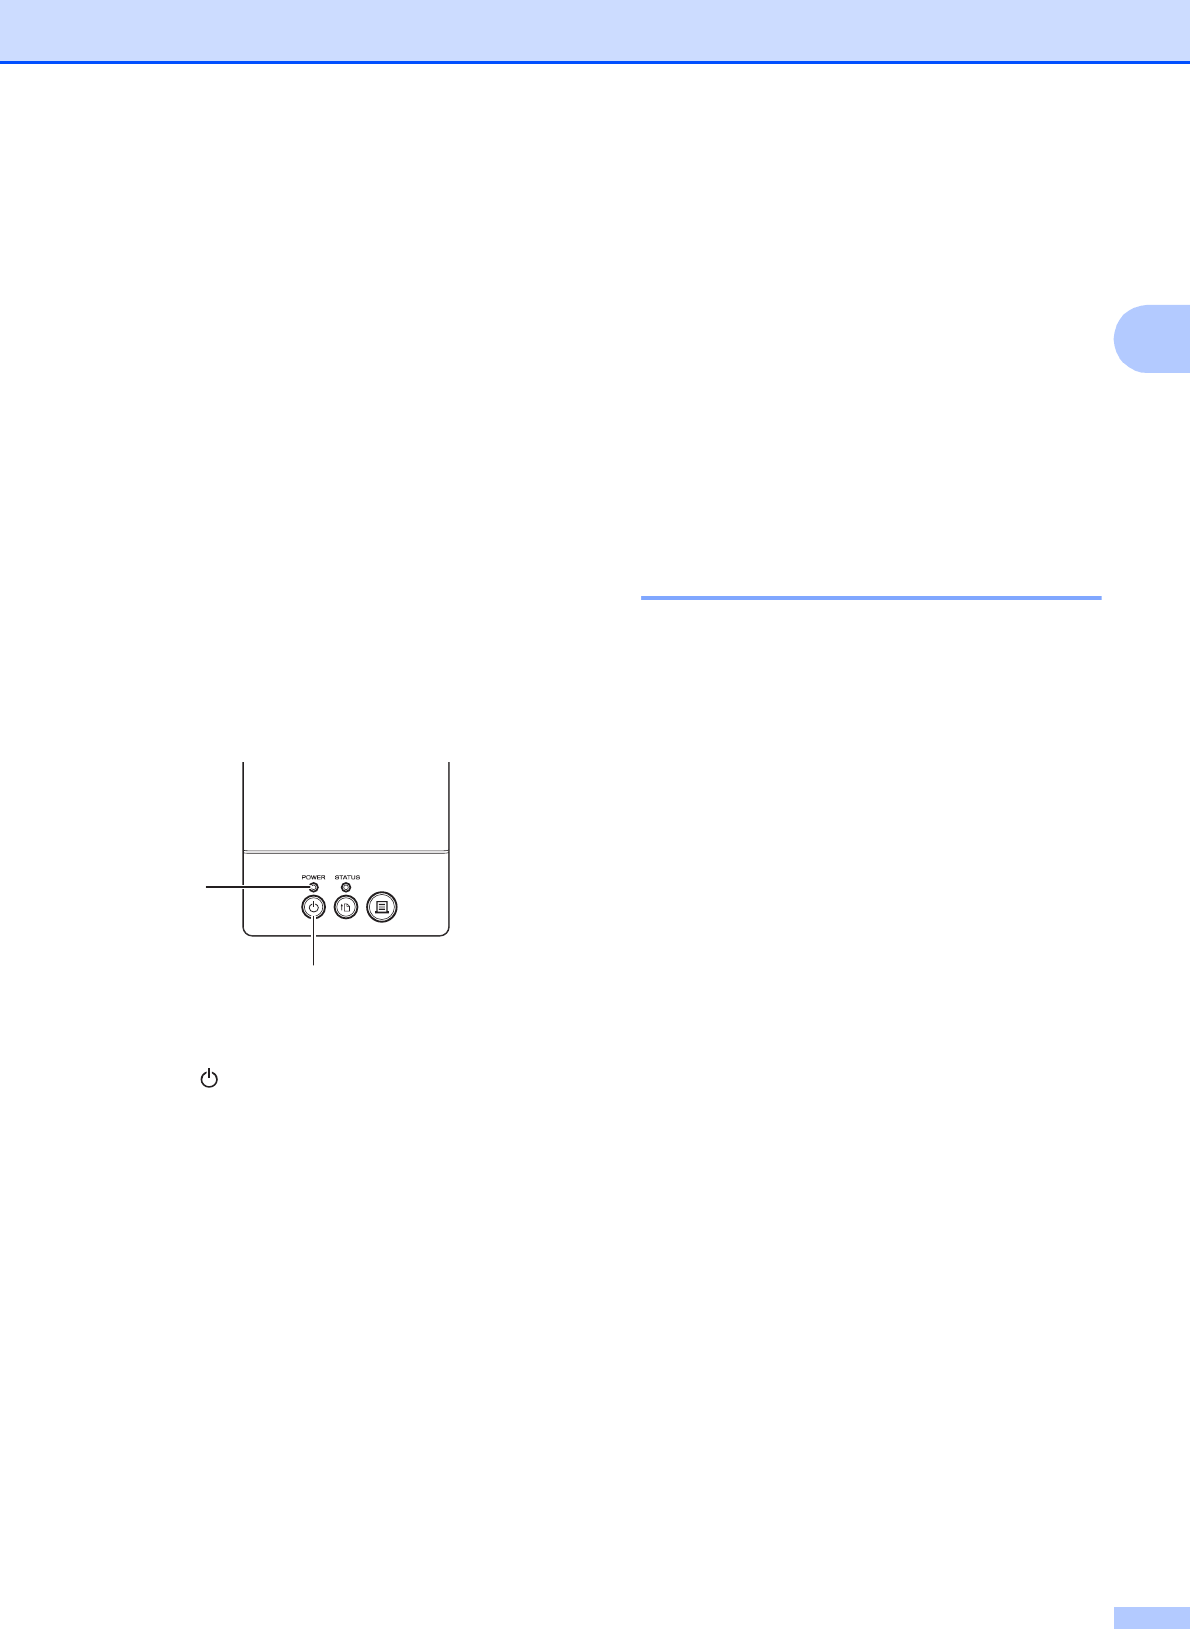
c Turn on the printer. The POWER
indicator lights in green.
1 POWER indicator
2 (Power) button
d Connect the printer to a computer.
For details on the connection methods
and procedures, see Connecting the
Computer and Printer on page 21.
e Insert the RD Roll.
For details, see Inserting the RD Roll
on page 15.
Be sure to use genuine Brother roll
media.
f If necessary, change the print settings
using either the printer driver or the
Printer Setting Tool on page 25.
g Click [Print] in the computer program’s
menu.
The POWER indicator blinks in green to
indicate that the printer is receiving data,
and the document is printed.
h Turn the printer off. The POWER
indicator turns off.
If you will continue using the printer, it is
unnecessary to turn it off each time.
Making Prints Lighter or
Darker 2
You can make prints lighter or darker by
adjusting the print density setting in the
printer driver’s dialog box or the “Printer
Setting Tool”. (See Print Density
on page 36)
When using the rechargeable battery,
changing the print density setting may result
in slight changes in printing speed and the
number of pages that can be printed on a
single charge.
1
2


