TeraStation User Manual 34
Conguring a backup job
To create a backup job, navigate to [System] - [Backup] - [Back Jobs Setup] - [Create New Job] in the source 1
TeraStation's Web Admin interface.
Note: Up to 8 backup jobs can be congured.
2
The following types of backup job may be selected:
[Normal Backup]
All les in the source will be backed up to the destination.
[Overwrite Backup (Append Backup)]
The rst time the backup job runs is just like a normal backup. Each addditional time the backup job runs, if le
A was added to and le B removed from the backup source, then le A is added to but le B is not removed from
the backup destination. Over time, the backup destination folder will become larger than the backup source
folder.
[Overwrite Backup (Dierential Backup)]
The rst time the backup job runs is just like a normal backup. Each addditional time the backup job runs, if le
A was added to and le B removed from the backup source, then le A is added to and le B is removed from the
backup destination. The backup destination folder is always the same as the backup source folder.
The following types of folders may be used as either backup sources or backup destinations:
• Shared folders on your TeraStation, including attached USB drives, but not including the info folder
• Shared folders on a dierent TeraStation or LinkStation on the local network, but not USB drives attached to it
• Shared folders of a TeraStation or LinkStation on a dierent network that has been selected manually by IP address,
but not USB drives attached to it
Notes:
• Before using a folder for backup, navigate to [Shared Folders] in the Web Admin interface and check [Disk Backup]
for [Shared Folder Support].
• Subfolders of shared folders are not supported for backup.
• To make a TeraStation or LinkStation that is on a dierent network available for use as a backup target, navigate to
[System] - [Backup] - [View NAS Devices] in the source TeraStation’s Web Admin interface and add it by IP address.
3
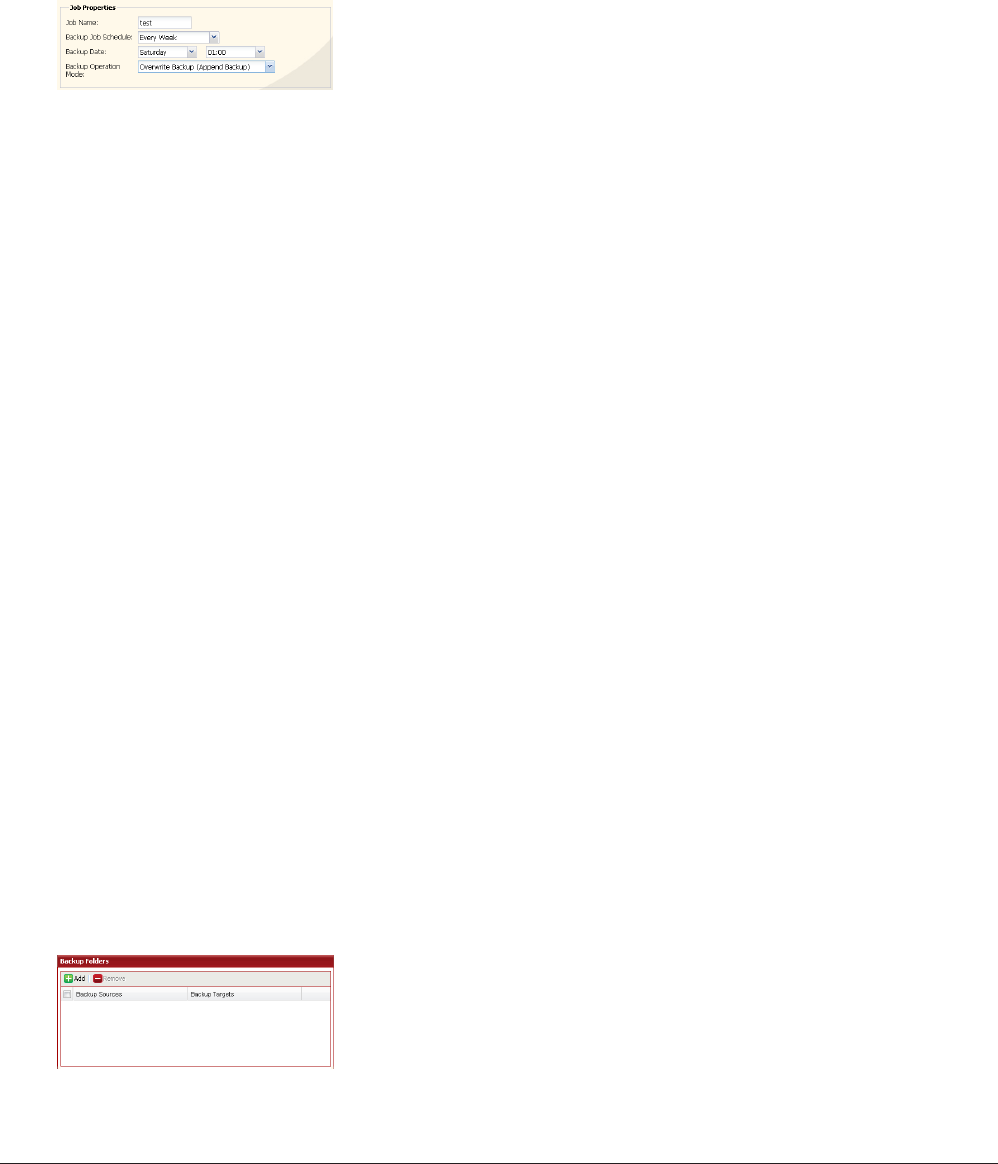
Select backup settings such as date and time to run.
Note:
Refer to page 131 for more on backup options.
Click [Backup Folders] - [Add].
