


Fax
5-18
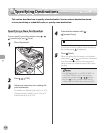
Specifying Destinations
Specifying Destinations
This section describes how to specify a fax destination. You can select a destination stored
in a one-touch key or coded dial codes, or specify a new destination.
Specifying a New Fax Number
You can specify a new fax number using – ,
[numeric keys] and [Tone].
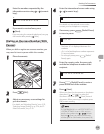
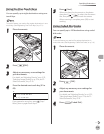
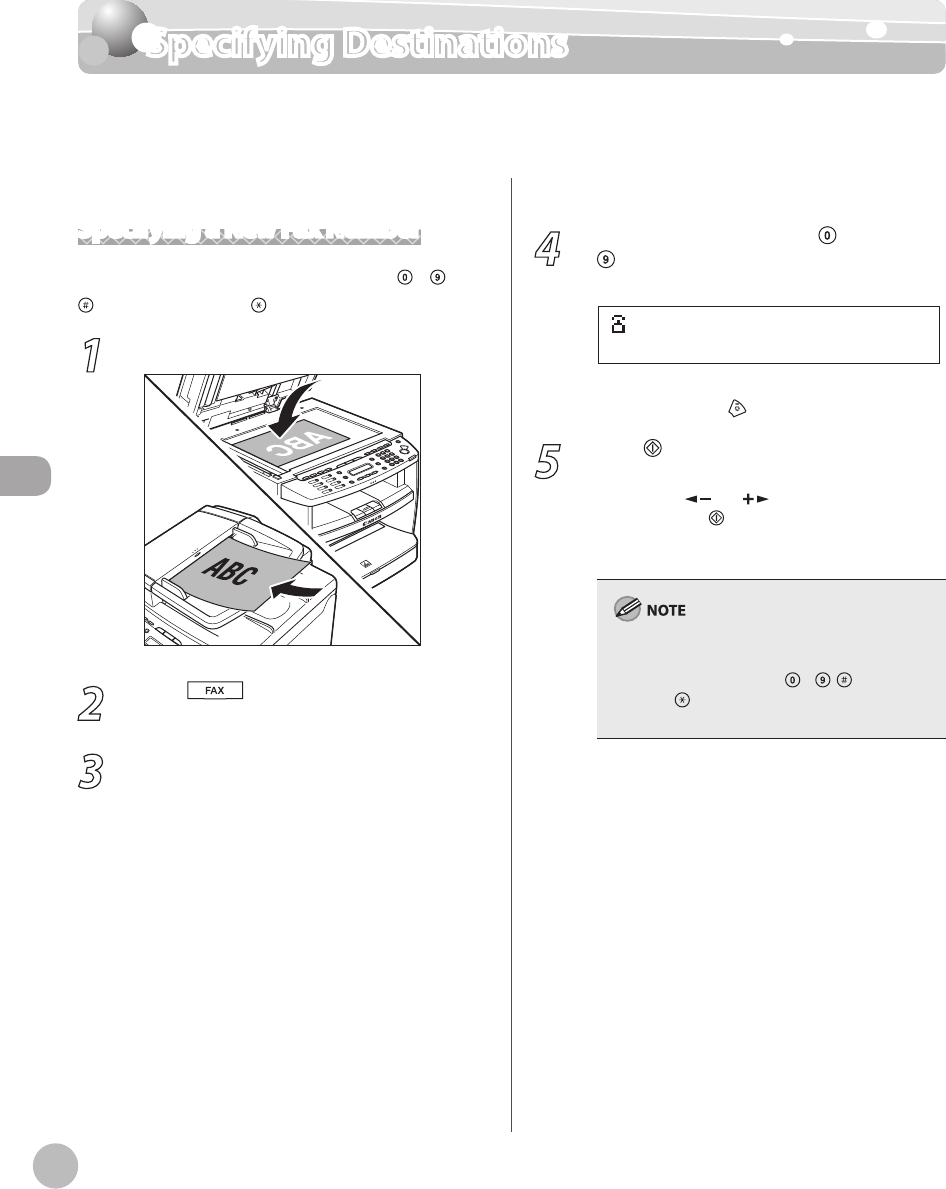
1
Place documents.
2
Press [FAX].
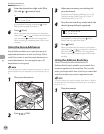
3
Adjust any necessary scan settings for
your documents.
For details, see “Adjusting Density,” on p. 5-23,
“Selecting Image Quality,
” on p. 5-24, and “2-
Sided Document,
” on p. 5-25.
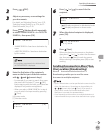
4
Enter the fax number with
–
[numeric keys].
= 0 3 1 X X X X X X
Ex.
If you enter a wrong number when specifying a
fax number, press
[Stop/Reset].
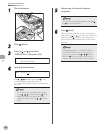
5
Press [Start].
When you place the documents on the platen
glass, press [
] or [ ] to select the document
size, then press
[Start] for each document.
When scanning is complete, press [OK] to start
sending.
If <CONFIRM FAX NO.> in <ACCESS TO DEST.> in
<SYSTEM SETTINGS> is set to <ON> and you
specify a fax number using – , [numeric
keys] and [Tone], you need to enter the fax
number again for comfirmation, then press [OK].