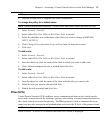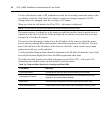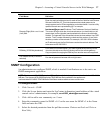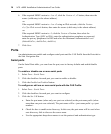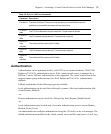
6. If the required SNMP version is v1 or v2, click the Version v1, v2 button, then enter the
source (valid entry is the subnet address).
-or-
If the required SNMP version is v1 or v2 using an IPv6 network, click the Version
v1,v2 for IPv6 network button, then enter the source (valid entry is the subnet address).
-or-
If the required SNMP version is v3, click the Version v3 button, then select the
Authentication Type (MD5 or SHA), enter the authentication passphrase or password,
enter the privacy passphrase for DES and select the Minimum Authentication Level
(NoAuthNoPriv, AuthNoPriv, AuthPriv).
7. Click Save.
Ports
An administrator can enable and configure serial ports and the CAS Profile from the Ports tab in
the Side Navigation Bar.
Serial ports
On the Serial Ports table, you can clone the port, reset to factory defaults and enable/disable
ports.
To enable or disable one or more serial ports:
1. Select Ports - Serial Ports.
2. Click the checkbox for each port you want to enable or disable.
3. Click the Enabled or Disabled button.
To configure or edit one or more serial ports with the CAS Profile:
1. Select Ports - Serial Ports.
2. Click the checkbox for each port you want to configure.
3. Click the Set CAS button.
a. Enter the port name (when only one port was selected) or the port name prefix (when
more than one port were selected). The port name will be <port name prefix>-p-<port
number>.
b. Check the box to enable auto discovery. In this case, the port name will be used when
auto discovery fails to discover the server name.
c. Use the appropriate drop-down menus to set the protocol and authentication type.
28 ACS v6000 Installation/Administration/User Guide


