


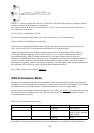
Figure 2.6: The menu−driven VLAN IP configuration screen.
Related solutions: Found on page:
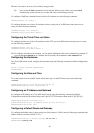
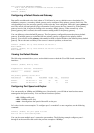
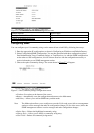
Creating a Standard Access List 402
Creating an Extended Access List 403
Enabling Port Security 411
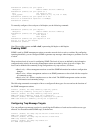
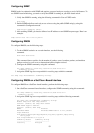
Configuring SNMP
You can configure up to 10 community strings on the menu−driven switch IOS by following these steps:
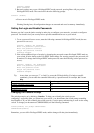
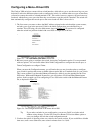
Enter the appropriate IP configurations as shown in Configuring an IP Address and Default Gateway.1.
Select Configuration|SNMP Configuration. You are then presented with three configuration options:
Send Authentication Traps, Community Strings, or Trap Receivers. As with the SNMP configurations
on the other two IOS configurations, we will concern ourselves with the configuration necessary to
receive information to our SNMP management station.
2.
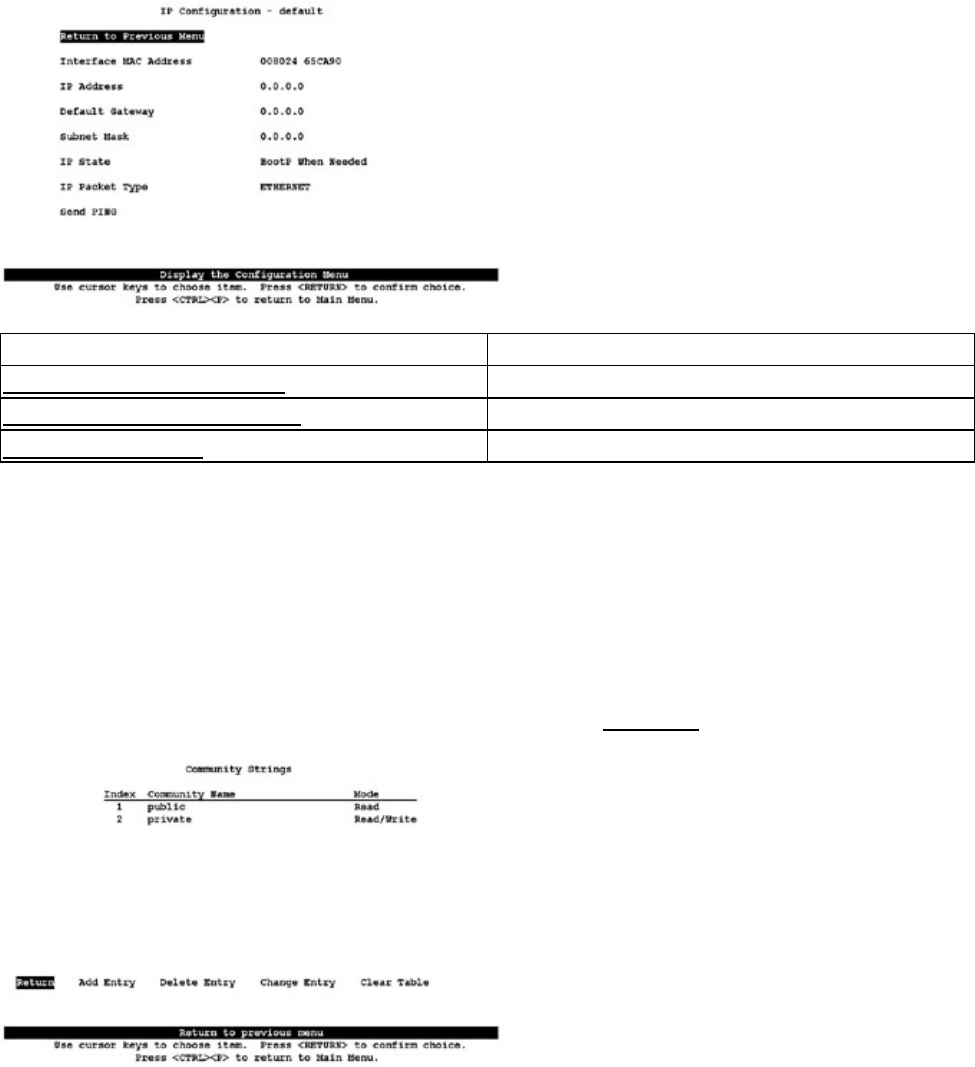
Choose the option Community Strings. The screen shown in Figure 2.7 will appear.3.
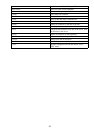
Figure 2.7: The Community Strings configuration screen.
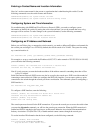
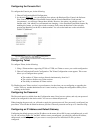
You have five options at the bottom of the screen:•
Return—Automatically saves the configuration and returns to the Main menu.•
Add Entry—Allows you to add an SNMP entry and the mode.•
Note The Mode option allows you to configure two modes. R (for read access) allows a management
station to receive messages but make no configuration changes. W (for write access) allows the
SNMP management station to receive messages and make configuration changes.
Delete Entry—Deletes the highlighted community string.•
Change Entry—Allows you to modify a community string entry.•
Clear Table—Deletes all community string entries.•
49