5-20 Removal and Replacement Procedures
5.15 LED Cables
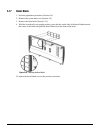
1. Perform preparation procedures (Section 5.4).
2. Remove the system unit cover (Section 5.5).
3. Remove the front bezel assembly (Section 5.13).
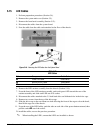
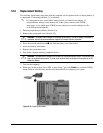
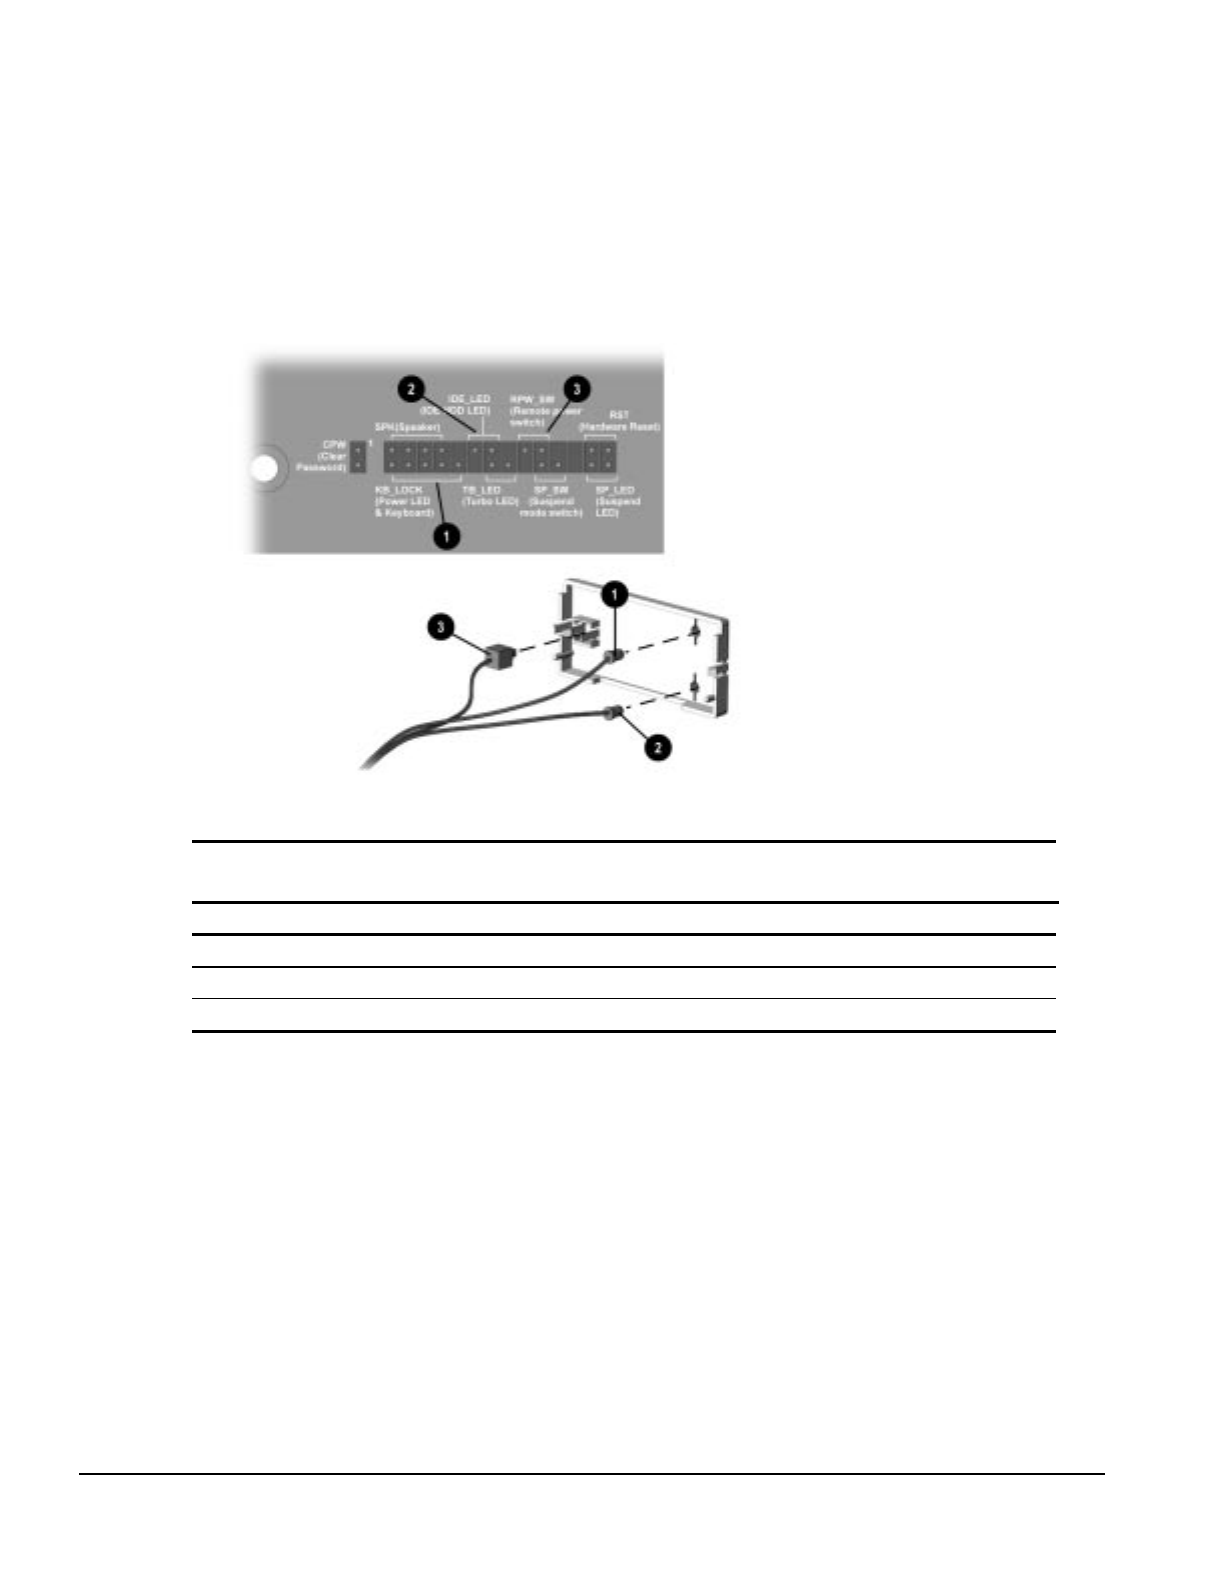
4. Disconnect the cables from the system board.
5. Free the cable from the cable twist attached to the floor of the chassis.
Figure 5-16.
Removing the LED Cables from the System Board
Table 5-2
LED Cables
Ref. Component Cable Color
1
Power LED Cable Green/White
2
Hard Drive LED Cable Yellow/White
3
Power Switch Cable Blue/White
6. Remove the LED retainer assembly from the chassis (Section 5.14).
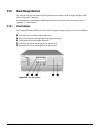
7. From the front of the LED retainer assembly, push each green LED toward the rear of the
retainer assembly and slide each LED out of its socket.
8. Disconnect the cables attached to the 3.5-inch hard drive and diskette drive in the drive cage.
9. Remove two screws from the top of the drive cage.
10. Slide the drive cage to the rear about one inch allowing the front of the cage to clear the bezel,
then lift the cage out of the chassis.
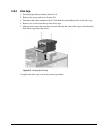
11. From the rear of the LED holder, push the tabs on each side of the power button outward, then
pull the switch 3 out of the socket.
To install the cables, reverse the previous procedure.
✎
When installing the LED's, ensure that LED's are installed as shown.


