


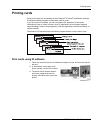
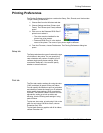
Printing Preferences
22 RP90 Plus E and RL90 User Guide
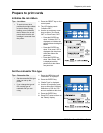
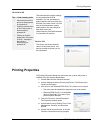
Printing Preferences
The Printing Preferences dialog box contains the Setup, Print, Encode, and Version tabs.
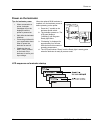
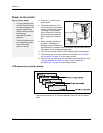
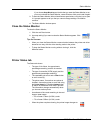
To open Printing Preferences:
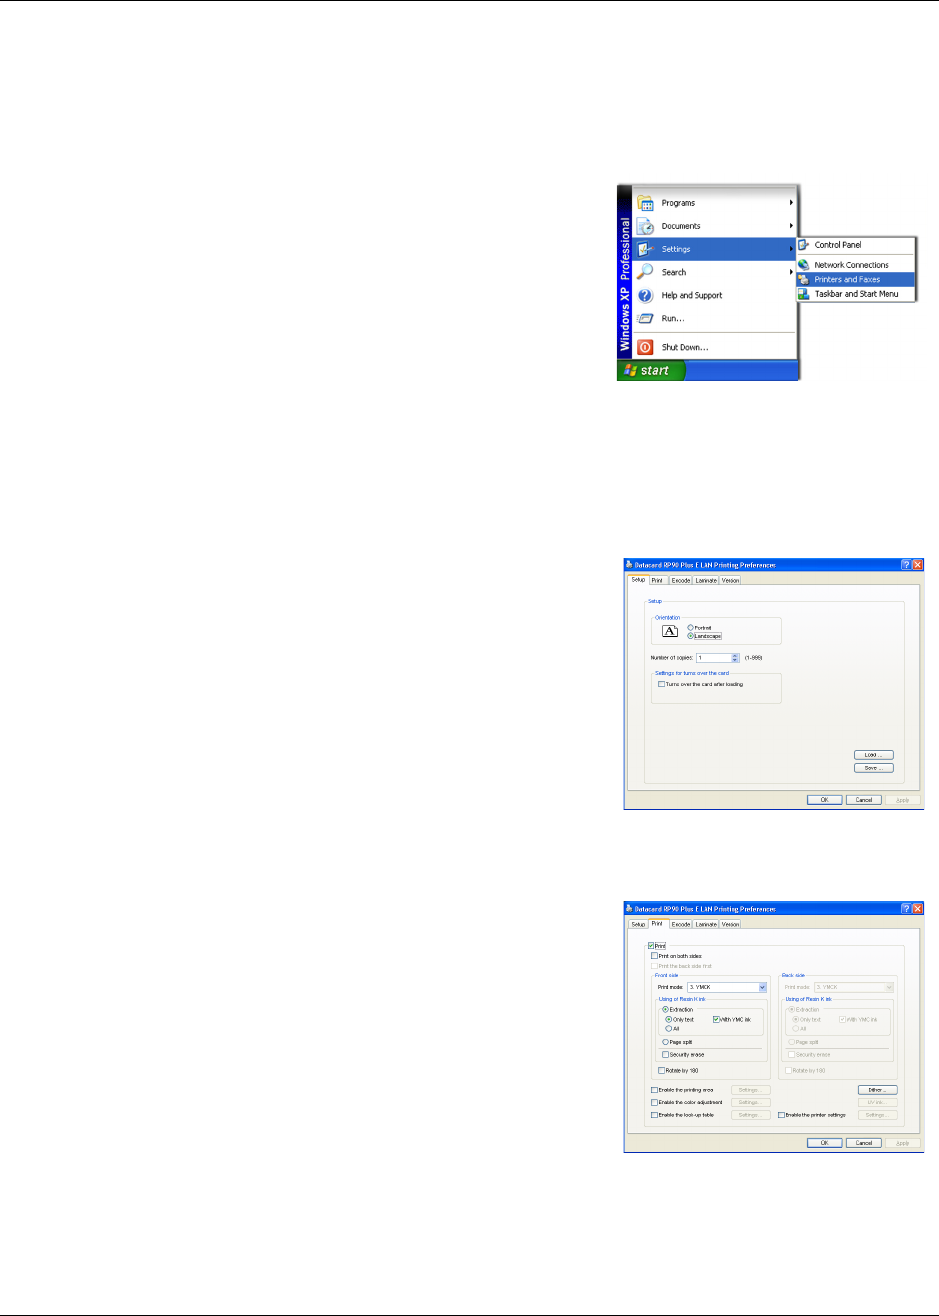
1 Choose Start from the Windows task bar.
2 Choose Settings and then Printers (and
Faxes). The Printers (and Faxes) window
opens.
3 Click once on the Datacard RP90 Plus E
printer icon to select it.
— The driver must be installed for the
printer icon to be present.
— Datacard RP90 Plus U1 is the default
name of the printer. The name of your printer might be different.
4 From the File menu, choose Preferences. The Printing Preferences dialog box
opens.
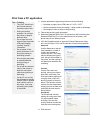
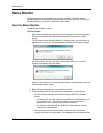
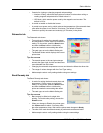
Setup tab
The Setup tab shows the type of card and the type
of ink ribbon in the printer. You can specify the
card orientation and number of copies (your ID
software might specify these settings, which
override the Setup tab). You can also specify
whether to reverse the card.
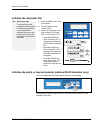
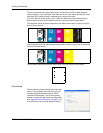
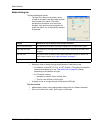
Print tab
The Print tab contains settings for using the color
(YMC) and black (K) panels of the print ribbon.
You can specify the whether to print on both sides
and whether to rotate the image (your ID software
might specify these settings, which override the
Print tab). The tab also contains controls for color
adjustment, setting up a look-up table, and
dithering. Use the Printing area settings if using
peel-off ribbon.
To print text, bar codes, or both using K ink on the
side of a card using YMCK ink ribbon, choose
Extraction>Only Text.
To print black areas on graphics with K ink ribbon,
choose Extraction>All.