


Laminator error recovery
64 RP90 Plus E and RL90 User Guide
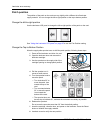
Patch position
The position of the patch on the card can very slightly with a different lot of laminator
supply material. You can change the left-to-right position or the top to bottom position.
Change the left-to-right position
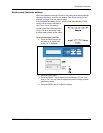
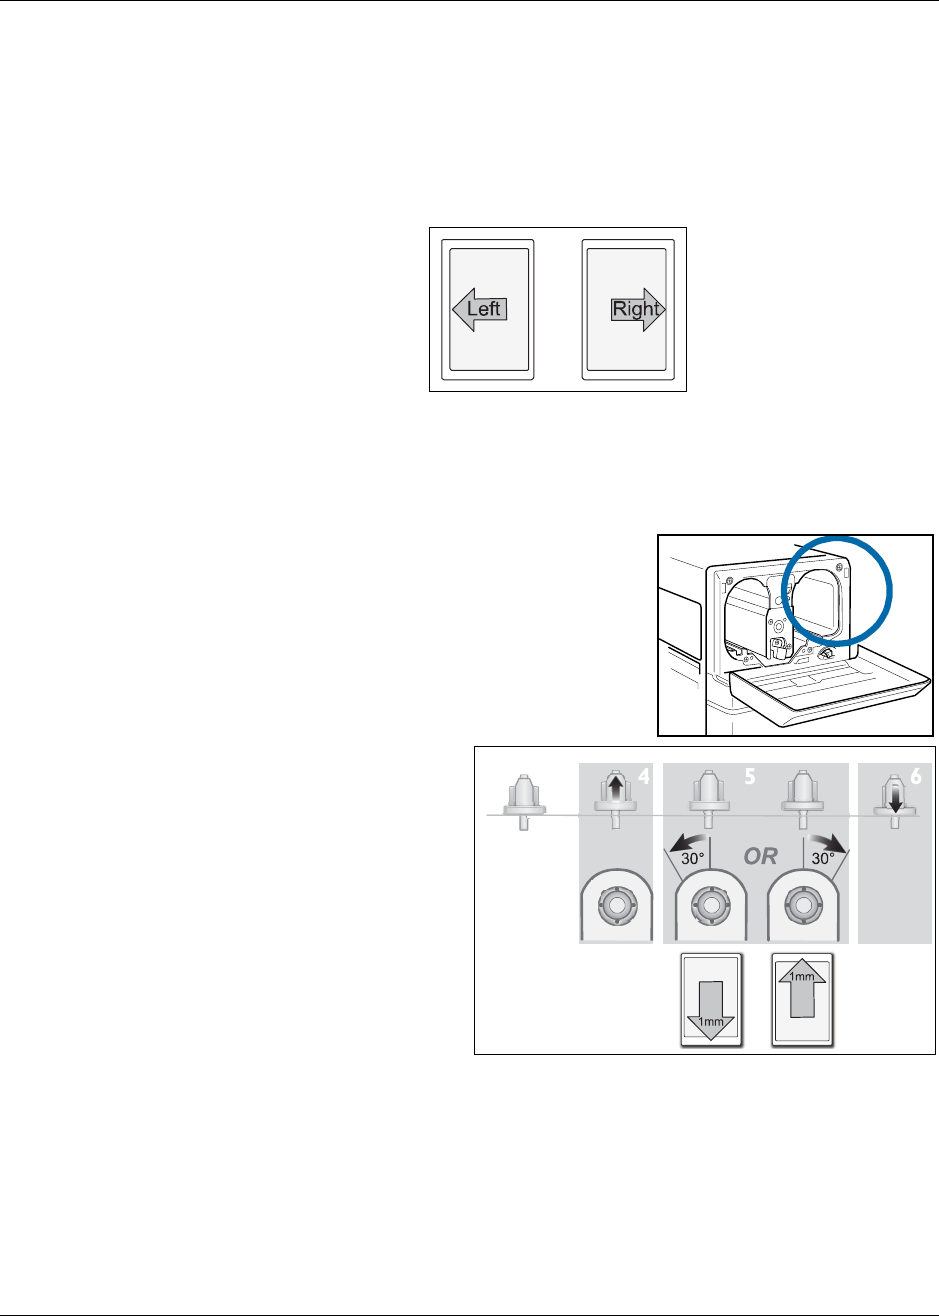
Use the laminator LCD panel to change the left-to-right position of the patch on the card.
See
“Using the Laminator LCD panel” on page 42 to use the Film Position setting.
Change the Top-to-Bottom Position
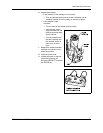
Move the supply-side sprocket once to shift the patch position, following these steps.
1 Power off the laminator and allow it to cool.
2 Open the laminator door and remove the
laminator cartridge.
3 Use the sprocket on the supply side of the
cartridge opening to change patch position.
4 Pull the sprocket out. It
moves a small amount.
5 Turn the sprocket knob to
move the patch:
— Turn clockwise 30° to
move the patch 1mm
toward the top of the
card.
— Turn counterclockwise
30° to move the patch
1mm toward the
bottom of the card.
— The sprocket does not
have a stop to indicate 30°; estimate the movement as closely as possible.
6 Release the sprocket.
Do not move the sprocket more than 30° from the default position.
7 Insert the cartridge, close the door, and power on the laminator. Press the Reset
button to initialize the supply material.
8 Laminate a card to verify the new position.