62 Installing Optional Accessories
2
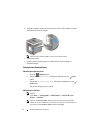
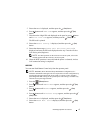
Select the printer, and then click the
Next
button.
Wireless Network Settings
screen appears.
NOTE: If the printer cannot detect your printer and your printer is not listed,
click Enter IP Address button and enter the IP address of your printer, and
then click the OK button.
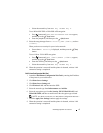
3
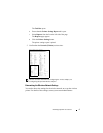
Set the wireless network settings, and then click the
Next
button.
IP Address Settings
screen appears.
NOTE: For details on each item, see "Assigning an IP Address."
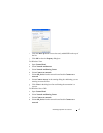
4
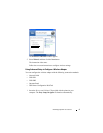
Set the IP address of the printer, and then click the
Next
button.
Confirm the settings
screen appears.
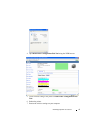
5
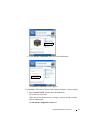
Confirm the settings, and then click the
Apply
button.
Complete configuration
screen appears.
6
Click the
Next
button.
For
WPS-PIN
,
WPS-PBC
,
Operator Panel
, and
Dell Printer Configuration
Web Tool
, follow the on-screen instructions to configure wireless settings.
To configure wireless settings without using the video instructions, follow the
following
instructions.
WPS-PIN
The PIN code of WPS-PIN can only be configured from the operator panel.
NOTE: WPS-PIN (Wi-Fi Protected setup-Personal Identification Number) is a
method to authenticate and register devices required for wireless configuration, by
entering PIN assignments to a printer and computer. This setting, performed
through access point, is available only when the access points of your wireless
router supports WPS.
1
Press the
(Menu)
button.
2
Press button until
Admin Menu
appears, and then press the (Set)
button.
3
Press button until
Network
appears, and then press the
(Set)
button.
4
Press button until
Wireless Setup
appears, and then press the
(Set)
button.


