


Desktop Computer 120
a
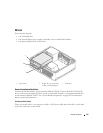
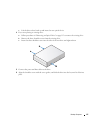
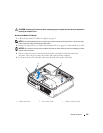
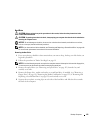
Use a small flat-edge screw driver on the back side of the drive-panel insert to gently pop off
the insert.
b
Remove the four shoulder screws from the drive-panel insert.
2
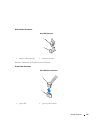
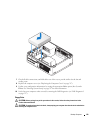
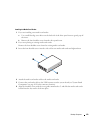
If you are replacing an existing drive:
Remove the four shoulder screws from the existing drive.
3
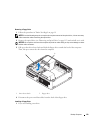
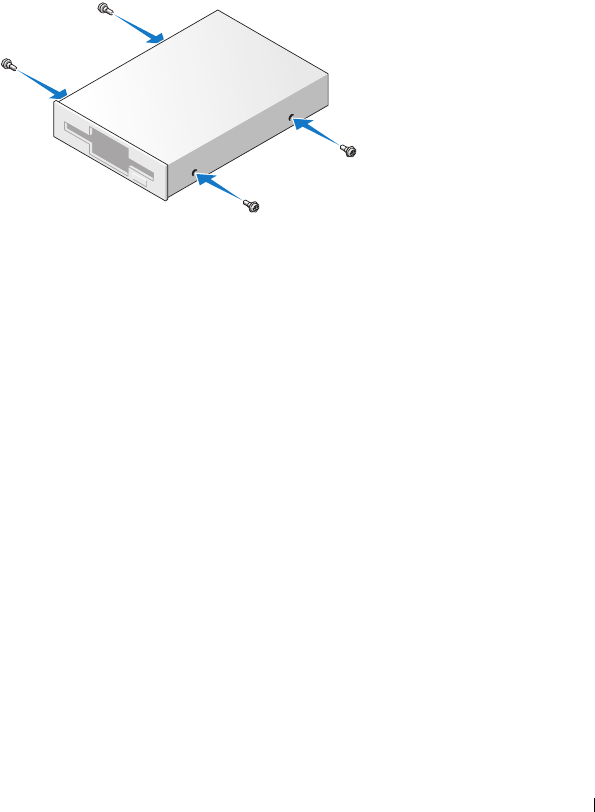
Insert the four shoulder screws into the sides of the new floppy drive and tighten them.
4
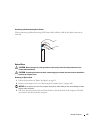
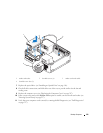
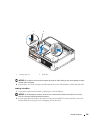
Attach the power and floppy-drive cables to the floppy drive.
5
Connect the floppy drive cable to the DSKT connector on the system board (see "System Board
Components" on page 28 for the connector locations).
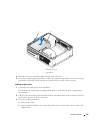
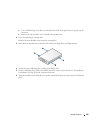
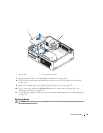
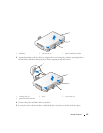
6
Align the shoulder screws with the screw guides, and slide the drive into the bay until it clicks into
place.