


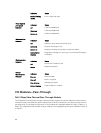
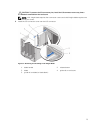
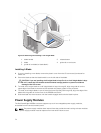
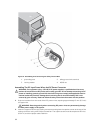

Figure 38. Removing and Installing a Full-Height Blade
1. blade handle 2. release button
3. blade 4. guide rail on enclosure
5. guide rail on blade (or blade blank)
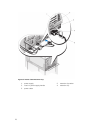
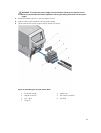
Installing A Blade
1. If you are installing a new blade, remove the plastic cover from the I/O connector(s) and save for
future use.
2. Orient the blade so that the blade handle is on the left side of the blade.
CAUTION: If you are installing a full-height blade in bays 3 or 4 or a half-height blade in bays
11 or 12, rotate the LCD module to the horizontal storage position to prevent accidental
damage to the LCD screen.
3. To install a full-height blade or a half-height blade in bays 1 through 8, align the guide rail on the
upper edge of the blade so that the rail fits between the plastic guides on the enclosure.
4. To install a half-height blade in one of the eight lower bays (bays 9 through 16), align the edge of the
blade with the guide rail on the floor of the M1000e enclosure.
5. Slide the blade into the enclosure until the handle engages and locks the blade in place.
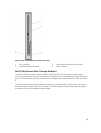
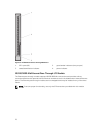
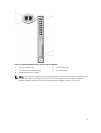
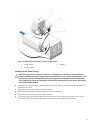
Power Supply Modules
The Dell PowerEdge M1000e enclosure supports up to six hot-swappable power supply modules,
accessible from the enclosure back panel.
NOTE: The power supply modules have internal fans that provide thermal cooling to these modules.
A power supply module must be replaced if an internal fan failure occurs.
74