


DSL-524T ADSL Router Manual
24
3.
If you have multiple TCP/IP listings, select the listing associated with your network card or
adapter.
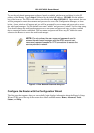
4. In the TCP/IP Properties dialog box, click the IP Address tab.
5. Click the Specify an IP address option.
6. Type in IP settings as follows, IP address: 192.168.1.2 and Subnet mask: 255.255.255.0.
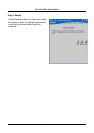
7. Click twice to confirm and save your changes.
8. You will be prompted to restart Windows.
9. Click .
Windows NT 4.0
1. First, check for the IP protocol and, if necessary, install it:
2. In the Windows NT task bar, click the Start button, point to Settings, and then click Control
Panel.
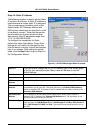
3. In the Control Panel window, double click the Network icon.
4. In the Network dialog box, click the Protocols tab.
5. The Protocols tab displays a list of currently installed network protocols. If the list includes
TCP/IP, then the protocol has already been enabled. Skip to step 3.
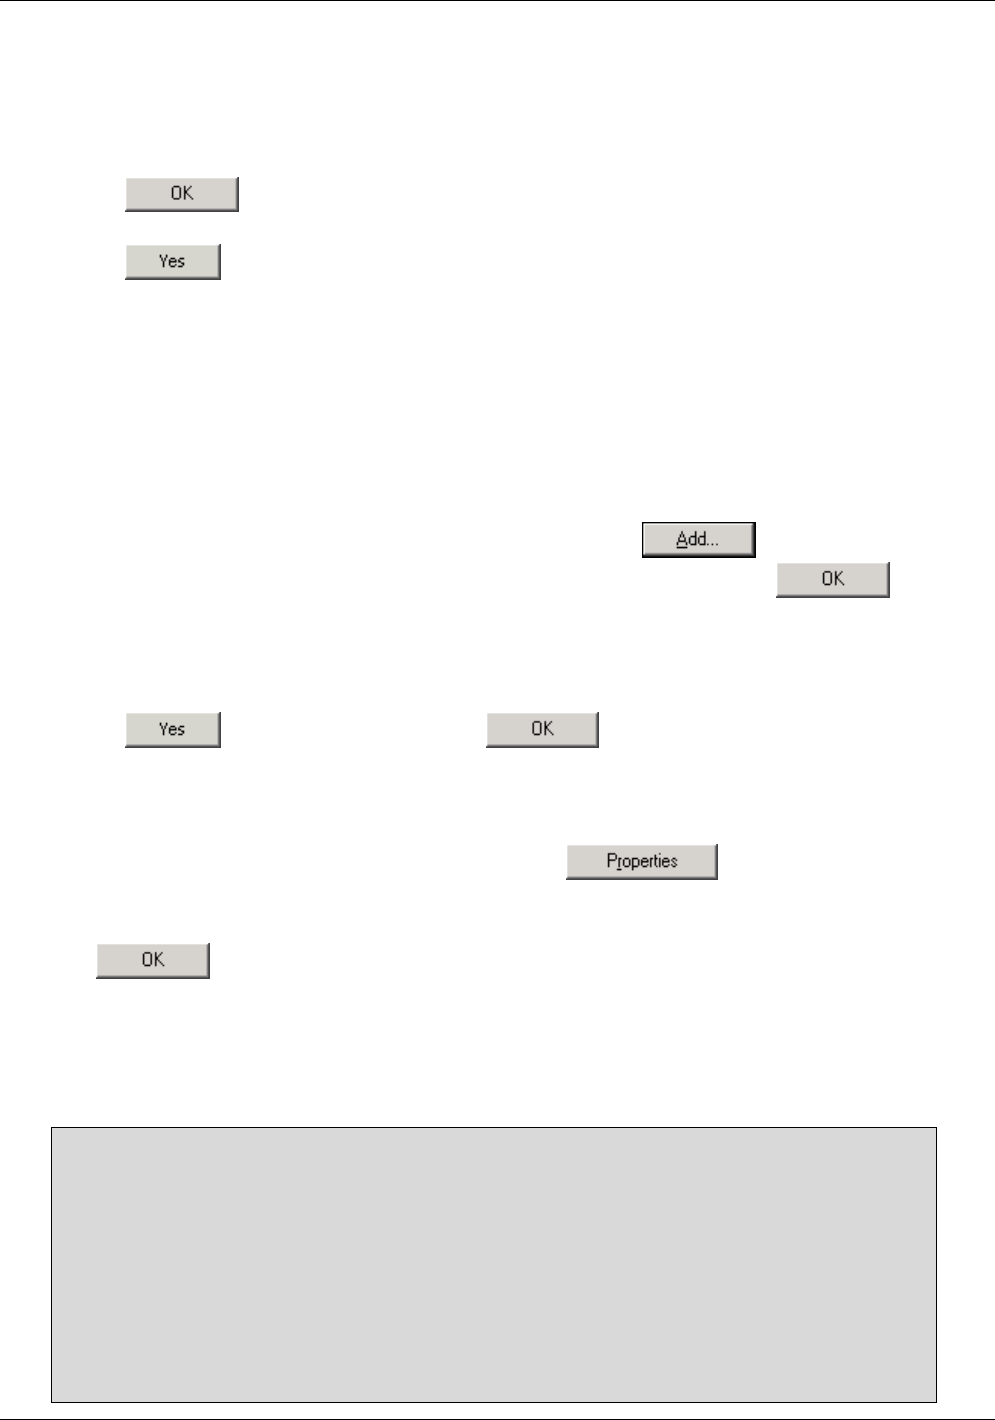
6. If TCP/IP does not display as an installed component, click .
7. In the Select Network Protocol dialog box, select TCP/IP, and then click .
8. You may be prompted to install files from your Windows NT installation CD or other media.
Follow the instructions to install the files.
9. After all files are installed, a window displays to inform you that a TCP/IP service called DHCP
can be set up to dynamically assign IP information.
10. Click to continue, and then click if prompted to restart your computer.
Next, configure the IP information:
1. Open the Control Panel window, and then double-click the Network icon.
2. In the Network dialog box, click the Protocols tab.
3. In the Protocols tab, select TCP/IP, and then click
.
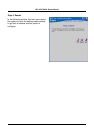
4. In the Microsoft TCP/IP Properties dialog box, click the Specify an IP address option.
5. Type in IP settings as follows, IP address: 192.168.1.2 and Subnet mask: 255.255.255.0.
Click
twice to confirm and save your changes, and then close the Control Panel.
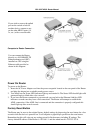
Accessing the Configuration Manager
Now that your computer’s IP settings allow it to communicate with the Router, you can access the
configuration software.
Note: Be sure that the web browser on your computer is not configured to use a proxy server in
the Internet settings. In Windows Internet Explorer, you can check if a proxy server is enabled
using the following procedure:
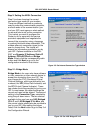
1. In Windows, click on the Start button, go to Settings and choose Control Panel.
2. In the Control Panel window, double-click on the Internet Options icon.
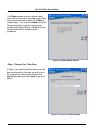
3. Click the Connections tab and click on the LAN Settings button.
4. Verify that the “Use proxy server” option is NOT checked. If it is checked, click in the checked
box to deselect the option and click OK.
Alternatively you can access this Internet Options menu using the Tools pull-down menu in
Internet Explorer.