


Sample Selectype Procedure
The following sample procedure will help you to become familiar with the purpose of
the various icons on the display. We shall practice with the INPUT feature in Level 1.
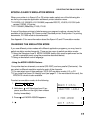
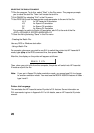
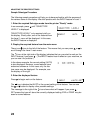
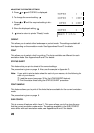
1. Enter the required Selectype mode from the printer "Ready" mode.
In our example, press until "SELECTYPE
LEVEL1" is displayed.
"SELECTYPE LEVEL1" only remains briefly on
the display. Shortly after, one of the features from
the Level 1 menu will be displayed. In this case,
the INPUT feature is displayed.
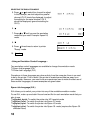
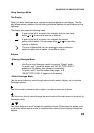
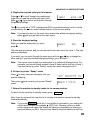
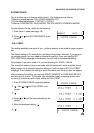
2. Display the required feature from the main menu.
There is an icon to the left of the feature. This means that you can press or to
scroll through the Level 1 main menu.
The icon at the right side of the display indicates that you can start to work on the
INPUT feature if you press . (The INPUT feature has no effect on your machine, so
you can use it for practice.)
In the above example, the current setting (AUTO)
is also displayed. However, some features have
extensive submenus. In this case, only the fea-
ture name may be displayed. For example, see
the display on the right.
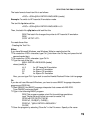
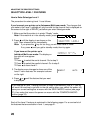
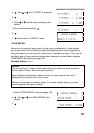
3. Enter the displayed feature.
Press to begin work on the feature.
The icon indicates that AUTO is the current setting of this feature. You can use
the or button to display other possible settings.
The message to the right of the icon shows what will happen if you press .
SET means that you will store the currently displayed setting. EXE or PRINT may be
seen for some features.
ADJUSTING THE PRINTER SETTINGS
24