


SELECTYPE LEVEL 1 FEATURES
How to Enter Selectype Level 1
The procedure for entering Level 1 is as follows.
If you have set your printer up in Autosense Multi-user mode: The changes that
you make to the Level 1 settings will only be valid for the channel that is displayed on
the screen to the right of READY just before you enter Selectype mode.
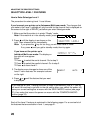
1. Make sure that the printer is in printer "Ready" mode.
Note: If the machine is in fax standby mode, press
Function 3 5 Yes .
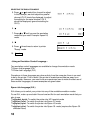
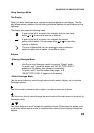
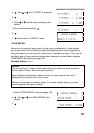
2. Press until the display is as shown on the
right. Then release the key immediately.
Note: If you press the key for too long, you will enter Level 2 mode.
If so, press until you get to standby mode, then try again.
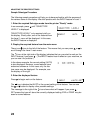
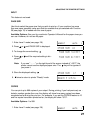
If you have set the printer up in
Individual Multi-user mode: The display on
the right will now appear.
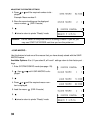
Either:
❐ Press to select the serial channel. Go to step 3.
❐ Press to select the parallel channel. Go to step 3.
❐ Press to leave Level 1.
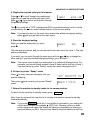
3. The display soon changes to show one of the
Level 1 menu features. An example is shown
on the right.
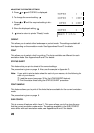
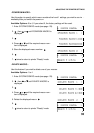
4. Press or until the feature that you want
is displayed.
If you change a Level 1 setting and want to keep it permanently (that is, if you do
not want the machine to go back to the old setting when you switch the power off),
save your current settings as a macro with the SAVE MACRO routine (see page
31), then make that macro the power-on macro with the POWERON MACRO
routine (page 33).
Each of the Level 1 features is explained in the following pages. For a concise list of
the features that are available in level 1, see page 21.
ADJUSTING THE PRINTER SETTINGS
26