Installation, cont’d
CrossPoint 450 Plus and MAV Plus Switchers • Installation
2-4
PRELIMINARY
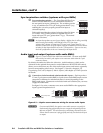
Sync termination switches (systems with sync BMEs)
c
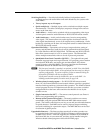
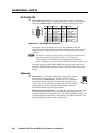
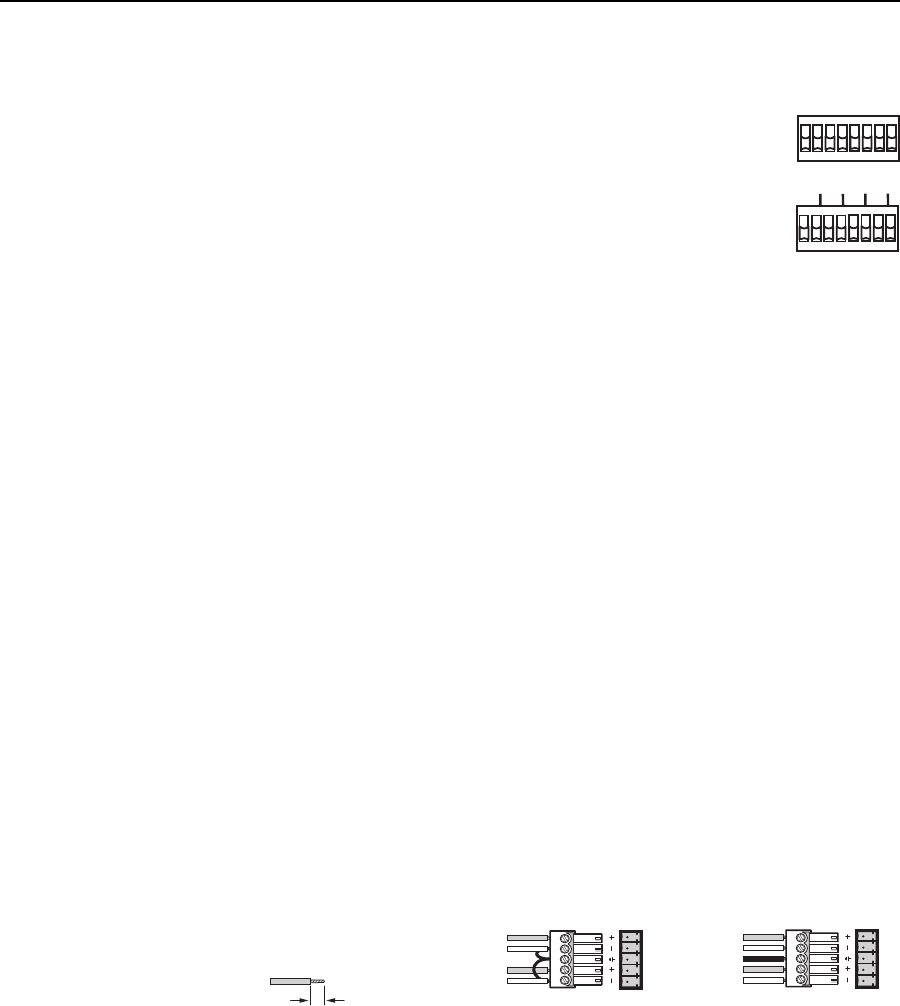
Sync termination switches — The CrossPoint 450 Plus Sync
matrix switcher BMEs have sync termination switches on
the rear panel for inputs 1 through 16. The switches provide
a way to condition non-TTL sync levels greater than 5 Vp-p,
enabling the sync to be properly passed from input to
selected output(s).
Each switch provides the option of selecting either 510 ohms
or 75 ohms. The 75 ohms position is required only for an
input with non-TTL sync, greater than 5 V p-p. The normal
position is 510 ohms.
N
An input that produces an out of sync display, a display that is rolling vertically
and/or tearing horizontally, could indicate a non-TTL sync input.
A device that is known to output non-TTL sync levels (greater than 5V p-p)
should be connected to one of the inputs with sync termination switches, and the
switches for that input should be set to the 75 ohm position. If you are not sure,
check the specifi cations in the user’s manual for the input device.
Audio input and output (systems wtih audio BMEs)
N
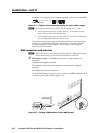
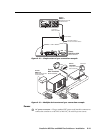
Figure 2-2 shows a MAV Plus 6464 Stereo audio BME. The mono audio BME
looks similar, but with 3-pole captive screw connectors rather than the 5-pole
connectors shown.
By default, the audio ties follow the video ties. Audio breakaway, which can be
activated via the optional front panel or under Ethernet or RS-232/RS-422 control,
allows you to select from any one of the audio input sources and route it separately
from its corresponding video source. See chapter 3, Operation, chapter 4, SIS
Programming and Control, chapter 5, Matrix Software, and chapter 6, HTML Operation
for details.
d
Connections for balanced and unbalanced audio inputs — Each input has a
3.5 mm, 5-pole (stereo audio BME) or 3-pole (mono audio BME) captive screw
connector for balanced or unbalanced stereo or mono (depending on the
BME) audio input. Connectors are included with each switcher, but you must
supply the audio cable.
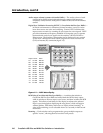
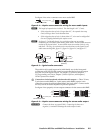
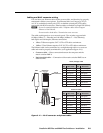
See fi gure 2-3 to wire a connector on a stereo audio BME for the appropriate
input type and impedance level.
LR
LR
Unbalanced Stereo Input
Tip
Sleeve
Tip
Sleeve
Balanced Stereo Input
Tip
Ring
Sleeve (s)
Tip
Ring
(high impedance)
(high impedance)
0.2” (5 mm) max.
Do not tin the wires!
Figure 2-3 — Captive screw connector wiring for stereo audio inputs
C
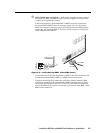
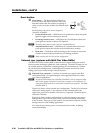
On stereo audio BMEs, the captive screw audio connector can easily be
inadvertently plugged partially into one receptacle and partially into an
adjacent receptacle. This misconnection could damage the audio circuits.
Ensure that the connector is plugged fully and only into the desired input
or output.
75
510
12345678
75
510
9 11 13 15
10 12 14 16


