


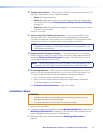

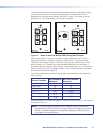
Figure 6_Remove screws
1
1
1
2
3
4
E
ON
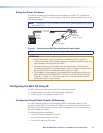
234
Tx
IR OUT
GND
IR IN
GND
+ 12V
1
1
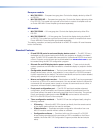
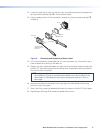
Figure 6. Screws to Remove from the MLC Faceplate
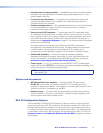
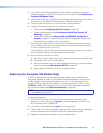
Figure 7_New faceplate
Faceplate
Standoff
MLC 52
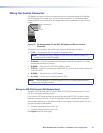
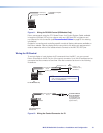
Figure 7. Installing the MLC onto a New Faceplate
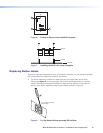
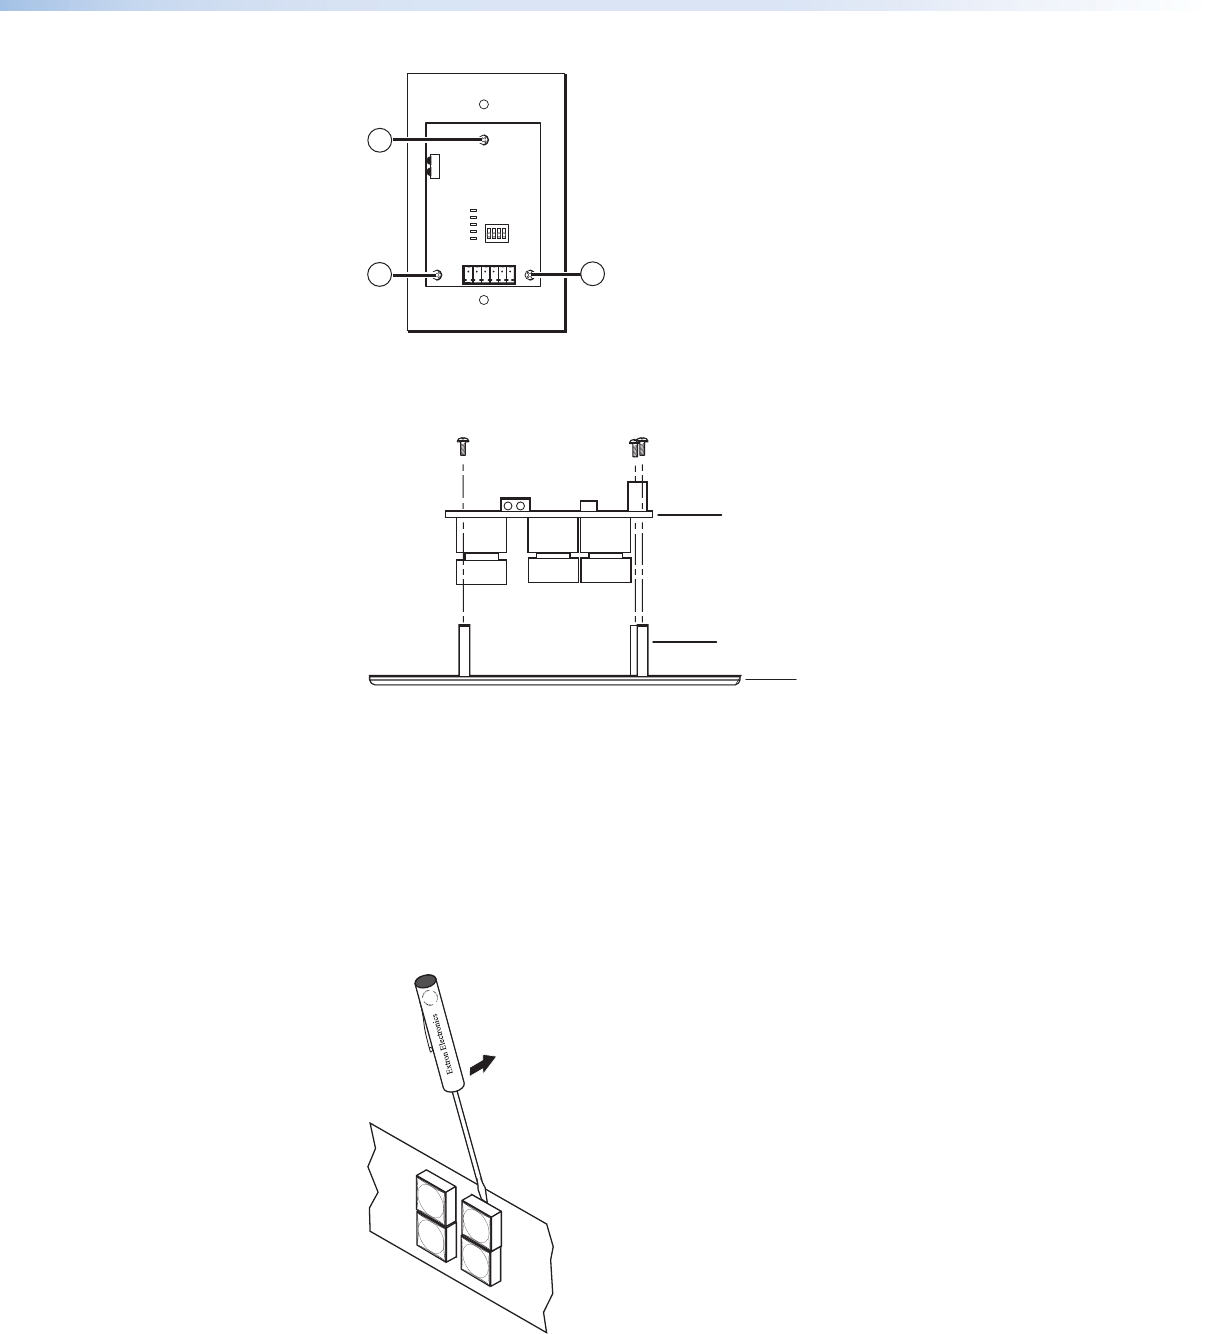
Replacing Button Labels
The button caps are prelabeled for your convenience. However, you can replace the labels
with others that are included with the MLC, as follows:
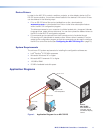
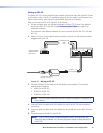
1. The button assembly consists of a clear lens cap, the button label, and a white
diffuser (see figure 9 on the next page). Remove the button assembly by inserting
a small, flat-bladed screwdriver between the base and the diffuser of the button to
gently pry the button assembly away from the base, as shown in figure 8.
Pry the button assembly
from the base.
Figure 8. Pry the Button Button Assembly Off the Base
MLC 52 MediaLink Controllers • Installation and Configuration 10