


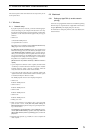

3. INSTALLATION
9
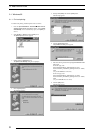
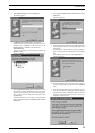
5. Select [Network printer] and click the [Next] button.
The following appears:
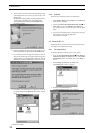
6. Set [Network path or queue name] as directed below:
Specify the server and its share name. If, for instance, the server
computer name is "SERVER" and the share name of the
PICTROGRAPHY is "PICTRO", enter the following:
\\SERVER\PICTRO
You can also interactively select the printer by clicking the
[Browse...] button.
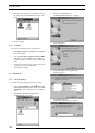
Clicking the [Browse...] opens the [Browse for Printer] window.
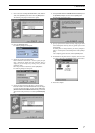
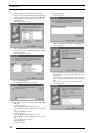
7. When the [Browse for Printer] opens to indicate the names of
the networked computers, double-click the name of the server
computer to open it, and then select a share name for the printer.
Once you have selected the sharing name for the printer, click
the [OK] button.
You will be returned to the screen in Step 5. The selected Share
Name for the printer will appear in the [Network path or queue
name:] field.
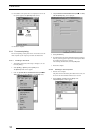
8. After entering the [Network path or queue name:], click the
[Next] button.
The following appears:
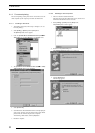
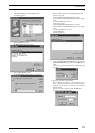
9. Specify a printer name in the field currently displaying the name
of the default printer. You may select any printer in place of the
default printer.
If another printer is already installed, you will be prompted as
follows: "Use this printer as the default printer?" Select [Yes] or
[No].
After completing printer selection, click the [Next] button.
The following appears:
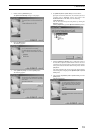
10. Following installation of the printer driver, select whether or
not to print a test page. Make your selection and click the [Finish]
button.
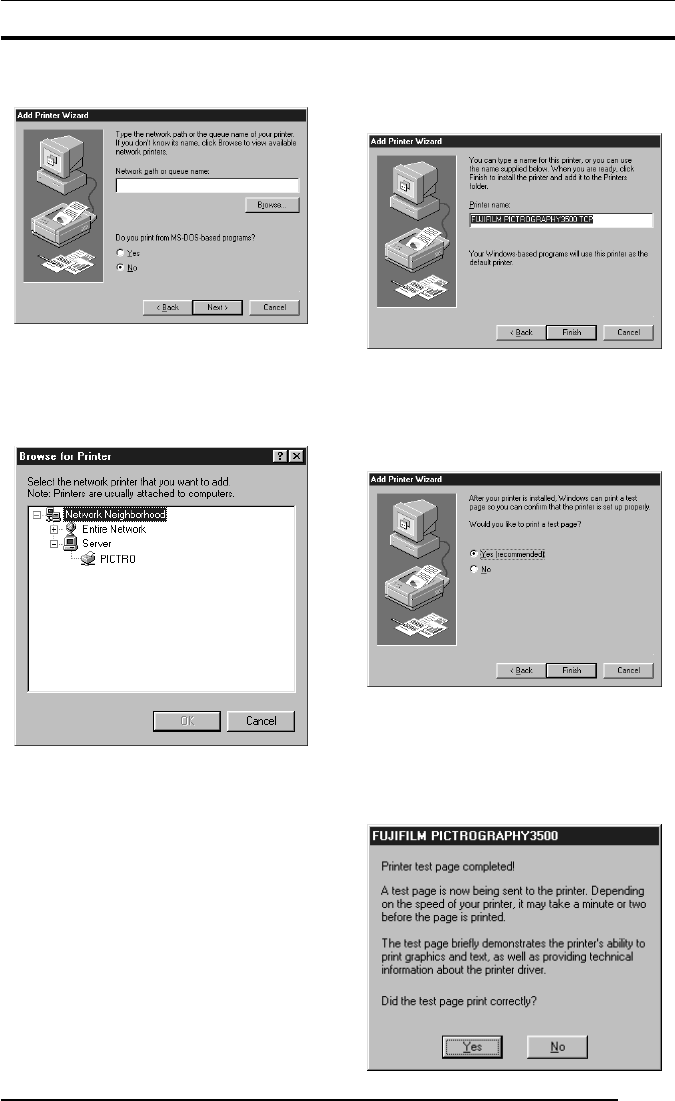
11. If you selected to print the test page on the dialog box shown in
Step 9. above, the following screen appears. If the test page prints
without problems, click the [Yes] button. Otherwise, click the
[No] button and perform troubleshooting, following the
instructions provided on-screen.