3. INSTALLATION
31
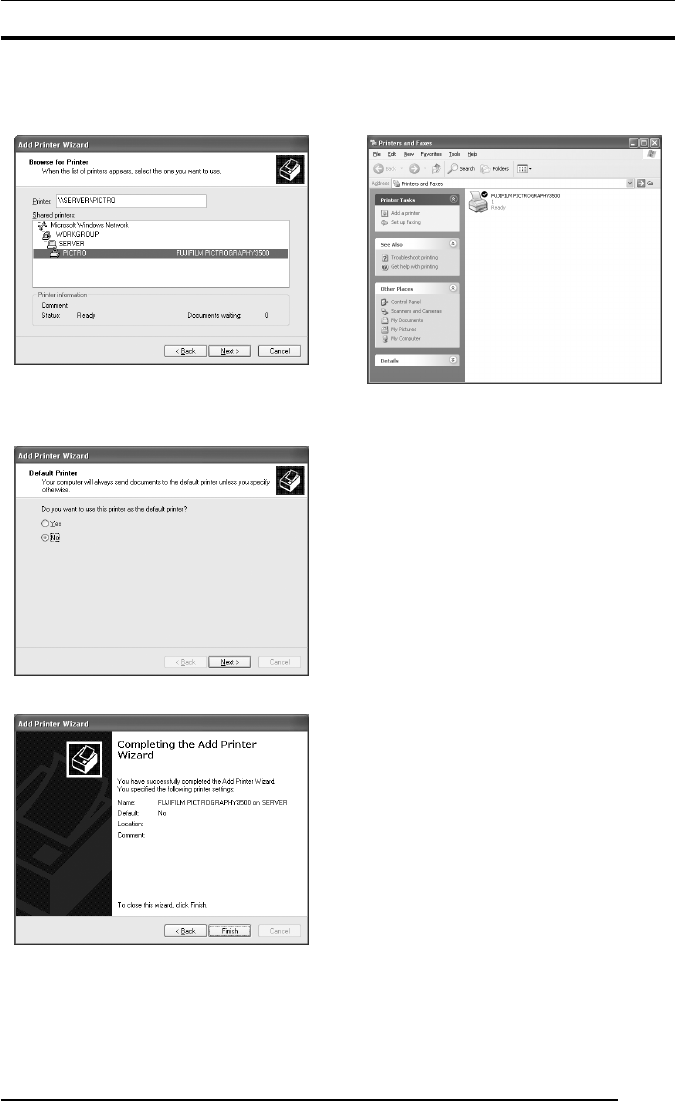
The [Shared printers] field displays the names of the computers
connected to the network. Double-click the name of the server
to which the PICTROGRAPHY3500/40002/4500 is connected.
Select a share name for the printer.
This selection sets the network path in the [Printer] field.
After confirming that the network path has been set in the
[Printer] field, click the [Next] button.
7. The following appears.
8. Select [Yes] or [No], and then click the [Next] button.
The following appears.
9. Click the [Finish] button.
If installation of the printer driver finishes without problems,
the icon for the new printer appears in the [Printers and Faxes]
folder window.
10. Restart the computer.
This completes the installation of the printer driver.
3.5.3 Uninstall
The printer driver uninstall procedure is described below.
1. Start by deleting the printer.
Click to select [Printers and Faxes] from the [Start] menu.
The [Printers and Faxes] folder window is displayed.
2. Click the [FUJIFILM PICTROGRAPHY3500 (4000
22
22
2 or
4500) TCP] icon, and then click [Delete] from the [File] menu.
You will be prompted to confirm the deletion. Click the [Yes]
button.
3. Delete [PICTRO TCP Port].
In the [Printers and Faxes] window, click [Server Properties]
from the [File] menu.
The [Print Server Properties] dialog box is displayed.
4. Click the [Ports] tab.
Click [PICTRO TCPx:] (x: numerical value entered as the port
name) in the [Ports on this Server] list, and then click the
[Delete Port] button.
You will be prompted to confirm the deletion. Click the [Yes]
button.
This completes the uninstall of the printer driver.


