3. INSTALLATION
29
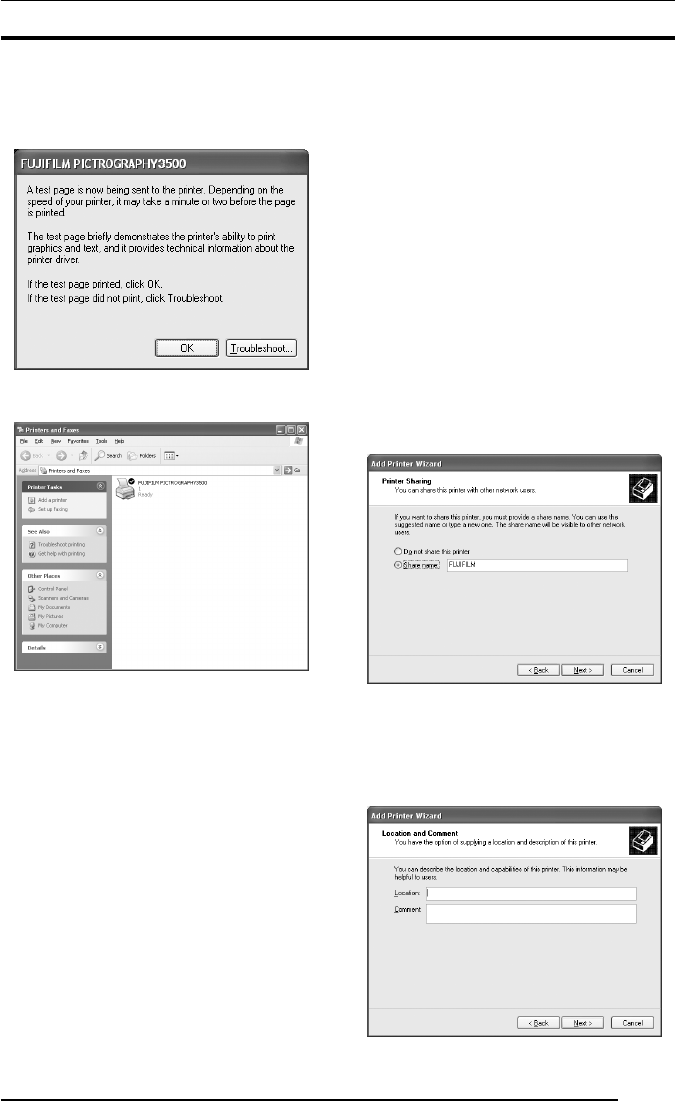
24. If you chose to print the test page on the dialog box shown in
Step 21., the following screen is displayed.
If the test page prints without problems, click the [Yes] button.
Otherwise, click the [Troubleshoot] button and perform
troubleshooting as instructed on-screen.
25. If the installation of the printer driver finishes without problems,
the icon for the new printer appears in the [Printers and Faxes]
folder window, as shown below.
26. Restart the computer.
This completes the installation of the printer driver.
3.5.2 For Network Printing
For network printing, install printer drivers on both server and client
computers by the following procedures:
• Precautions on the running of Windows NT 4.0 on the server
computer and Windows XP on the client computer.
When the printer driver is installed under the following
conditions, the Windows NT 4.0 printer driver may end up being
installed on a machine running Windows XP. To avoid this, take
care to follow the installation procedures given below when
installing printer drivers under these conditions.
[Conditions]
* The server computer is running Windows NT4.0.
* The client computers are running Windows XP. The Windows
XP PG4000
2/4500 printer driver is not yet installed on the client
computers.
[Installation Procedure]
(1) Install the printer driver to the server computer (Windows NT
4.0) as described in "3.3.2.1 Installing to the server."
(2) Install the printer driver to the client computers as described in
"3.5.2.2 Installing to client computers." Do not execute [Print
Test Page].
(3) Click to select [Printers and Faxes] from the [Start] menu.
This displays the [Printers and Faxes] folder. Click the
[FUJIFILM PICTROGRAPHY3500 (4000
22
22
2 or 4500) TCP]
icon and then click [Properties] in the [File] menu.
This displays the [FUJIFILM PICTROGRAPHY3500 (4000
22
22
2
or 4500) TCP Properties] dialog box.
(4) Click the [Advanced] tab.
Click the [New Driver] button.
This displays the [Add Printer Driver Wizard] dialog box.
(5) Click the [Next] button.
From this point, continue installing the printer driver as described
in Step 17., with subsequent steps as described in "3.5.1 For
local printing."
3.5.2.1 Installing to the server
1. When you are running Windows XP on the server computer,
install the printer driver to the server by doing Steps 1. through
20. in "3.5.1 For local printing."
The following appears.
Then continue the installation by following the procedures
described below.
2. Select [Share name].
Set a share name. The default share name is currently displayed.
You may select any printer to replace the default printer.
After defining the share name, click the [OK] button.
The following appears.


