


4. USAGE OF PRINTER DRIVER
38
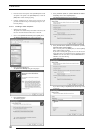
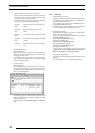
3. Ports
Select [Setting] > [Printer] from the [Start] menu. This opens
the [Printers] folder window. Click the [FUJIFILM
PICTROGRAPHY3500 (4000
22
22
2 or 4500) TCP] icon, then
select [Properties] on the [File] menu.
The [FUJIFILM PICTROGRAPHY3500 (4000
22
22
2 or 4500)
TCP Properties] dialog box is displayed.
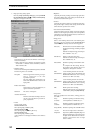
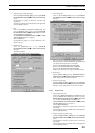
Click the [Ports] tab.
The following screen appears:
• Print to the following port(s)
The listing of available ports, port monitors for the ports, and
printers connected to the ports is displayed.
Print data is output through the first available port among the
ports checked.
• [Add Port...] button
Click this button to add a new port.
• [Delete Port] button
Click this button to delete a port.
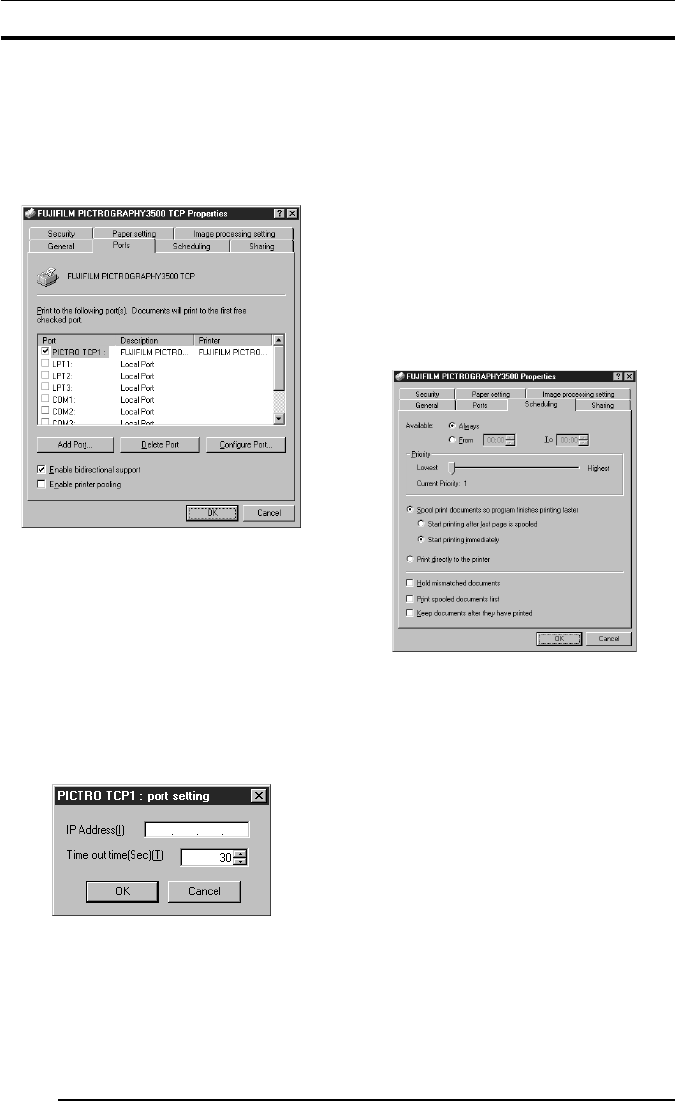
• [Configure Port...] button
Click this button to change the print destination port.
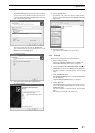
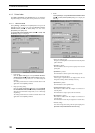
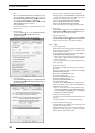
When you click [PICTRO TCPx:] (x: numerical value en-
tered as the port name) and then click the [Configure Port...]
button, the [PICTRO TCPx: Port Setup] window opens.
• IP address
Specify the IP address for the PICTROGRAPHY network
adapter that is the print destination. If the IP address for the
PICTROGRAPHY network adapter is changed or you want to
make such a change as to print onto the PICTROGRAPHY
that is connected to another PICTROGRAPHY network
adapter, change the value in this field and click the [OK] but-
ton.
•Timeout time (in seconds)
The timeout time (in seconds) for TCP/IP protocol communi-
cation is to be entered in this field. This setting need not be
changed under normal conditions.
• Enabled (Enable bi-directional support)
This allows the computer to obtain settings and other data from
the printer.
* Be sure to check in here when using the PICTROGRAPHY
3500/4000
2/4500 printer driver.
• Disabled (Enable printer pooling)
This allows to use of multiple identical printers linked with
one logic printer.
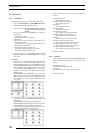
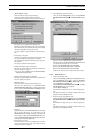
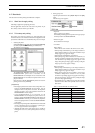
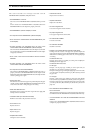
4. Scheduling
Click the [Scheduling] tab on the [FUJIFILM PICTRO-
GRAPHY3500 (4000
22
22
2 or 4500) TCP Properties] dialog box.
The following screen appears:
This setting does not need to be changed for normal use.
5. Paper setting
Click the [Paper setting] tab on the [FUJIFILM PICTRO-
GRAPHY3500 (4000
22
22
2 or 4500) TCP Properties] dialog box.
You can view, but not change the settings displayed here.
6. Image processing setting
Click the [Image processing setting] tab on the [FUJIFILM
PICTROGRAPHY3500 (4000
22
22
2 or 4500) TCP Properties]
dialog box. You can view, but not change the settings displayed
here.
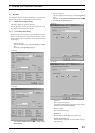
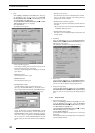
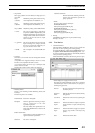
4.1.5.3 Windows 2000
1. Paper setting (Print setup)
Click to select [Setting] > [Printer] in the [Start] menu. This
opens the [Printers] folder window. Click the [FUJIFILM
PICTROGRAPHY3500 (4000
22
22
2 or 4500) TCP] icon, and then
click [Print Setup] on the [File] menu.
The [FUJIFILM PICTROGRAPHY3500 (4000
22
22
2 or 4500)
TCP Print Setup] dialog box is displayed.
Click the [Paper setting] tab.
For information on setup items, see subsection "4.1.2 Print setup
and printing."
The settings entered here are the default values of the application
software’s [Print] command.