


3. INSTALLATION
25
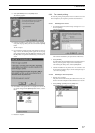
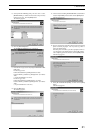
9. Click the [Finish] button.
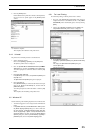
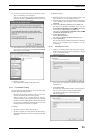
If the installation of the printer driver finishes without problems,
the icon for the new printer appears in the [Printers] folder
window.
10. Restart the computer.
This completes the installation of the printer driver.
3.4.3. Uninstall
The printer driver uninstall procedure is described below.
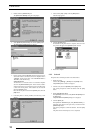
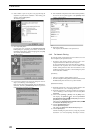
1. Start by deleting the printer.
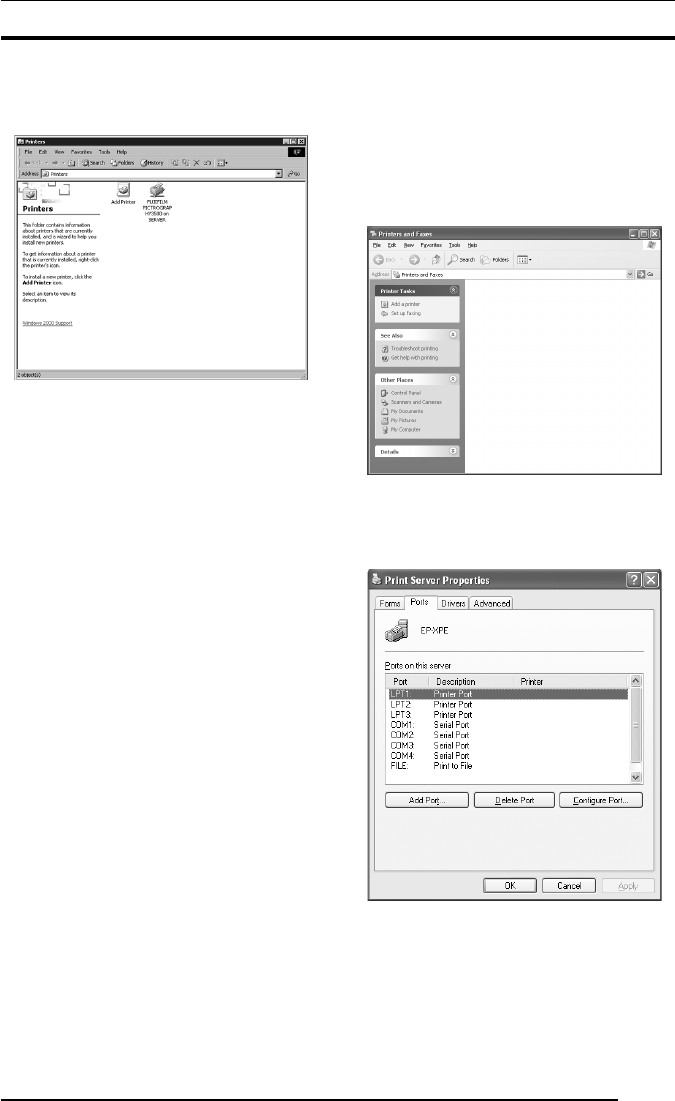
Click to select [Setting] > [Printer] from the [Start] menu.
The [Printers] folder window is displayed.
2. Click the [FUJIFILM PICTROGRAPHY3500 (4000
22
22
2 or
4500) TCP] icon, and then click [Delete] from the [File] menu.
You will be prompted to confirm the deletion. Click the [Yes]
button.
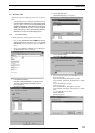
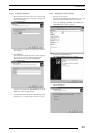
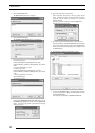
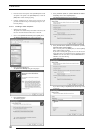
3. Delete [PICTRO TCP Port].
In the [Printers] folder window, click [Server Properties] from
the [File] menu.
The [Print Server Properties] dialog box is displayed.
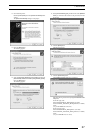
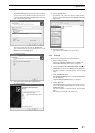
4. Click the [Ports] tab.
Click [PICTRO TCPx:] (x: numerical value entered as the port
name) in the [Ports on this Server] list, and then click the
[Delete Port] button.
You will be prompted to confirm the deletion. Click the [Yes]
button.
This completes the uninstalling of the printer driver.
3.5 Windows XP
Note the following when installing the printer driver in
Windows XP
:
*You must be logged on as a user assigned to the Administration
Group.
* In the [What action do you want Windows to take?] field in
the [Driver Signing Options] dialog box, check to make sure
that either [Ignore - Install the software anyway and don’t
ask for my approval] or [Warn - Prompt me each time to
choose an action] is specified. To display the [Driver Signing
Options] dialog box, click the [Control Panel] > [System] >
[Hardware] tabs, then click the [Driver Signing] button.
3.5.1 For Local Printing:
To enable local printing, install the printer driver as follows.
1. Insert the "PICTROGRAPHY3500/40002/4500 Network
Adapter Printer Driver" CD-ROM into the PC. If the [USER
SOFTWARE] window automatically opens, close it by clicking
[EXIT].
2. Click to select [Printers and Faxes] from the [Start] menu.
The [Printers and Faxes] folder window is displayed.
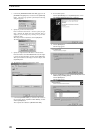
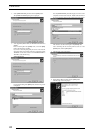
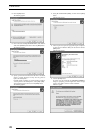
3. Install [PICTRO TCP Port].
Click [File] > [Server Properties] in the [Printers and Faxes]
folder.
This displays the [Print Server Properties] dialog box.
Click the [Ports] tab.
The following appears.