


3. INSTALLATION
13
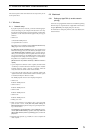
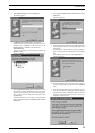
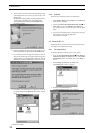
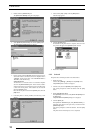
3. Double-click the [Add Printer] icon.
The [Add Printer Wizard] dialog box is displayed.
4. Click the [Next] button.
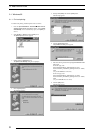
The following appears:
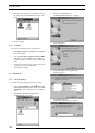
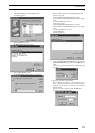
5. Select [Network printer] and click the [Next] button.
The following appears:
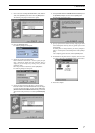
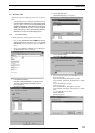
6. Set [Network path or queue name] as directed below:
Specify the server and its share name. If, for instance, the server
computer name is "SERVER" and the share name of the
PICTROGRAPHY is "PICTRO", enter the following:
\\SERVER\PICTRO
You can also interactively select the printer by clicking the
[Browse...] button.
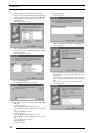
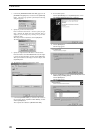
Clicking the [Browse...] opens the [Browse for Printer] window.
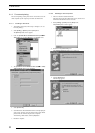
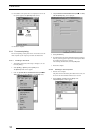
7. When the [Browse for Printer] opens to indicate the names of
the networked computers, double-click the name of the server
computer to open it, and then select a share name for the printer.
Once you have selected the Share Name for the printer, click the
[OK] button.
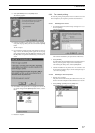
You will be returned to the screen in step 5. The selected sharing
name for the printer is displayed in the [Network path or queue
name:] field.
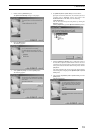
8. After entering the [Network path or queue name:], click the
[Next] button.
The following appears: