


3. INSTALLATION
11
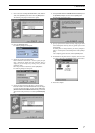
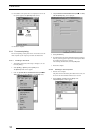
7. Enter the following location in the [Copy manufacturer’s files
from:] field.
For the CE type, enter:
E:\Driver\PG3500\Win95_98\English\CE (for 3500)
E:\Driver\PG4K2_4500\Win95_98\English\CE (for 4000
2/
4500)
(* if your CD-ROM drive is E: drive)
For the UC type, enter:
E:\Driver\PG3500\Win95_98\English\UC (for 3500)
E:\Driver\PG4K2_4500\Win95_98\English\UC (for 4000
2/
4500)
(* if your CD-ROM drive is E: drive)
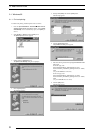
8. Click the [OK] button.
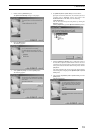
The following appears:
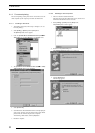
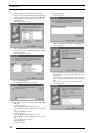
9. Click to select the installing PICTROGRAPHY (3500, 40002or
4500) in the [Printers:] field and then click the [Next] button.
The following is displayed when the file is copied:
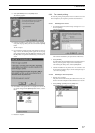
10. Click the [Add Port] button.
The following dialog box then opens:
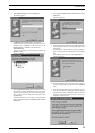
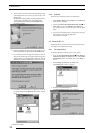
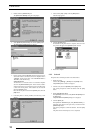
11. Specify the port name as directed below:
Enter a numerical value between 1 and 99 to specify the port
name. Although the default port name (numerical value) is
displayed, you can change it by entering a new port name
(numerical value).
When the port name is determined, click the [OK] button.
The following dialog box then opens:
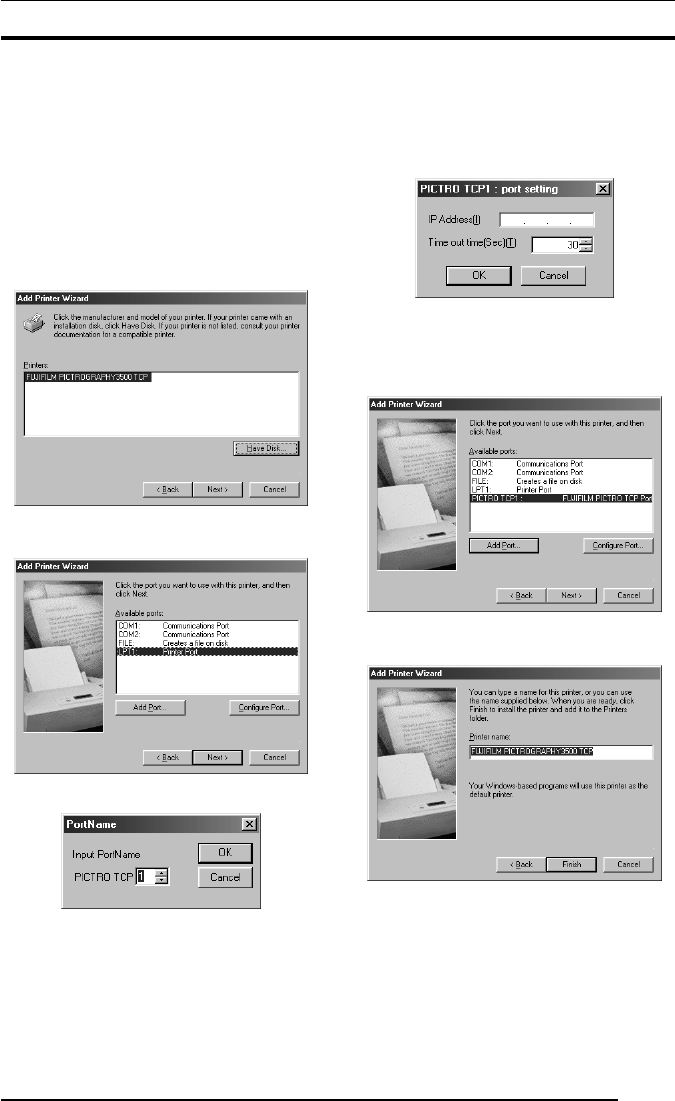
12. Specify the output destination IP address as directed below:
Enter the IP address of the PICTROGRAPHY network adapter
to specify the output destination, and then click the [OK] button.
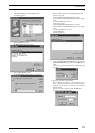
[PICTRO TCPx: FUJIFILM PICTRO TCP Port] (x: numerical
value entered as the port name) is now added to [Available ports]
list.
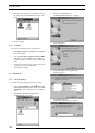
13. Select [PICTRO TCPx: FUJIFILM PICTRO TCP Port] from
the [Available ports] list and then click the [Next] button.
The following window then opens:
14. Specify a printer name in the field currently displaying the name
of the default printer. You may select any printer in place of the
default printer.
If another printer is already installed, you will be prompted as
follows: "Use this printer as the default printer?" Select [Yes] or
[No].
After completing printer selection, click the [Finish] button.