Connecting the Communication Cable
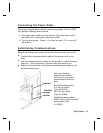
Connect the communication cable into the appropriate port.
Secure the cable with the connecting screws (serial) or spring
clips (parallel).
If you are communicating with the host through the serial port,
make sure the printer’s communication values match those at the
host. The factory default values are 9600 Baud, 8 bit data frame,
1 stop bit, no parity, and DTR flow control.
The printer supports a baud rate up to
115200. Make sure your host is capable of
communicating at the speed you select for the
printer.
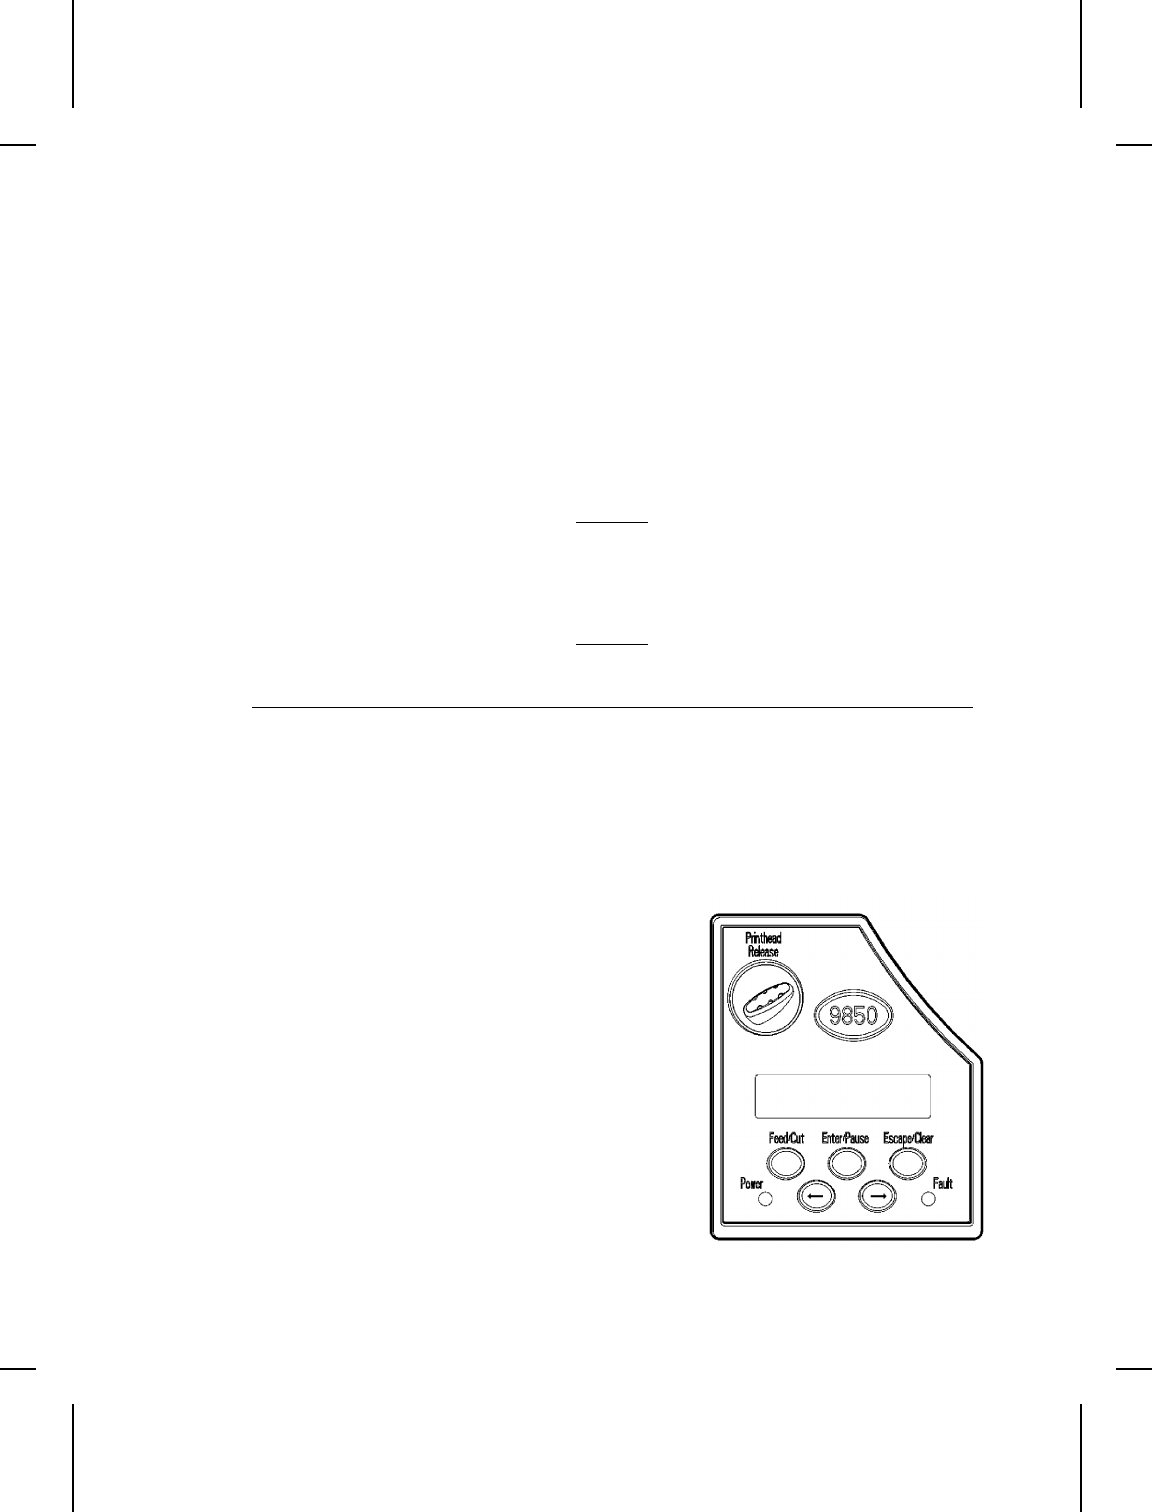
Using the Control Panel
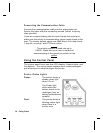
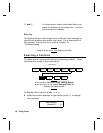
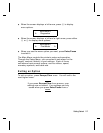
The control panel has a two-line LCD display, 2 status lights, and
five buttons. The control panel displays error codes/messages,
and allows you to setup/configure the printer.
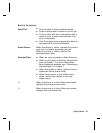
Printer Status Lights
Power: The printer shows a
steady green light
when it is on.
The Power light
blinks when the
battery needs to be
recharged (only on
battery-powered/cart
models).
Fault: The printer shows a
blinking amber light
when there is a
printer error.
1-4 Getting Started


