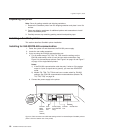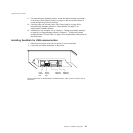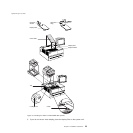
4. Connect the cables to the printer.
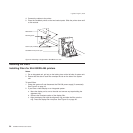
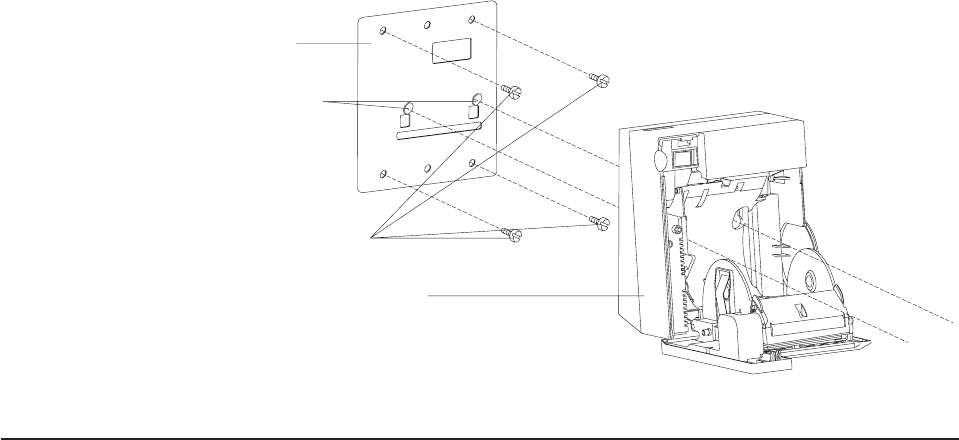
5. Place the SureMark printer on the two bracket posts. Slide the printer down until
a click sounds.
Installing the fillers
Installing fillers for EIA-232/RS-485 printers
Notes:
1. On an integrated unit, pull out on the locking lever at the left side of system unit.
2. Ensure that the side of each filler overlaps the tab on the side of the system
unit.
To install fillers:
1. Power the system off and disconnect the EIA-232 power supply (if connected).
See Figure 5 on page 18.
2. If you have a video display on an integrated system:
a. Move the display on its arm to the side and remove any tape holding the
alignment ring.
b. Remove the knockout section of the display filler.
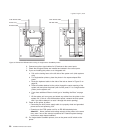
c. Align the display filler with the alignment ring and slide the filler onto the
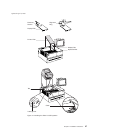
ring. Press the display filler into place. See Figure 13 on page 25.
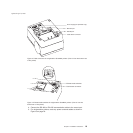
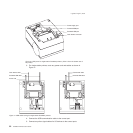
Wall bracket
Mounting posts
Screws (not provided)
SureMark with top cover open
Figure 12. Mounting a single-station SureMark on a wall
Updated April 2, 2009
24 SureMark Printers User’s Guide


