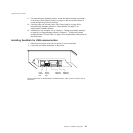
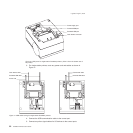
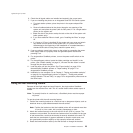
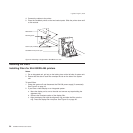
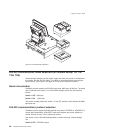
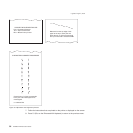
Switch 2 ON XON/XOFF control (required with a 3-wire interface)
The printer normally ships with switch 2 in the OFF position, which selects
DTR/DSR control.
DTR/DSR control
DSR DSR is an output from the printer. It indicates when the printer is ready to
receive data. A DSR signal becomes inactive when the printer is not ready
to receive data (for example, at power-on reset or when its buffer is full).
DTR DTR is an input to the printer. It indicates to the printer that the system is
ready to receive data. A DTR signal becomes inactive when the system is
not ready to receive data (for example, at power-on reset or when its buffer
is full).
XON/XOFF control
XON = DC1 (X'11')
XOFF = DC3 (X'13')
During XON/XOFF control, the printer transmits an XON every 3 seconds after a
power-on reset (POR) completes to indicate the printer is ready to receive data.
When the first message is received, the printer stops transmitting the XON signal.
The printer transmits an XOFF when the EIA-232 input buffer is 80% full, after
which it transmits one XON when the buffer is 20% full.
XON/XOFF transparent mode operation: This is the default mode. See
“Message from the printer” on page 184 for the format of printer to system
messages, which include a byte count, status bytes, and optional extended status
bytes or user data.
Transparent mode should always be used when selecting XON/XOFF mode for
Models TI8 and TI9.
XON and XOFF are transmitted independently, and can occur at any point inside or
outside of messages transmitted by the printer. When a message includes optional
user data, the byte count (bytes 1 and 2) can include X'10', X'11', or X'13'. When
X'10', X'11', or X'13' occur in transparent XON/XOFF mode, the byte count is
bit-exclusive-ORed with X'21' and is prefixed by the DLE (X'10') character to
become:
Value in message Becomes
X'10' X'1031'
X'11' X'1030'
X'13' X'1032'
User data with X'10', X'11', or X'13' is also treated this way in transparent
XON/XOFF mode. The byte count is not incremented for such extra characters.
Determining XON/XOFF control: You can determine whether XON/XOFF control
is being used by sending the extended address command and checking the feature
byte, bit 3. If this bit is set, the printer is in XON/XOFF mode. (See “Extended
address command-request printer ID” on page 112.)
Disabling XON/XOFF transparent mode: You can disable transparent
XON/XOFF mode as described in “Real-time requests” on page 175. When
Updated April 2, 2009
Chapter 2. Installation instructions 29


