Clearing jams in the check flipper area
This procedure is for the SureMark printer Models TI2, TI4, TI8, and TI9 (MICR
Reader and Check Flipper features) only.
If a check jams in the Check Flipper mechanism:
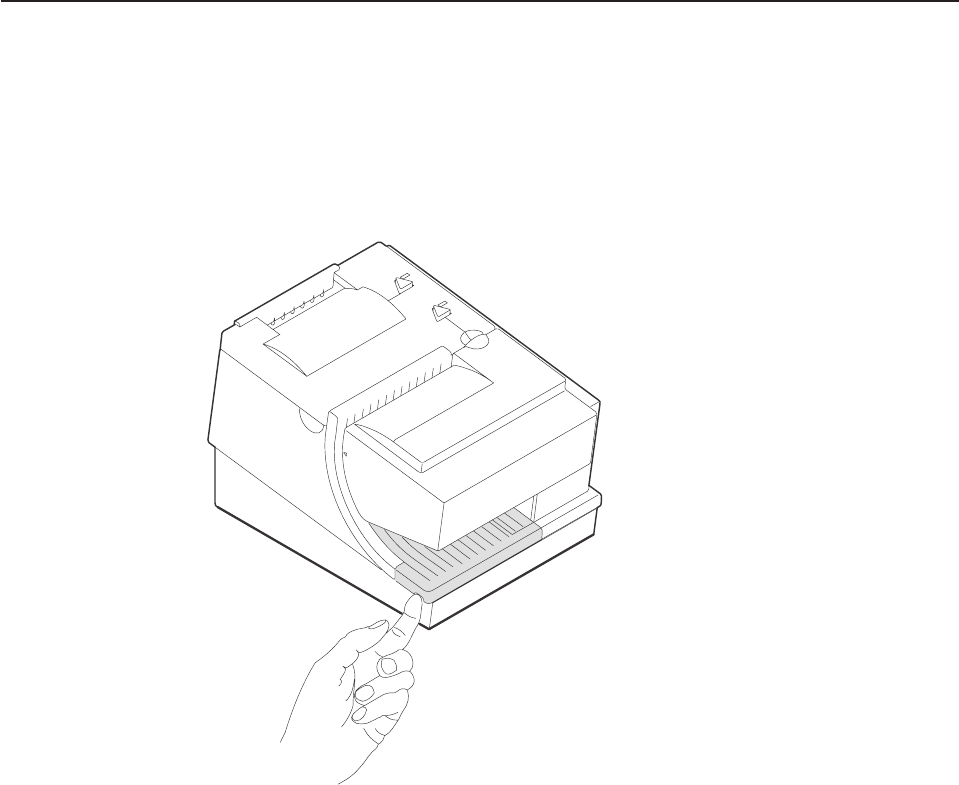
1. Lift up the left front corner of the lower document insert cover and pull the cover
from the printer. (See Figure 30.)
2. The action you take in this step depends on whether the document is visible
and can be removed:
v If you can remove the document:
a. Remove the document.
b. Replace the lower document insert cover.
c. You are finished with this procedure.
v If you can not remove the document, continue with Step 3.
3. Lift up the tab on the left side of the check flipper cartridge and remove the
assembly from the printer. (See Figure 31 on page 56.)
Note: For printers with a powered flipper (Models TI8, TI9, TG8, TG9) the
cartridge is attached to the printer with an electrical cable and can not be
removed. Simply raise the front edge of the cartridge to remove a
jammed document underneath.
Figure 30. Removing the lower document insert cover
Updated April 2, 2009
Chapter 4. Operation 55
