18
As you go through the installation, there are some points
where you will be asked to fill in information.
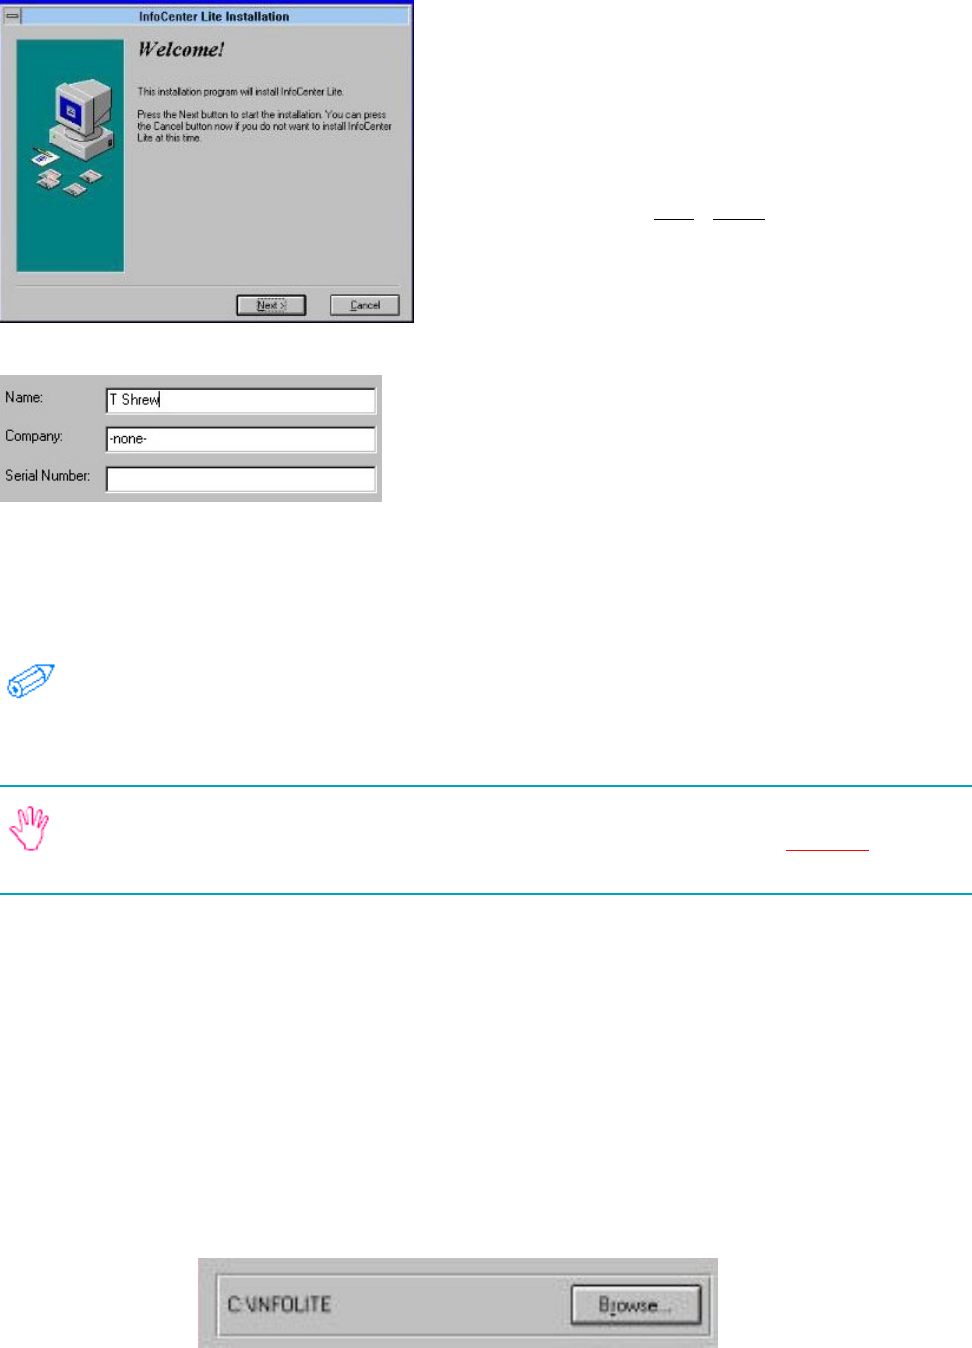
Each section here is a separate installation screen.
Many of the screen-shots below only show a portion of
the screen (the portion that changes or has important
information). To go from one screen during the instal-
lation to another click Next, Back, or as applicable.
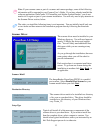
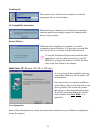
User Information
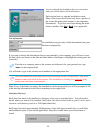
The installation may get some of this information from your
Windows configuration.
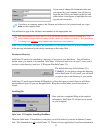
If you want to change the information that was pre-entered by your computer, you will have to clear
the line (click your mouse on the line and either delete or backspace or highlight the existing text and
overwrite).
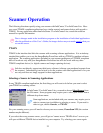
If you have no company name or the scanner and software is for your personal use, type
–none- in the company field.
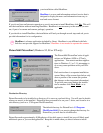
You will need to type in the software serial number on the appropriate line.
The serial number for InfoCenter Lite is on the envelope for the CD-ROM disc. The serial
number is not on the back of the scanner. The installation is looking for a software serial
number not a hardware serial number.
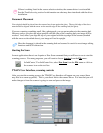
Note: If any of the blanks are empty, the installation will not proceed and you will be prompted to fill
in the missing information by the cursor remaining on the empty field.
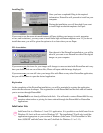
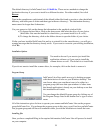
Destination Directory
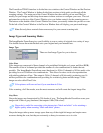
InfoCenter Lite needs to be installed to a directory of its own on your hard drive. You will need to
decide where you want it to be installed. InfoCenter Lite does not need to be on your C: drive, and it
can be in a sub-directory (such as e. D:\Graphics\InfoLite).
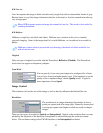
InfoCenter Lite needs approximately 40 Megabytes of free disk space to install, but you will likely
need additional space as you use the application. Keep this in mind when you choose where to
install.


