28
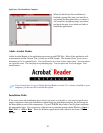
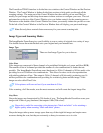
Color Wizard
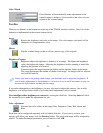
Color Enhance will automatically make adjustments to the
scanned output to achieve a closer match to the colors of your
original in the scanned image.
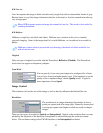
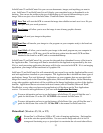
Tool Bar
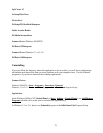
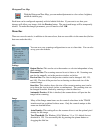
There are six buttons on the button bar at the top of the TWAIN interface window. Only five of the
buttons are implemented in the current scanner driver.
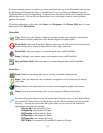
Invert
Reverse the brightness and color in the image. For color images, each pixel will be
changed to its complementary color.
Mirror
Flip the scanned image so that it will be a mirror copy of the original.
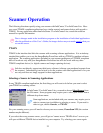
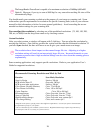
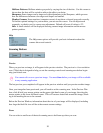
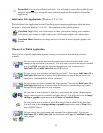
Brightness/Contrast
Brightness adjusts the lightness or darkness of an image. The higher the brightness
value, the brighter the image. Adjusting the brightness before scanning is much like
adjusting the aperture of a camera.
Contrast adjusts the range between the darkest and the lightest shades in the image.
This range determines the number of shades in an image. An image with low contrast
can look dull and flat.
Unless you seem to be getting a dark image, you shouldn’t need to adjust the brightness. If
you do make adjustments to the brightness, it is best to do so in small increments so you can
increase the light without washing out the image.
If you make adjustments to the brightness, you may also need to adjust the contrast. Just as with
brightness, you will get better results if you make small adjustments only as needed.
You can adjust either brightness or contrast by moving the slide bars. Selecting Auto will allow
the scanner driver to make the adjustments for you.
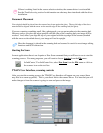
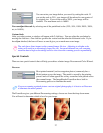
Color Adjustment
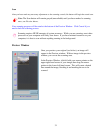
Fine-tune the color values of the image: Hue, Saturation, Value, Red, Green, and
Blue.
Each item can be configured separately with its labeled slide bar. If you want to see how your
changes will affect your image, click the Preview button. The previewed image will be temporarily
altered. To make the changes permanent, you will need to click OK.


