30
Halftone Patterns: Halftone mimics grayscale by varying the size of the dots. Use this screen to
choose how the dots will be varied to achieve the effect you desire.
Sharpness: Some images can be improved with adjustments to the Sharpness, which governs
how the differences between color edges and shapes are handled.
Monitor Gamma: Some monitors (computer screen) do not show color and grayscale correctly.
To find the optimal settings for your monitor, you can use this screen. You can adjust each
separately, or check sync for a more even adjustment. Default will reset all values to 2.2.
Info: A small window will be displayed showing current image information and the mouse
pointer position.
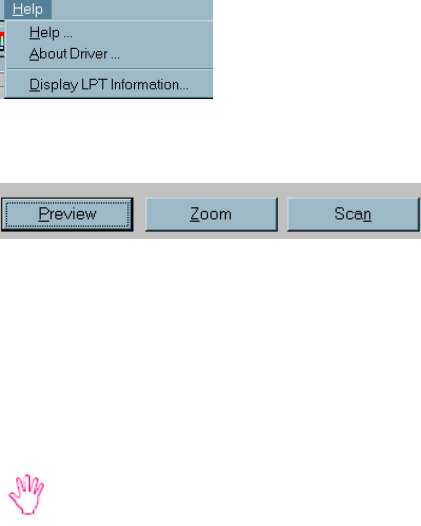
Help
The Help menu options will provide you basic information about the
scanner driver and controls.
Scanning Buttons
Preview
When you preview an image, it will appear in the preview window. The preview is a low resolution
scan (72dpi) that is designed to help you set the scanning controls and scanning area before begin-
ning your actual scan.
You cannot edit or save a preview image. You must Scan before your image will be available
in any scanning application.
The last preview you completed will appear in the preview window until you preview another image.
Once your image has been previewed, you will need to set the scanning area. In the Preview Win-
dow, click & hold your mouse pointer on the upper right-hand corner of your image, then drag the
mouse pointer to the lower left-hand corner. This will create a dotted line around the image, block-
ing it and marking the are to be scanned.
Below the Preview Window, information about the size of your image will be displayed, including
how large the final file size will be at the current scanner settings.
Zoom
You can select a small area of the total scanning area to be blown up when you scan.
