


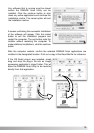

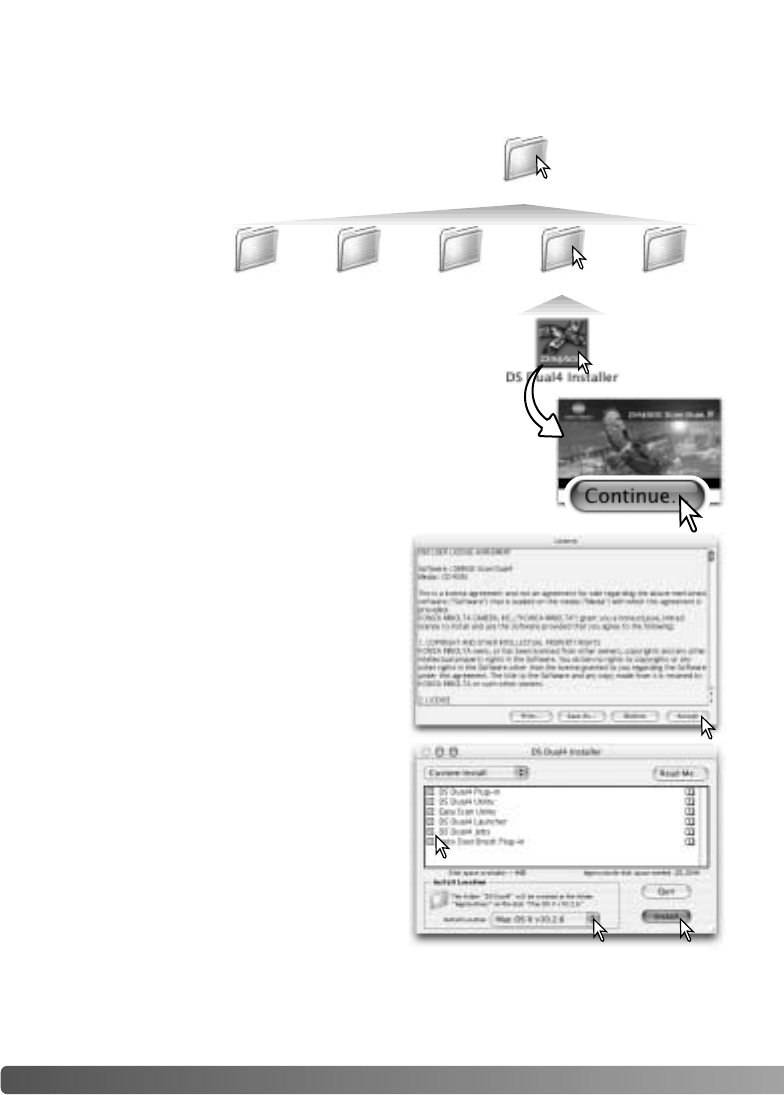
With custom installation selected from the pop-
up menu at the top left of the installer screen,
the check boxes indicates the software to be
installed. To deselect a file for installation, click
on the box to uncheck it
At the bottom of the installer screen, specify the
location in which the software will be installed.
To change the designated location, use the
install-location menu; this menu can be used to
select an existing location or create a new one.
Click the install button to begin installation.
14 INSTALLATION
Macintosh
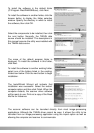
The end-user license agreement will appear. If
you accept the terms of the agreement, click
the accept button to continue the installation
routine. If you do not agree to the conditions in
the end-user license agreement, click the
decline button and the software will not be
installed.
Open the appropriate
language folder.
Open the driver folder to view the language folders.
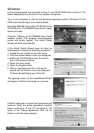
Turn on the computer to start the Mac OS. Insert the DiMAGE Scan Utility CD-ROM
into the CD-ROM drive. The Dimage Scan Utility CD-ROM icon appears on the
desktop. Double-click on the icon; the driver, manual, and acrobat reader folders are
displayed.
Double click on the DiMAGE Scan installer; the
installer’s start-up screen will open.
Driver
JapaneseEnglishFrancaisEspanolDeutsch
Click the continue button on the installer screen to begin the
installation routine.