Using the Operation Panel
ADVANCED OPERATION GUIDE 2-27
Releasing a Private Print/Stored Job
1
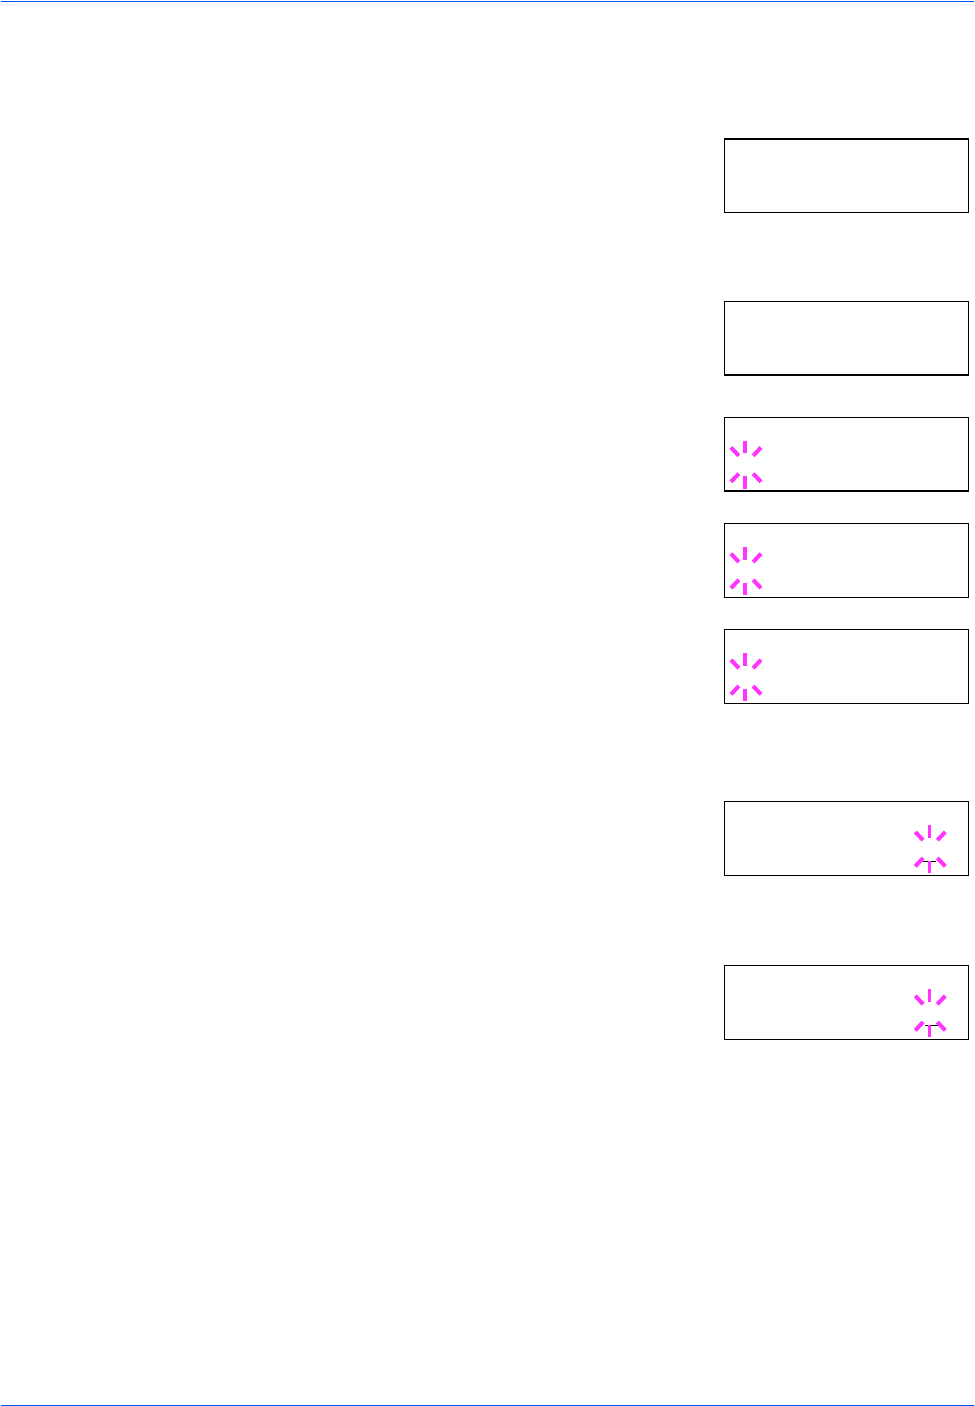
Press [MENU].
2
Press U or V repeatedly until e-MPS >
appears.
3
Press Z.
4
Press U or V repeatedly until >Private/
Stored appears. The name entered in the
printer driver (Harold, in this example) also
appears.
5
Press [OK]. A blinking question mark (?)
appears before the user name.
6
Press U or V to display the desired user
name (Arlen, in this example).
7
Press [OK]. The user name and the job
name (Agenda, in this example) entered in
the printer driver appear with a blinking
question mark (?).
8
Press U or V to display the desired job title.
9
Press [OK]. The ID input line appears.
Enter the four-digit access code entered in
the printer driver and press [OK]. To enter
the ID, Press Y or Z to move the cursor to
the number to be changed and then enter the correct number by pressing
U or V.
10
You can set the number of copies to be
printed. To increase the copy count, press
U; to decrease the copy count, press V.
11
Press [OK] to finalize the copy count. The printer prints the specified
number of copies for the job.
e-MPS >
>Private/Stored
Harold
>Private/Stored
?Harold
>Private/Stored
?Arlen
>Arlen
?Agenda
>Agenda
ID 0000
>Agenda
Copies 001
