


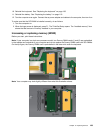
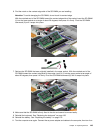
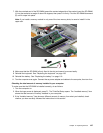
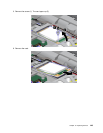
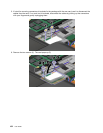
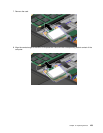
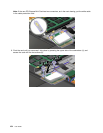
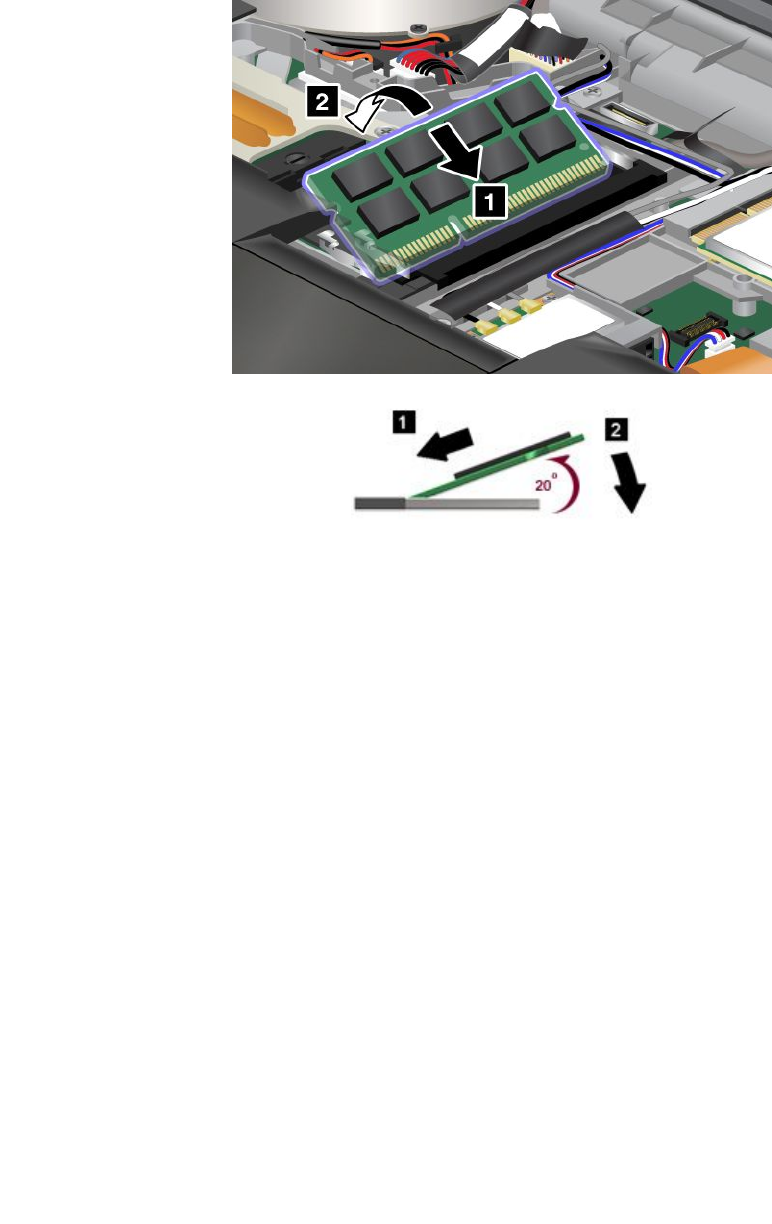
7. With the notched end of the SO-DIMM toward the contact edge side of the socket, insert the SO-DIMM
(1) into the socket at an angle of about 20 degrees; then press it in rmly. Pivot the SO-DIMM downward
(2) until it snaps into place.
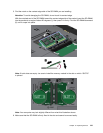
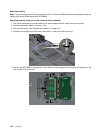
Note: If you install a memory module in only one of the two memory slots, be sure to install it in the
upper slot.
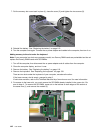
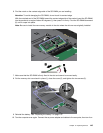
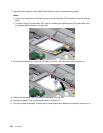
8. Make sure that the SO-DIMM is rmly xed in the slot and cannot be moved easily.
9. Reinstall the keyboard. See “Replacing the keyboard” on page 130.
10. Reinstall the battery. See “Replacing the battery” on page 119.
11. Turn the computer over again. Connect the ac power adapter and cables to the computer; then turn it on.
Checking the total amount of memory installed in your computer
To make sure that the SO-DIMM is installed correctly, do as follows:
1. Turn the computer on.
2. When the logo screen is displayed, press F1. The ThinkPad Setup opens. The “Installed memory” item
shows the total amount of memory installed in your computer.
3. If the “Installed memory” item shows a different amount of memory from what you installed, check
whether you have correctly followed the instructions in this section.
Chapter 6. Replacing devices 147