Viewing 3D images (continued)
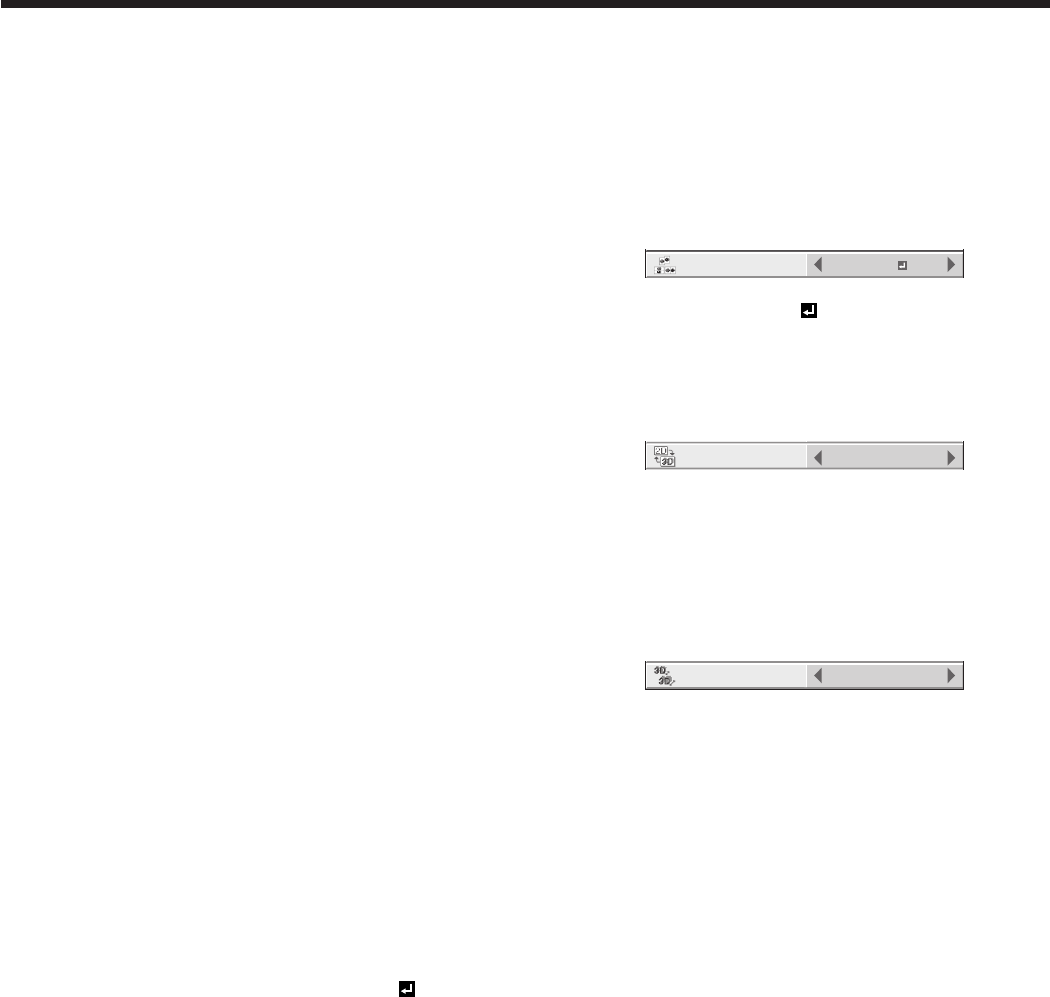
FINE 3D SYNC.
If you feel something wrong with or find ghosts
in the 3D image being displayed, the open/close
timing of the lens (liquid crystal shutter) of the 3D
glasses may be out of sync with the displayed
image. In such a case, adjust the setting of FINE
3D SYNC.
24P FRAME RATE
When you are annoyed with flicker in a bright area
in the image when a 1080p24 frame packing signal
is input, select 120Hz.
• When24PFRAMERATEissetto120Hz,
the motion interpolation by the frame rate
conversion isn’t performed while a 3D image is
displayed.
3D F.R.C. LEVEL
You can control the effect level of the motion
interpolation by the frame rate conversion while a
3D image is displayed.
• Themotioninterpolationto3Dimagesworks
only when a 1080p24 frame packing signal is
input.
To stop the signal emitted from the 3D emitter
temporarily:
While you are viewing a 3D image, the remote control
of your DVD recorder or other apparatus may not work
properly. In such a case, stop the signal emitted from
the 3D emitter temporarily by pressing the 3D SYNC
PAUSE button on the remote control of the projector.
Note that while the signal is stopped, a warning
message appears and images aren’t displayed in the
3D mode.
To convert 2D images to 3D images:
With the remote control:
1. Project a 2D image.
2. Press the 3D MODE button.
3. Press the t or u button to select AUTO and
press the ENTER button.
4. Press the 2D-3D button.
5. Press the t or u button to select ON.
• Now2Dimagesareconvertedinto3Dimages.
6. Turn the power switch on the 3D glasses to ON and
wear the 3D glasses.
7. Press the ENTER button.
• Thescreenforadjustingthedepthofthe
converted 3D images will appear.
8. Adjust the depth of the converted 3D images by
pressing the t or u button.
• Youcanselectthedepthfrom10levels(1to
10). As the level increases, the appearance of
depth is enhanced.
• Tonishtheconversionto3Dimages,pressthe
2D-3D button and then press the t or u button
to select OFF.
With the 3D menu:
(See page 29 for menu setting.)
1. Project a 2D image.
2. Display the IMAGE menu.
3. Select 3D by pressing the p or q button and press
the ENTER button.
• The3Dmenuwillappear.
4. Select 3D MODE by pressing the p or q button.
3D
OFF
NORMAL
3D SYNC.
0
FINE 3D SYNC.
96Hz
24P FRAME RATE
2
3D F.R.C. LEVEL
2D-3D
CONVERSION
5
3D DEPTH
3D MODE
AUTO
5. Set 3D MODE to AUTO by pressing the t or u
button and then press the ENTER button.
6. Reapeat steps 2-3 to display the 3D menu again.
7. Select 2D-3D CONVERSION by pressing the p or
q button.
3D
OFF
NORMAL
3D SYNC.
0
FINE 3D SYNC.
96Hz
24P FRAME RATE
HIGH SPEED
3D GLASSES
2
3D F.R.C. LEVEL
2D-3D
CONVERSION
5
3D DEPTH
3D MODE
AUTO
8. Set 2D-3D CONVERSION to ON by pressing the t
or u button.
• Now2Dimagesareconvertedinto3Dimages.
9. Turn the power switch on the 3D glasses to ON and
wear the 3D glasses.
10. Select 3D DEPTH by pressing the p or q button.
3D
OFF
NORMAL
3D SYNC.
0
FINE 3D SYNC.
96Hz
24P FRAME RATE
HIGH SPEED
3D GLASSES
2
3D F.R.C. LEVEL
2D-3D
CONVERSION
5
3D DEPTH
3D MODE
AUTO
11. Adjust the depth of the converted 3D images by
pressing the t or u button.
• Tonishtheconversionto3Dimages,set2D-
3D CONVERSION back to OFF.
Important:
• Iftheviewingdistanceisnearerthanthe
recommended distance, it will cause physical
discomfort and eye fatigue.
• The3Dglassesmaynotworkproperlywhenitis
used too far from the screen.
• Watchthecontentsinfrontofthescreen,notatbig
angle. If you are viewing the screen at big angle,
you may not be able to view 3D contents correctly.
• Therearepersonaldifferencesinviewingthe3D
images. For persons with myopia, hypermetropia,
astigmatism or left and right sights, please wear
glasses to correct them then wear the 3D glasses.
• Thepictureseemsmisplacedatthestartof
projecting the 3D images, however, this is not a
malfunction.
• 3Dimagesconvertedfrom2Dimagesappear
blurred due to conversion.
•
While side-by-side or top-and-bottom 3D images are
displayed, the aspect ratio setting is fixed to 16:9.
• Whenyoudisplayamenuordialogwhileviewing
side-by-side or top-and-bottom 3D images, they
are displayed in the 2D mode temporarily. When
the menu or dialog disappears, they are displayed
in the 3D mode again.


