


PH50, XL50, XL21 series Set-up and Installation Manual
12
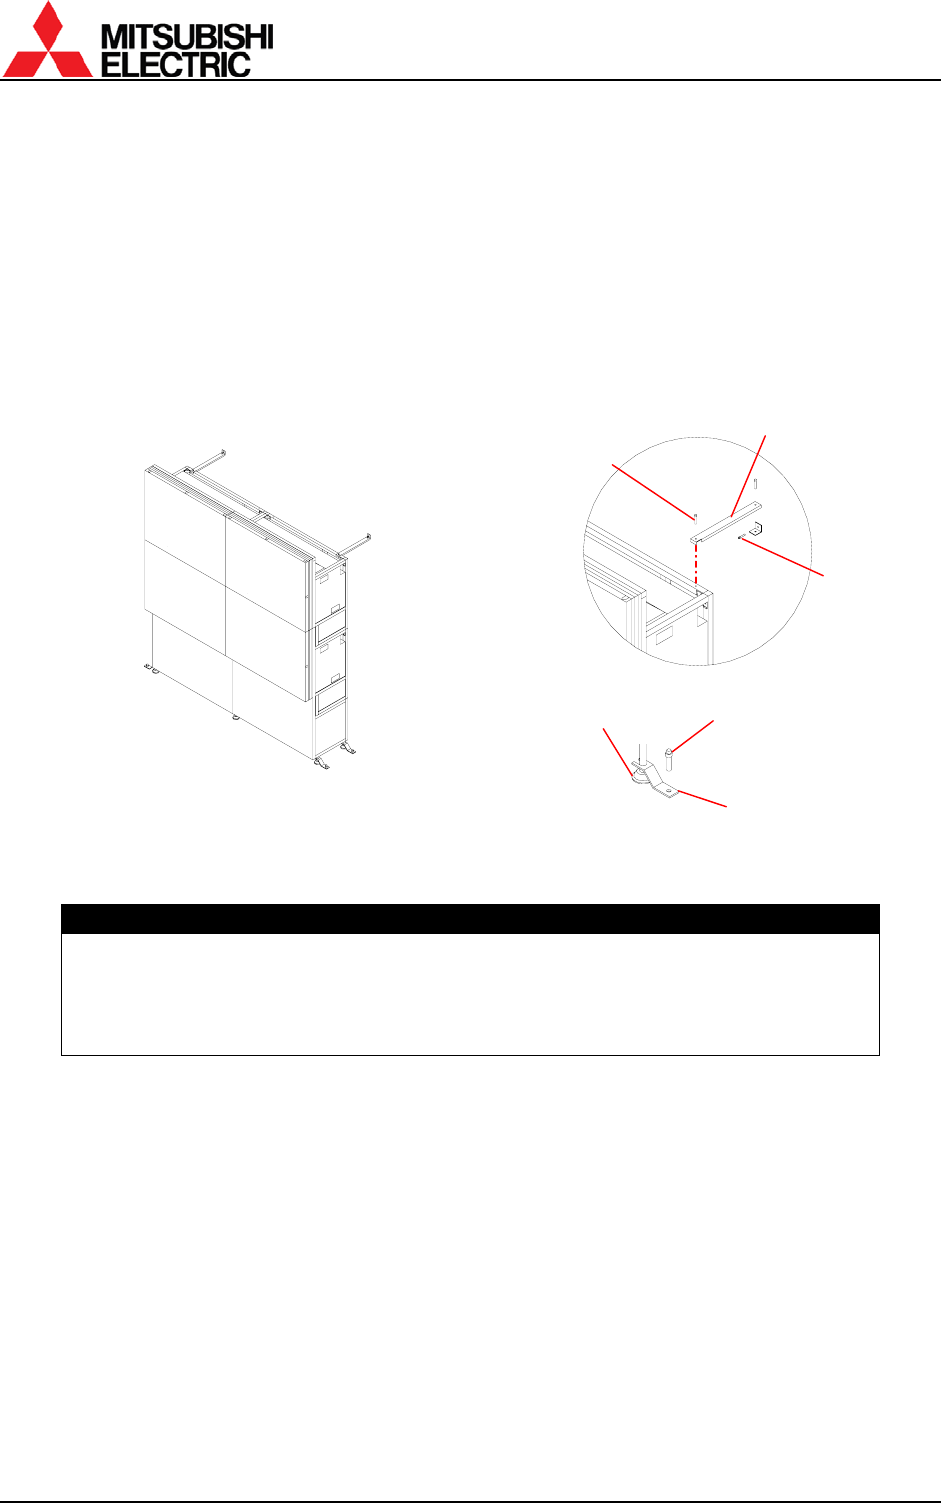
1.2.5.3. Fixing to the wall and floor
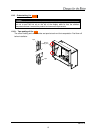
You don’t have to attach the lower door in this chapter since picture outlines have yet to be
adjusted as explained in the next chapter.
After the picture outline adjustment, attach the door in the reverse order of detaching.
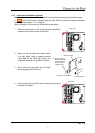
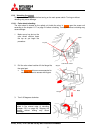
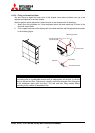
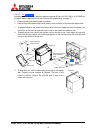
1. Attach floor-fixing brackets on 4 level adjusters below the base stand and fix them to the
floor with anchor bolts.
2. Fix the upper back part of the display wall to the back wall with wall-fixing brackets as shown
in the following figure.
Caution
Make sure the whole set is assembled firmly and installed stably. To prevent the set
from falling due to unpredictable events such as earthquakes and shocks, fix the set
firmly to the wall and floor. Furthermore, carefully confirm the strength of the fixing area
of the installation place (wall and floor). The wall and floor fixing method differs
according to the number of assembled units.
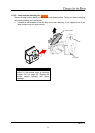
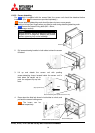
A
nchor bolts
Adjusters
A
nchor bolts
Wall-fixing brackets
Floor-fixing brackets
Hexagon socket head
cap screws (M6)