


REV 2.4
81
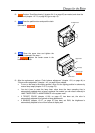
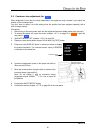
! ANALOG ID01
F/W VER P01.50A
H/W VER 12.19
SET TIMER 99999H
MASTER
L.SENSOR 125
2.2. Condenser lens adjustment (for
S
S
i
i
n
n
g
g
l
l
e
e)
When brightness is low after the lamp replacement, the brightness may increase if you adjust the
position of the condenser lens.
You don’t have to adjust it at initial setting since the position has been adjusted optimally with a
built-in lamp at factory.
[Procedure]
1. After turning on the main power, wait until the brightness becomes stable (about three minutes).
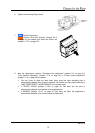
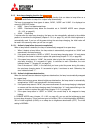
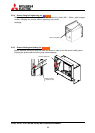
2. To access the optical unit, open the screen (chapter 1.2.7.1, on page 21) in
F
F
r
r
o
o
n
n
t
t or open the
rear panel in
R
R
e
e
a
a
r
r.
3. Set WHITE BOOST OFF (chapter 1.5.3.9, on page 50).
4. Display an internal test pattern except “full-bit white” by [TEST] button.
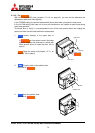
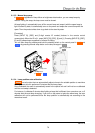
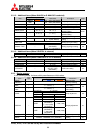
5. Press and hold [DISPLAY] button in advanced mode to display
the status information. The luminous sensor value (L.SENSOR)
is indicated in the lowest line.
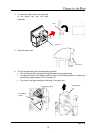
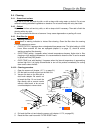
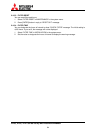
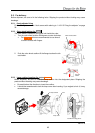
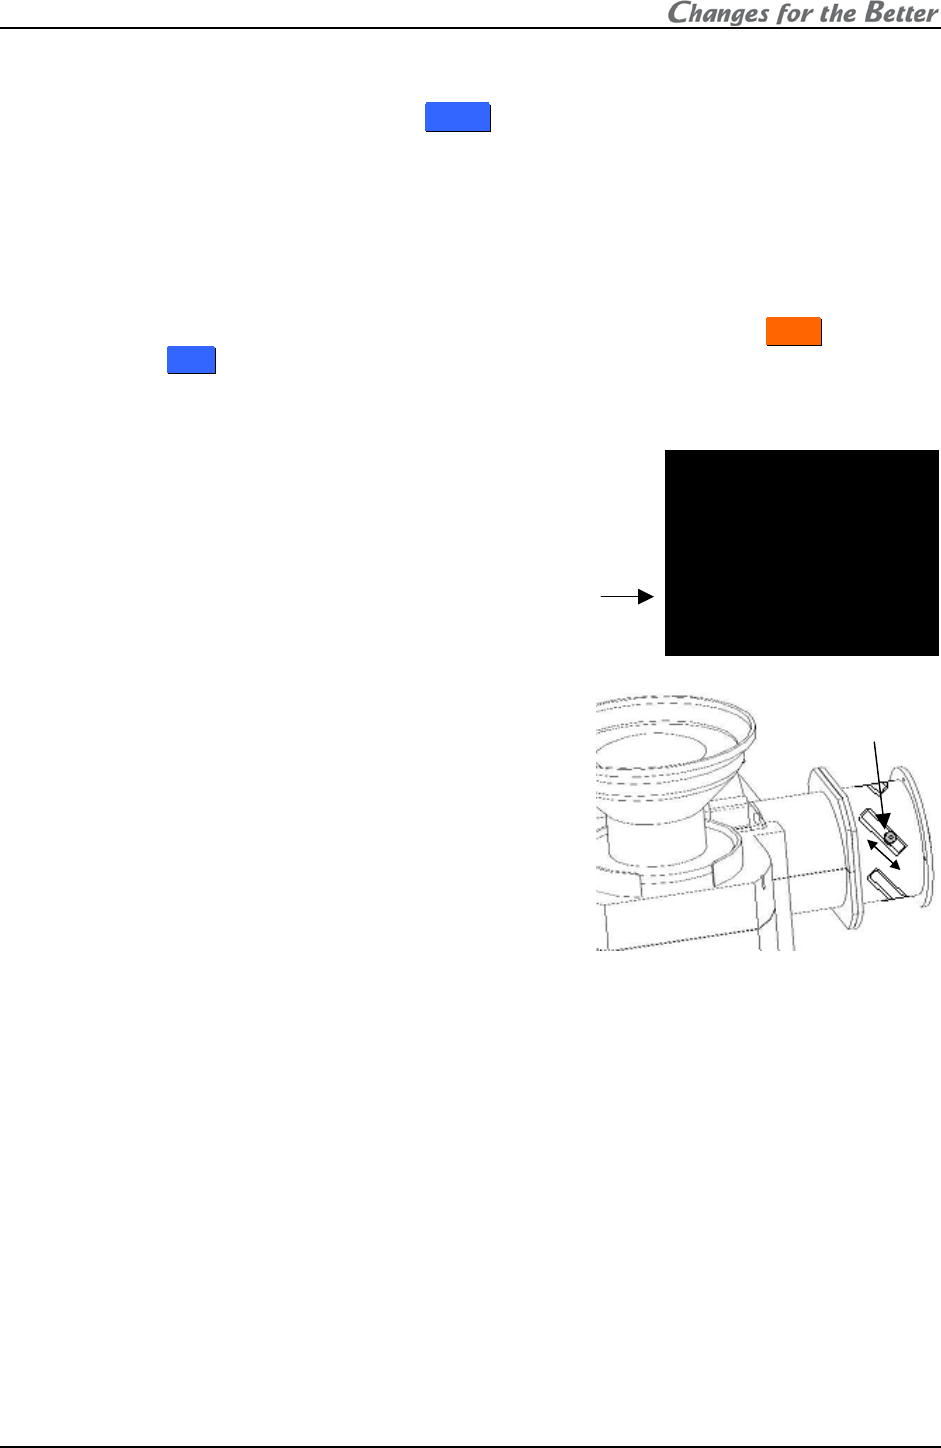
6. Loosen the adjustment screw on the optical unit with an
Allen wrench (2.5mm).
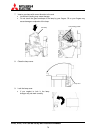
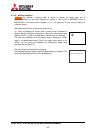
7. Move the screw position along the flute to maximize the
luminous sensor value and fix it.
Note: Do not tighten it with an excessive torque
(suggested torque: 0.38Nm
+/-0.03
). Fix it not to move off
the position.
8. Put back the WHITE BOOST setting.
9. Put back the screen (chapter
1.2.7.2, on page 22) or the rear panel.
Luminous senso
r
value
A
djustment screw
(hexagon socket head)