REV 2.4
77
10.
F
F
r
r
o
o
n
n
t
t: Perform “Dust filter cleaning” (chapter 2.4.3, on page 83) as needed, and close the
screen unit (chapter 1.2.7.2, on page 22) (go to step 13).
11.
R
R
e
e
a
a
r
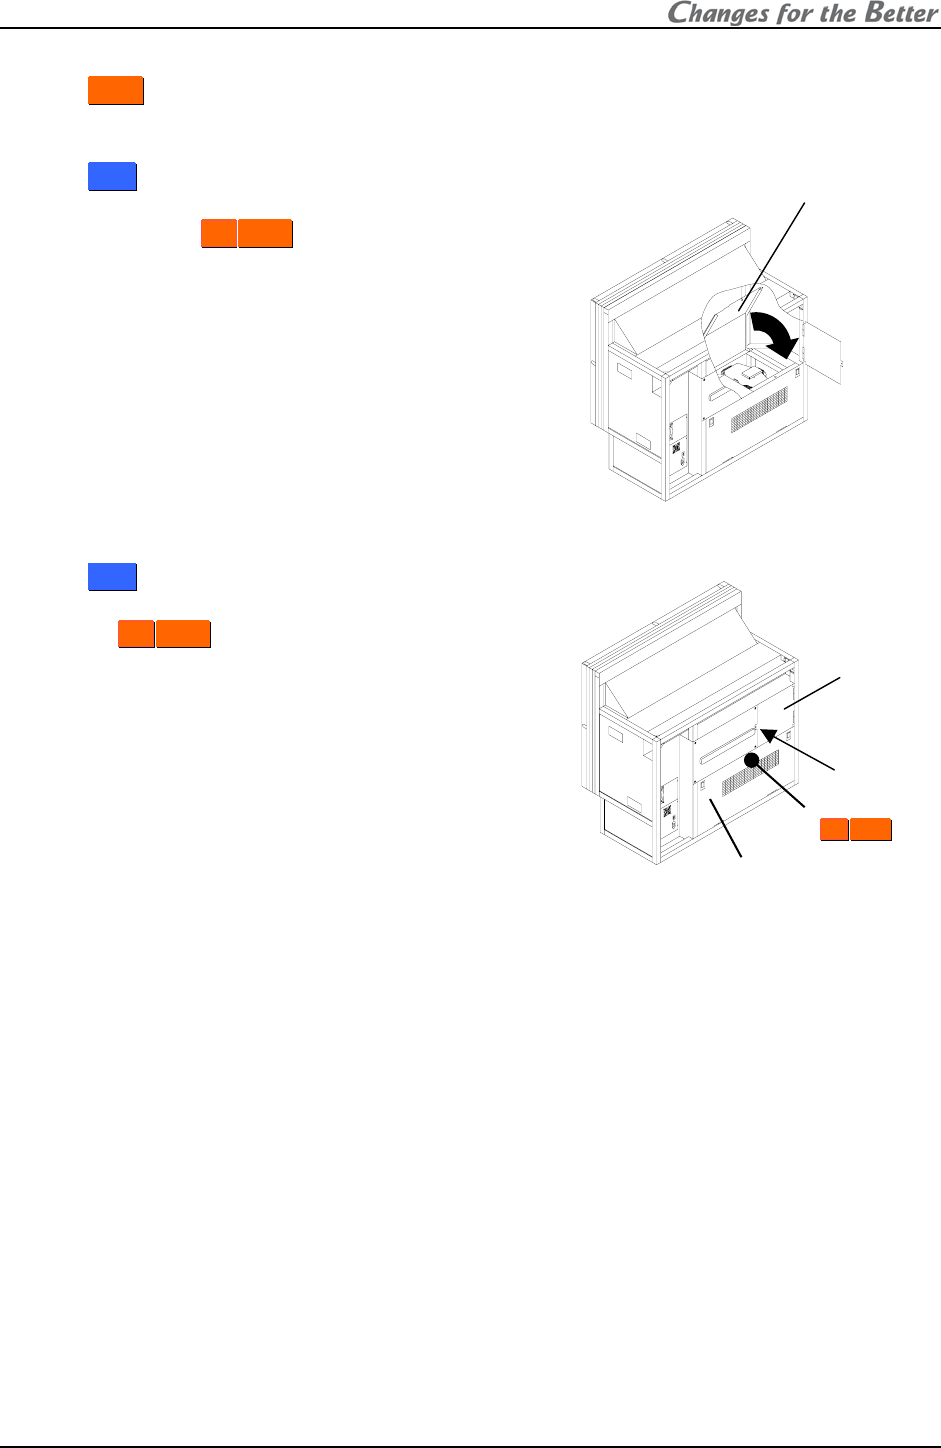
r: Close the partition door and push the latch
till click.
(No need in
6
6
7
7
”
”
P
P
H
H
5
5
0
0.)
12.
R
R
e
e
a
a
r
r: Close the upper door and tighten the
screw(s) loosened in the step 1.
In
6
6
7
7
”
”
P
P
H
H
5
5
0
0, tighten the center screw in the
lower door to close.
13. After the replacement, perform “
Color balance adjustment” (chapter 1.5.2, on page 44) or
“Picture outline adjustment” (chapter 1.4.3, on page 28) as needed.
• To turn on the lamp in the waiting position, move it to the lighting position in advance by
manual lamp swap (chapter
2.1.3.3, on page 79).
• You don’t have to reset the lamp timer value since the lamp operating time is
automatically updated when a lamp is replaced. As needed, you can reset it manually in
LAMP TIMER RESET in MAINTENANCE in the system menu.
• If TERGET COLOR (chapter
1.5.2.6, on page 47) has been set, the color is
automatically adjusted to be optimal at lamp replacement.
• If SENSOR (chapter
1.5.2.7, on page 47) has been set RUN, the brightness is
automatically adjusted to be uniform across a display wall.
Partition door
Upper door
Screw(s)
Lower door
Center screw
(
6
6
7
7
”
”
P
P
H
H
5
5
0
0)


