


REV 2.4
29
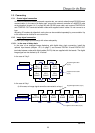
1.4.3.2. 6-axis adjustment
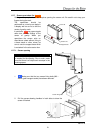
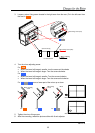
1.4.3.2.1. Release the lock screws
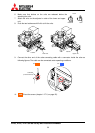
Before 6-axis adjustment, release locks
in the adjuster. Loosen 4 locking screws
with an Allen wrench (2mm) and 5 fixing
screws with an Allen wrench (4mm).
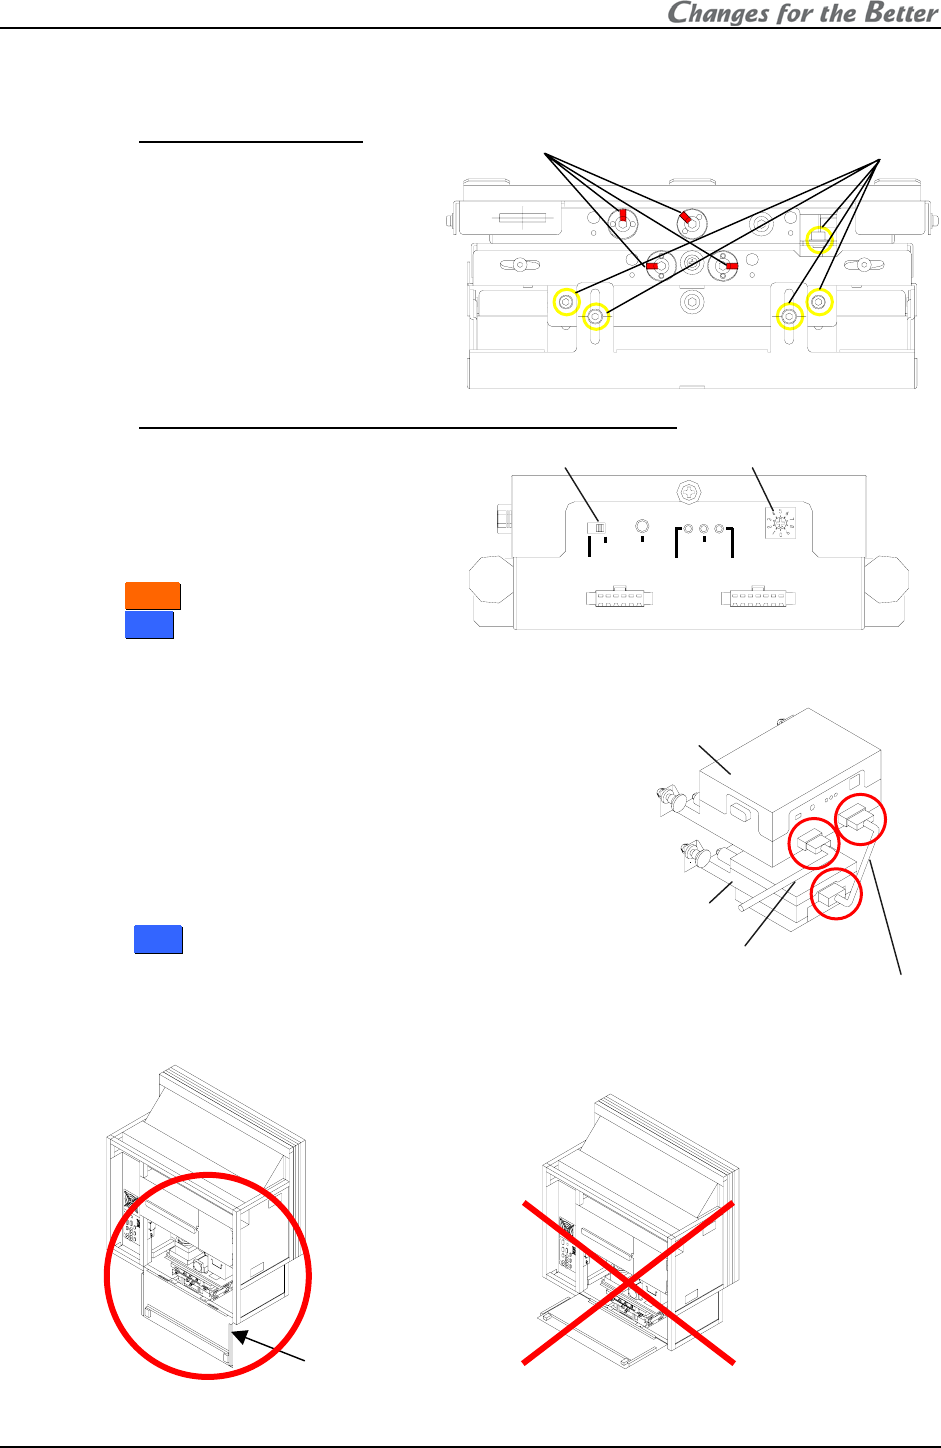
1.4.3.2.2. When adjusting with motorized adjustment tool, S-AXL50E
Attaching
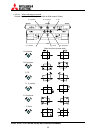
1. Set the rotary dial in the upper unit
of the adjustment tool according to
the product (chapter
3.8.4.2, on
page 97). The initial setting is 0.
•
F
F
r
r
o
o
n
n
t
t: Set it 0.
•
R
R
e
e
a
a
r
r: Set it 1.
2. Make sure the slide switch is set
OPE (right side).
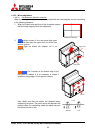
3. Connect the upper and lower units with a supplied
unit-connecting cable.
4. Connect a supplied cube-connecting cable with upper
unit.
5. Open the screen (chapter 1.2.7.1, on page 21) or rear
panel to access the 6-axis adjuster.
Note:
For
R
R
e
e
a
a
r
r, open the rear panel 180 degrees or
remove it to perform the adjustment. Adjustment with
half-open panel may cause breakage due to
interference with the adjustment tool.
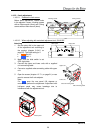
Unit-connecting cable
Cube-connecting cable
Upper unit
Lower unit
Slide switch Rotary Dial
OPE
RESET
POWE
R
0 : FRONT
1 : REAR
9 : TEST
FA C T O R Y
ERRO
R
FW
-
E
N
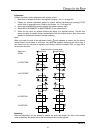
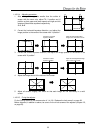
5 fixing screws
4 locking screws
Rear panel