


REV 2.4
35
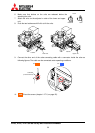
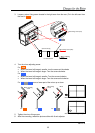
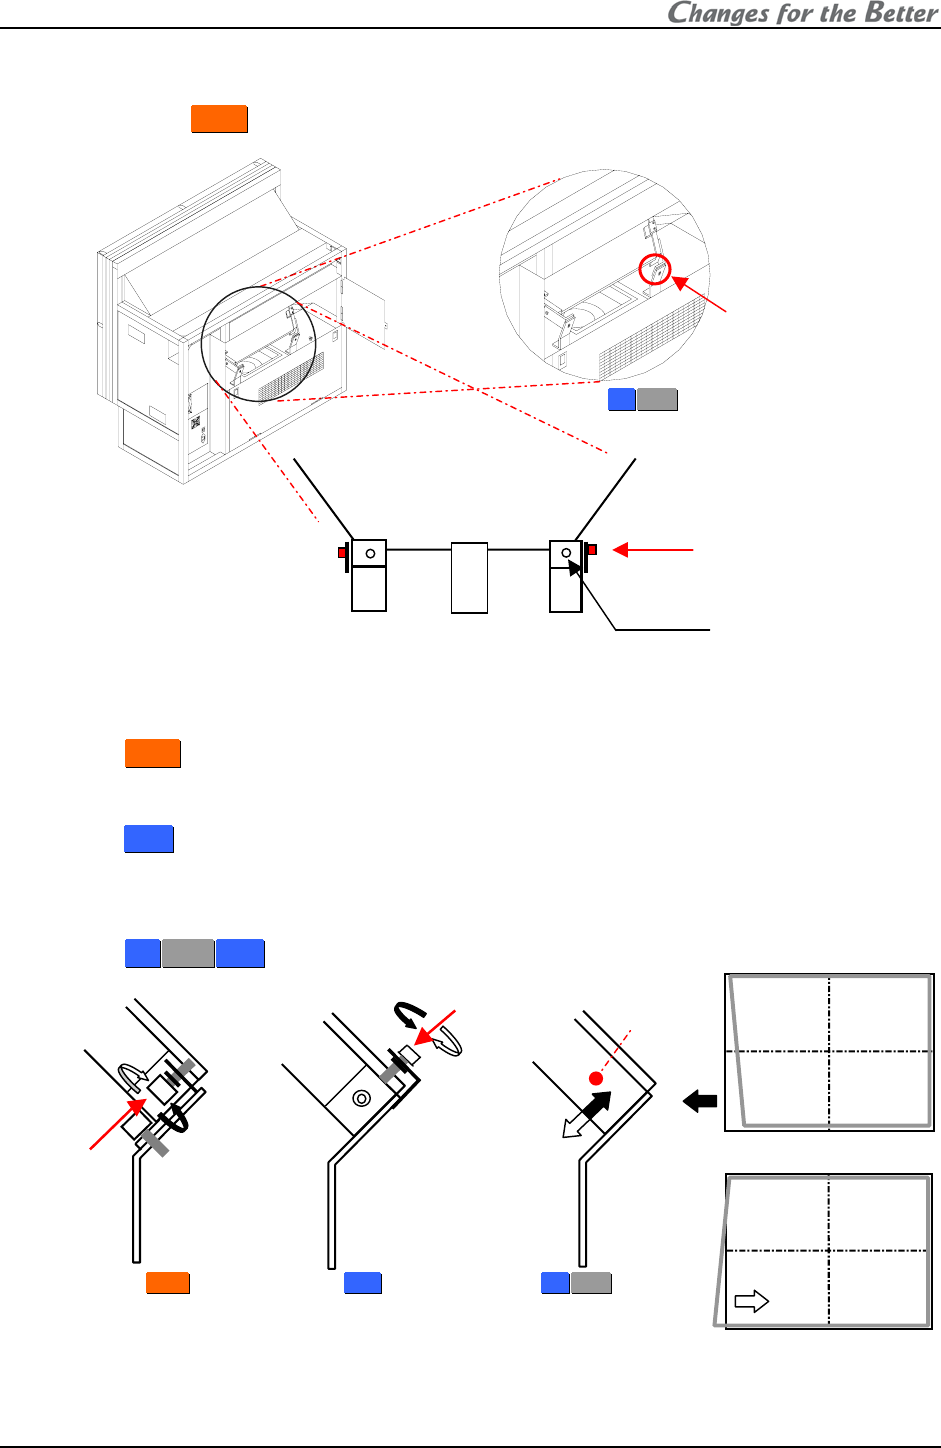
3. Loosen a mirror fixing screw located in the right seen from the rear. (Or in the left seen from
the front in
F
F
r
r
o
o
n
n
t
t.)
4. Turn the mirror adjusting screw.
For
F
F
r
r
o
o
n
n
t
t:
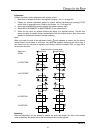
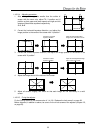
• When the lower left image is smaller: turn the screw anti-clockwise
• When the lower left image is larger: Turn the screw clockwise
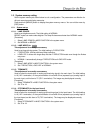
For
R
R
e
e
a
a
r
r:
• When the lower left image is smaller: Turn the screw clockwise
• When the lower left image is larger: Turn the screw anti-clockwise
For
5
5
0
0
”
”
X
X
L
L
2
2
1
1
R
R
e
e
a
a
r
r: move a lower part of the mirror up or down.
5. Tighten the mirror fixing screw.
6. After the correcting, tweak the picture outline with 6-axis adjuster.
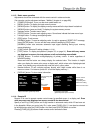
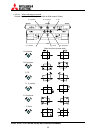
Mirror
When the lower left image is smaller.
When the lower left image is larger.
Mirror fixing
screw
Mirror adjusting
screw
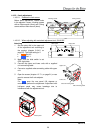
For
F
F
r
r
o
o
n
n
t
t
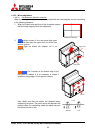
(Seen from top)
(Mirror adjusting
screw)
For
R
R
e
e
a
a
r
r
For
5
5
0
0
”
”
X
X
L
L
2
2
1
1
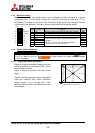
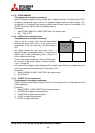
For other models
For
5
5
0
0
”
”
X
X
L
L
2
2
1
1
Mirror fixing screw (side)
Mirror fixing screw (rear)