


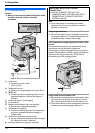
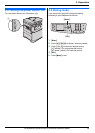

1. Introduction and Installation
15
For assistance, please contact an authorized Panasonic dealer.
– “Change Supplies Black :Low”
– “Change Supplies Cyan :Low”
– “Change Supplies Magenta:Low”
– “Change Supplies Yellow :Low”
– “Change Supplies Toner Empty”
– “Change Supplies Black :Empty”
– “Change Supplies Cyan :Empty”
– “Change Supplies Magenta:Empty”
– “Change Supplies Yellow :Empty”
When the display shows the following, replace the drum
cartridge.
– “Color Drum Life Low”
– “Monochrome Drum Life Low”
– “Color Drum Replace”
– “Monochrome Drum Replace”
Note:
L When replacing a toner cartridge, be sure to seal the
used toner cartridge in a plastic bag or other
container so that toner does not spill out of it.
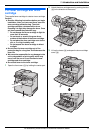
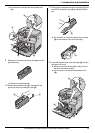
L When replacing the color drum cartridge, hold the
green lever using your left hand same as installing it.
See step 8 on page 12 for instructions.
L To ensure that the unit operates properly, we
recommend the use of Panasonic toner cartridge
and drum cartridge. See page 7 for accessory
information.
L See page 112 for information on toner life and drum
life.
Waste disposal method
Waste material should be disposed of under conditions
which meet all national and local environmental
regulations.
Toner save feature
If you want to reduce toner consumption, set the toner
save setting to ON (feature #482 on page 62). The toner
cartridge will last approximately 40 % longer. This
feature may lower the print quality.
1.7 Recording paper
The standard input tray unit can hold:
– Up to 250 sheets of 75 g/m
2
(20 lb) paper.
– Up to 230 sheets of 80 g/m
2
(21 lb) paper.
– Up to 200 sheets of 90 g/m
2
(24 lb) paper.
– Up to 180 sheets of 105 g/m
2
(28 lb) paper.
– Up to 25 transparencies.
*1
– Up to 25 labels.
*1
– Up to 10 envelopes.
*1
– Up to 10 card stocks.
*1
*1 Only when using the unit as a printer. See page 30
for details.
L Please refer to page 112 for information on recording
paper.
L The unit is set for printing letter-size plain paper
by default.
– To use A4 or legal-size paper, change the
recording paper size setting (feature #380 on
page 61).
– To use thin or thick paper, change the
recording paper type setting (feature #383 on
page 61).
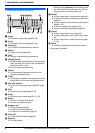
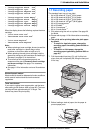
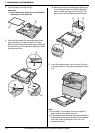
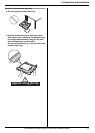
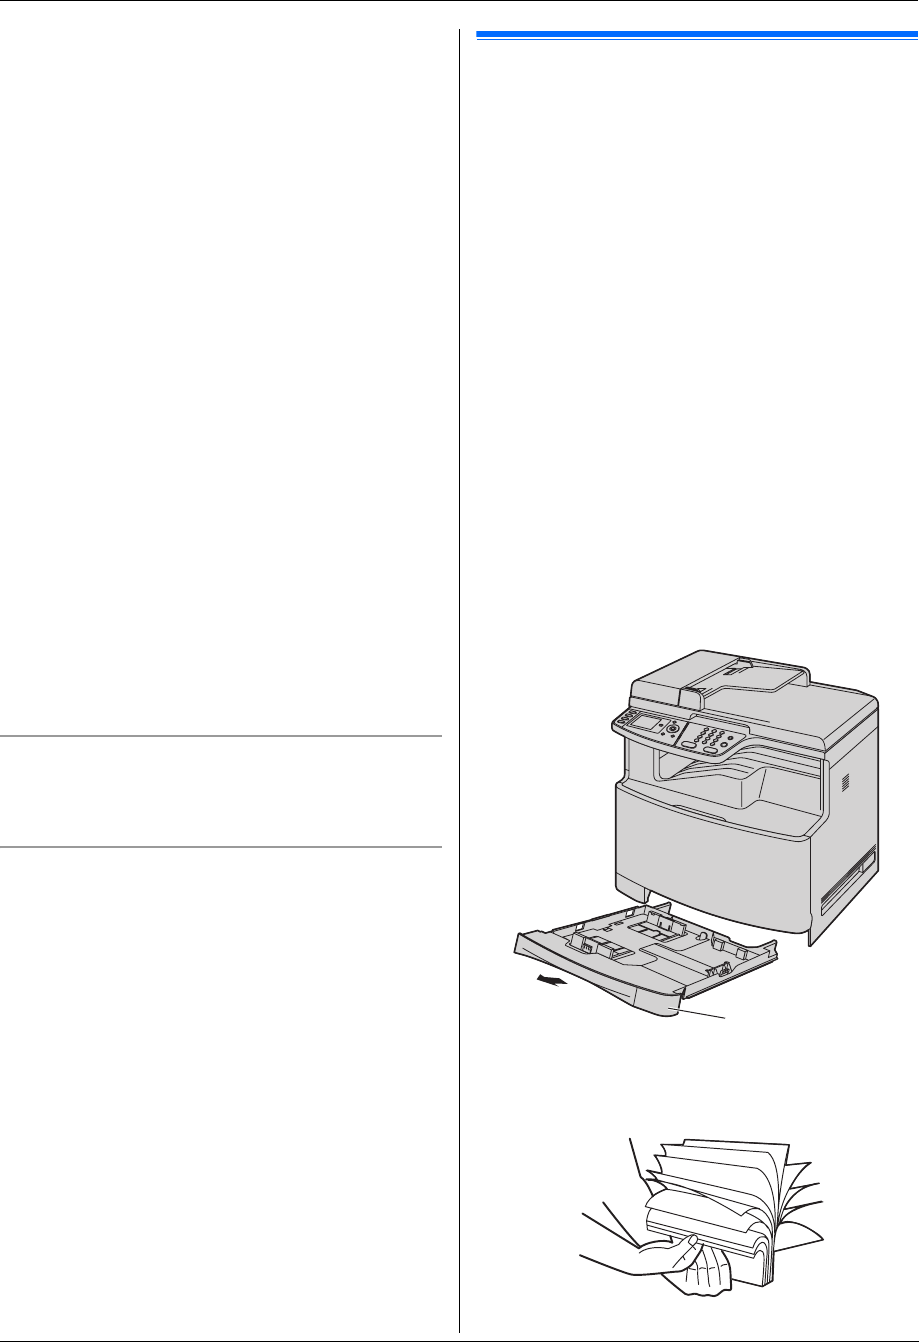
1 Pull the standard input tray (1) until it clicks into
place, then pull it completely out, lifting the front part
of the tray.
2 Before loading a stack of paper, fan the paper to
prevent paper jams.
1