3. Printer
30
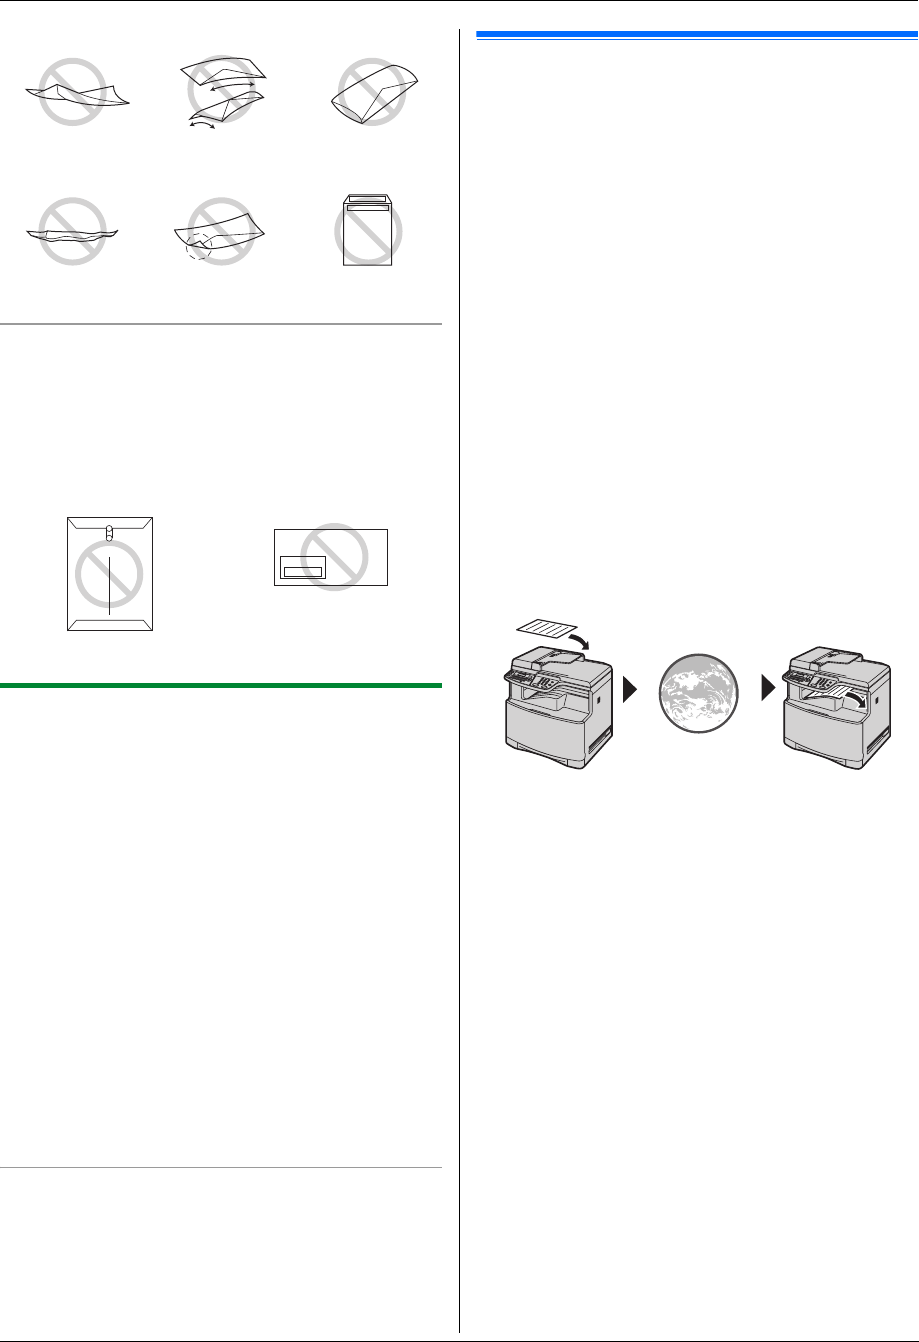
Do not attempt to print on any of the following types
of envelopes (these may cause damage to the unit):
L Envelopes with clasps, snaps or tie strings
L Envelopes with transparent windows
L Envelopes that use encapsulated types of adhesive
that do not require moistening but rely on pressure to
seal them
3.1.2 Duplex printing (optional)
Connecting the optional automatic duplex unit allows
duplex printing (page 79). For example, to print from
WordPad, proceed as follows.
1 Open the document you want to print.
2 Select [Print...] from the [File] menu.
3 Select the unit’s name as the active printer.
L For Windows 2000 users, go to step 5.
4 For Windows 98/Windows Me:
[Properties]
For Windows XP/Windows Vista:
[Preferences]
5 Click the [Basic] tab.
6 Select the desired duplex layout. i [OK]
L Select [None] to deactivate this feature.
L You can also change the duplex margin.
7 Click [Print] or [OK].
Booklet feature
You can print the document, then fold in half to create
booklets. The documents will be reduced to fit the
recording paper.
To use this feature, select [Booklet] icon for print layout
after step 5.
3.2 Printing a received e-mail
attachment automatically (LAN
connection only)
If you configure the POP server beforehand, the unit will
automatically print e-mail attached files sent from a
compatible unit via the internet (scan to e-mail print).
This is useful if you want to print only the attachment file,
without checking your e-mails.
Important:
L The unit does not print e-mail messages.
L The unit will only print attached files sent from a
compatible unit, which can send e-mails directly
(without using a computer).
L The attachment file formats that can be printed
are as follows.
–TIFF
– JPEG
– PDF (files scanned from the unit, or scanned
from the computer using Multi-Function
Viewer)
L Received e-mails and the attached files will be
deleted automatically after printing.
A Send from a compatible multi-function unit (Example:
“4.1.5 Scan to e-mail server (LAN connection only)”,
page 33)
B Via the internet (e-mail server)
C The unit will print an attached file
1 Start Multi-Function Station.
2 [Utilities] i [Configuration Web Page] i
[Network Configuration]
3 Type “root” as the user name, then enter the
password (feature #155 on page 58). i [OK]
4 Click the [SCAN TO E-MAIL PRINT] tab.
5 Set each item.
To activate this feature:
Select [ENABLED] next to [SCAN TO E-MAIL
PRINT]. i [Submit]
To set the e-mail server information:
1. Click [Edit] next to [E-MAIL SERVER].
2. Enter the e-mail server and POP server
information. i [Submit]
6 Close the web browser.
Twisted Curled Bent-edged
Waved Dog-eared Self adhesive
Clasp Transparent window
AB C


